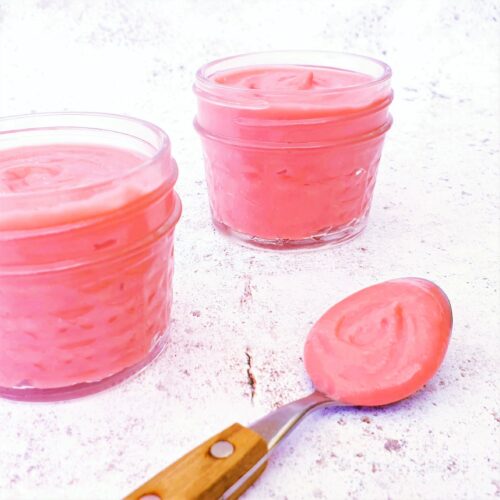
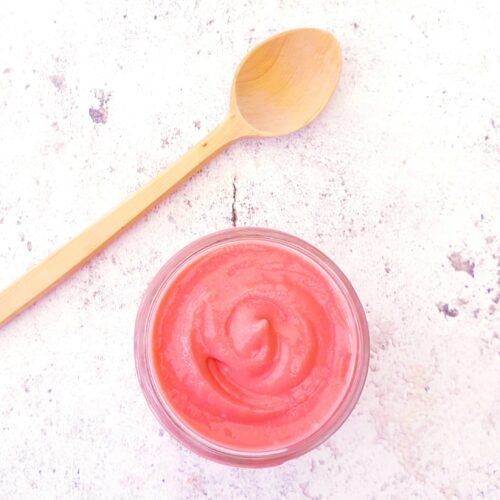
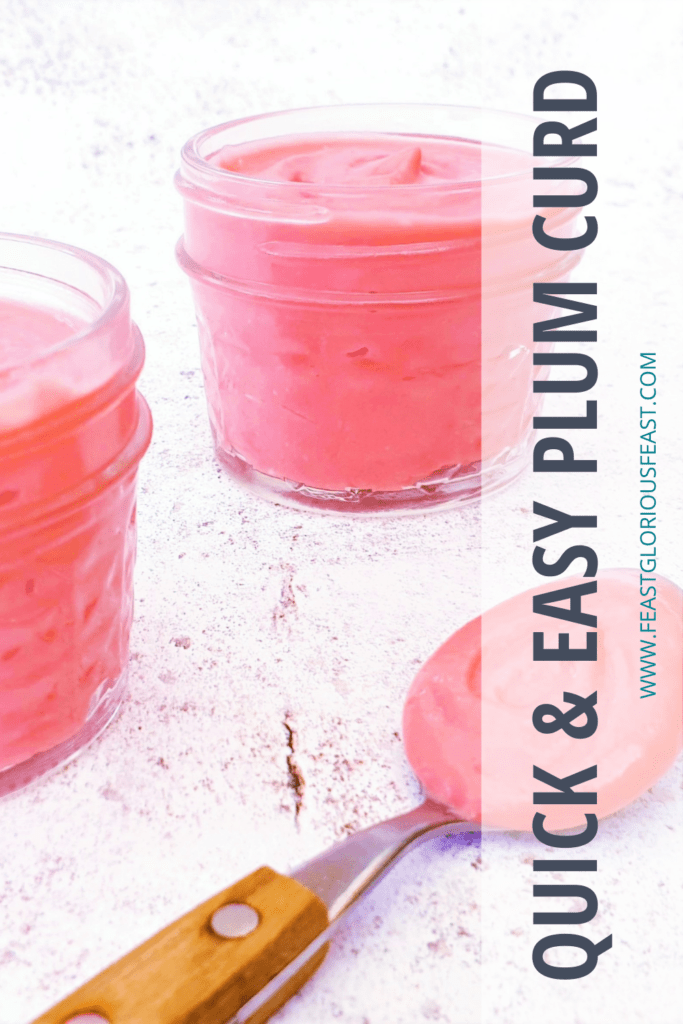
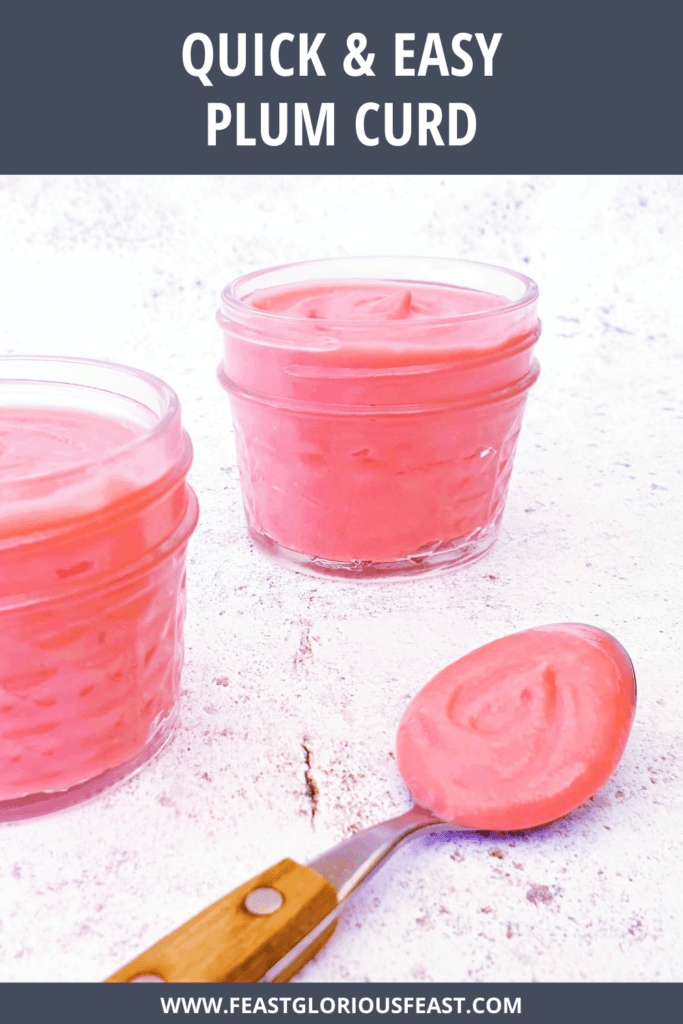
The flavour of this super easy Plum Curd is mind blowing! And of course the colour is stunning too. There is no standing and stirring for ages and my quick method makes split curds and curdled egg a thing of the past. So grab some plums and give this tasty treat a try, I promise you won’t regret it!
This post may contain affiliate links. Please refer to my Disclosures Page for more details.
Since I cracked my easy recipe for Peach Curd, I have been experimenting with all manner of different fruits. And plum is easily one of the greatest that I have stumbled on. Although my Fresh Fig Curd is certainly a contender too!
Unlike the peach which is on the subtler side, the plum packs a huge flavour punch. Its also not too sweet. In fact, its on the tangy side. This means that it pairs beautifully with rich clotted cream on scones and tones down some sweet buttercream in a Victoria Sponge.
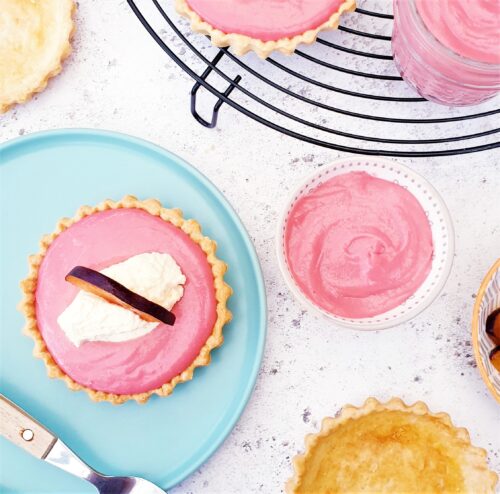
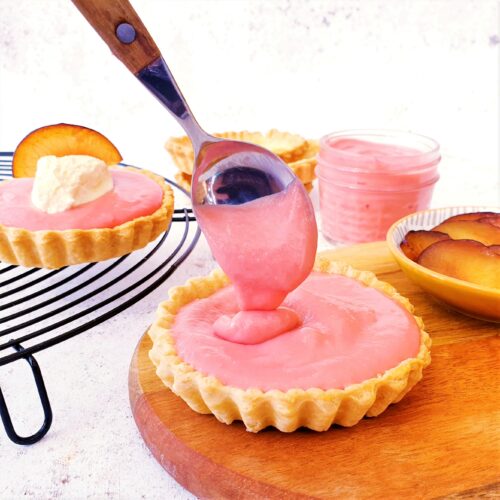
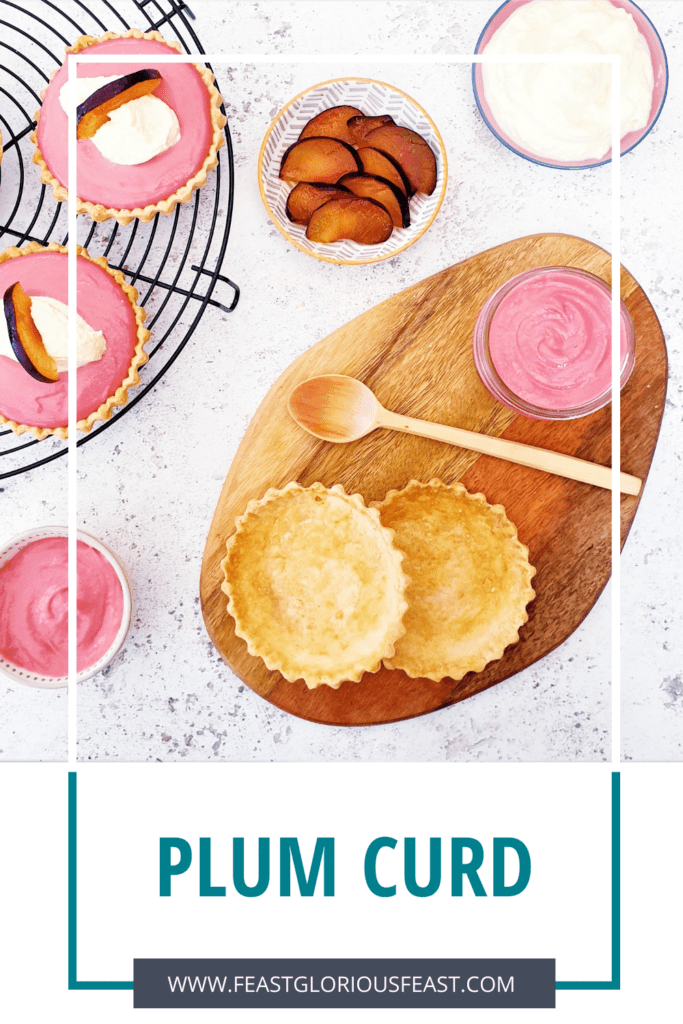
And I can’t stop making Plum Curd Tarts with it too. I am obsessed.
But the greatest thing about this recipe is that when I say quick and easy, I mean it.
How exactly is this Plum Curd Quick and Easy?
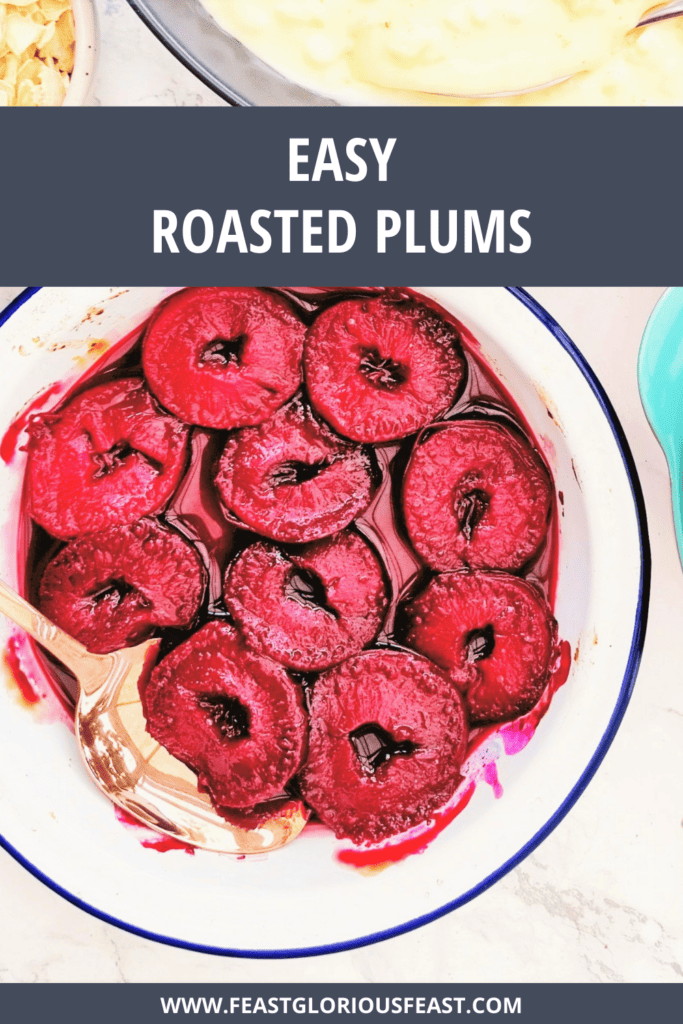
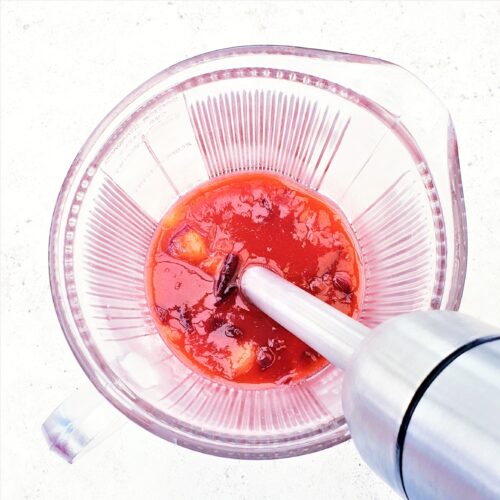
The first stage of the recipe is to quickly cook the plums down into a pulpy mass. Because plums are generally lovely and soft, this only takes a few minutes.
There are a few benefits of doing this. The main one is that the skin colours the flesh to create the most amazing vibrant colour. But it also makes them easy to blitz.
Talking about blitzing, this is where the magic of this method really happens. Many recipes call for the fruit to be pureed and then the other ingredients like eggs, sugar and butter are stirred in over the heat at various stages.
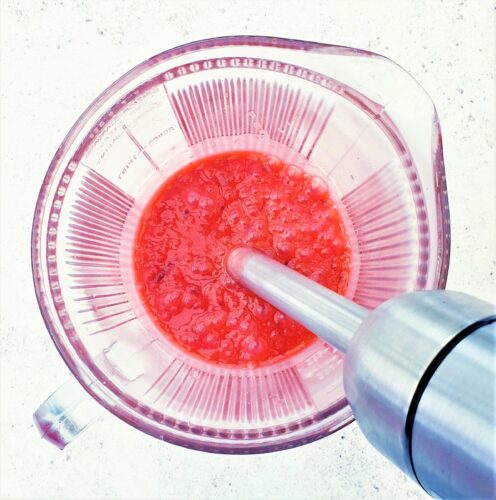
With my method, the butter and sugar are melted and dissolved into the plums before everything gets blitzed together. The heat can be higher at this stage which makes this process speedier than normal.
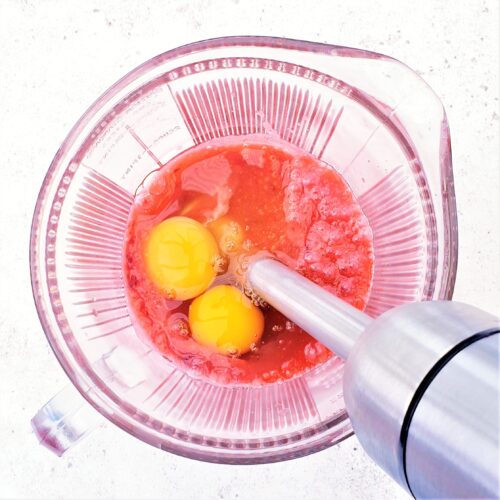
And then I blitz the eggs into the still warm mixture. The eggs start to be cooked in the warmth and have the chance to be fully incorporated. The mixture starts to emulsify and gets ever so slightly aerated.
The curd is nearly ready and we haven’t even cooked it out yet. What this method certainly doesn’t require is the 30 to 40 minutes stirring the mixture over a double boiler, which so many recipes prescribe.
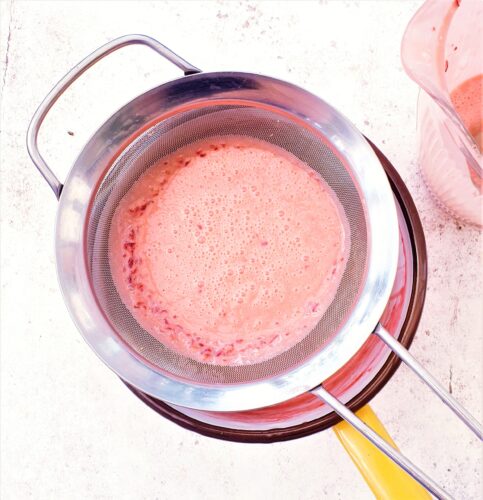
Once the curd mix is sieved back into the saucepan, it is simply a case of heating it until thickened. And whilst you don’t want to heat it on a very high heat, I find that because of all that pre blitzing, we can get away with cooking it much more quickly. It usually takes between 4 and 8 minutes depending on how confident you are.
You do need to be careful with this method. Don’t walk away from the pan and you must keep a keen eye on the level of heat. You also need to keep scraping away at the bottom and sides of the pan with your spatula. But it really isn’t difficult.

How to Serve Fruit Curd
Plum curd really benefits from being taken out of the fridge and brought back up to room temp before being served. Or at least left out for a few minutes so the chill goes and the flavour isn’t dulled.
Unless using a recipe that specifically requires it to be heated, you won’t want to warm it. And do be careful not to leave it out for a long time on a very warm day as it will go very runny and fall right off your scone!
Make Plum Curd into a Feast
I truly believe that you can make any dish into a proper feast! Whether thats a feast for one after work on a Tuesday, a casual feast for four on a Friday evening or a feast for 12 for a special occasion!
My favourite way to use Plum Curd, or any curd for that matter, is to make tarts. Check out my Plum Curd Tarts post for the full how to guide.
Don’t forget to head over to my Feast Collection pages to find all of my tips and tricks to help you host a fun and stress-free feast. Plus remember to check out my recipe index to create your own awesome Feast!
Ingredients for Plum Curd
Plums
You can use any purple or red skinned plums you like. One of the most popular varieties here in the UK is the Victoria plum which is ideal.
The variety I used was red/purple skinned and yellow inside. The skin was more than enough to give it a gorgeous colour. I haven’t tried the recipe with a yellow variety like mirabelle, greengages or damsons. They are all worth experimenting with however.
Soft, yielding and ripe are the best but the recipe can still make the most of slightly under-ripe plums.
The recipe is flexible and not all plums are created equal in size which is why I’ve specified a weight of plums rather than a number. Please note that the weight is measured after the flesh is cut from the stone. The stone sizes also vary wildly.
Butter
I only use salted butter in my cooking and baking. I really like to make my own Homemade Butter but I do just buy it too! The important things are that you use proper butter and not margarine. If you use a substitute the curd might not set properly.
If you are not in the UK. please look to use a “European style” butter and not a strong flavoured cultured butter.
Equally if you have to use unsalted butter, please add in some salt along with the butter.
Sugar
White sugar in best in this recipe. Caster/superfine or granulated is great. Confectioners /icing sugar cannot be directly substituted due to the differing weights. Brown sugar will add an overwhelming and unwelcome flavour so please avoid this too.
Eggs
I used UK large sized eggs in this recipe. This would be the preference. If you use smaller eggs, the curd will set less firm. Larger eggs may result in a firmer set. XL eggs should be avoided – you don’t want the curd to actually taste of egg.
Be Flexible
In theory this method of making curd will work with any fruit where the whole fruit can be used. So other stone fruits like sloes and apricots are ideal candidates. As are berries like strawberry or blackberry.
Making a traditional citrus curd or using another fruit like passion fruit where the whole fruit isn’t used will require a whole other ratio of ingredients. So please don’t try to adapt this recipe for lemon, lime or orange, etc.
Instead, head over to my Quick & Easy Clementine Curd recipe for all the details on making a citrus juice based curd.
But you do need to be careful experimenting. You need to consider the sweetness of the fruit you are using and the water content. And then adjust the sugar and the added water carefully.
For a more subtle variation, you can consider adding in other flavours. You can switch all or some of the water for a spirit like bourbon (yum) or a plum brandy. Or add in another flavour like vanilla or even a little orange.
Make it Vegetarian or Vegan
This plum curd recipe is suitable for vegetarians. But it is not a vegan plum curd. And adapting it is really quite tricky. I would actually recommend seeking out a dedicated vegan curd recipe. Sorry to not be more helpful!
Make Plum Curd Allergy Friendly
This recipe is free from gluten and nuts.
Dairy Free: To make dairy-free plum curd you will need to switch the salted butter for a dairy free substitute. You will need to use a sub which is a hard block and not a margarine or the curd may not set.
Egg Free: I’ve mentioned above that this isn’t a good recipe to veganise. And that is because the eggs are crucial to this recipe. I would recommend seeking out a dedicated egg-free recipe if needed.
Please note that this recipe may contain other allergens not referred to above and any variations suggested have not been tested unless otherwise stated. For more information regarding any dietary information provided on this website, please refer to my Nutritional Disclaimer.
Equipment Notes for Easy Plum Curd
There are a couple of items of equipment that you need to make this smooth plum curd.
You absolutely need some kind of blender. My preferred type for this kind of job is a stick blender. It creates minimal waste, minimal washing up and you can really see what you are blending.
If you don’t have one, you can of course use any electric blender. Just make sure to use a silicone spatula to scrape it out really well.
The other required piece of basic kit is a good fine sieve. This is essential to both remove any of the plum skin and make sure the mixture is super smooth before it is thickened.
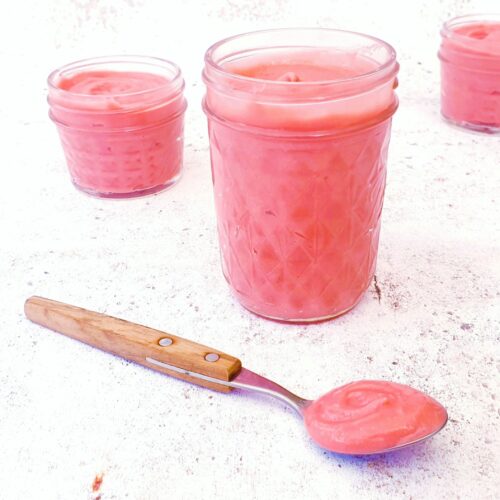
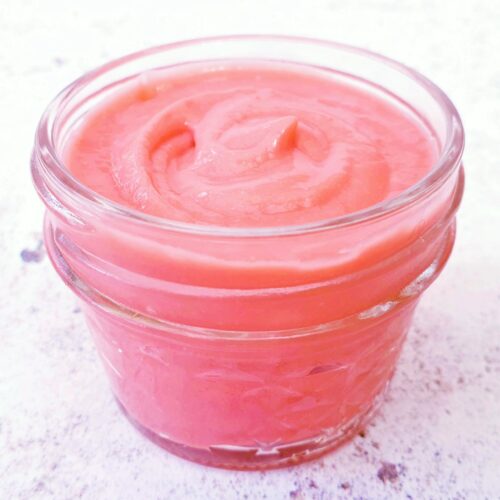
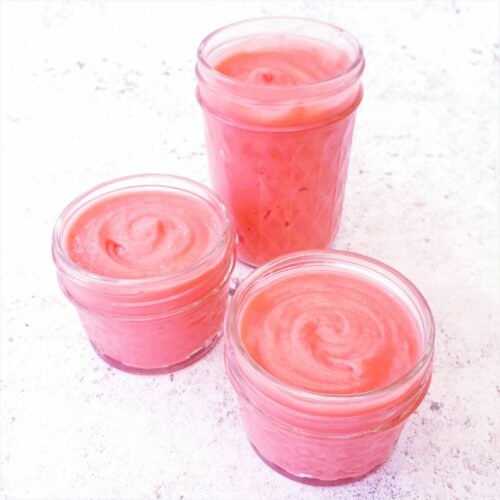
You can store the finished curd in any airtight container you like, you do not need to use jars. But if you do have jar envy, these are like the quilted jam jars I use!
A comprehensive list of the equipment used to make this recipe is included in the main recipe card below. Click on any item to see an example. There are no hard and fast rules so many items can be sensibly substituted to achieve the same results.
Get Ahead
You can store this plum curd in the fridge in an airtight container for a couple of weeks.
I don’t generally freeze curd so it isn’t something I’ve tested. I do have a feeling it may split. But I also have a feeling that a quick blast with a blender would bring it back to life. Let me know how it goes if you try!
Plum Curd Tips
Once you add the eggs to the mixture, make sure to not delay the next stage of blending. I’ve not had any issue with adding the eggs to a relatively hot mixture. But letting them sit will allow them to start cooking.
If you do find that the mixture breaks or splits during the final heating and thickening stage, simply give it another blitz with the blender. It should come back together perfectly.
Fruit Curds – Hints, Tips & FAQs
For more help and information about making any flavour fruit curd, head over to my fruit curds FAQs post.
Still Have Questions?
Simple! Just contact me and I will do my best to help as quickly as I am able. Head over to my Contact Me page, any of my social media channels or post a comment at the bottom of this page and I’ll see what I can do.
Pin Quick & Easy Plum Curd For Later
Hit one of the share buttons to save this page to your Pinterest boards so you can come back and find it at anytime!
Keep Up to Date
Make sure you SUBSCRIBE to my newsletter and avoid missing out on any of my newest and bonus content. Don’t worry, I promise not to spam you or bombard you too often. Plus you’ll receive a copy of my FREE 7 Day International Meal Plan!
Also please don’t forget to follow me over on my social media channels over at Facebook, Twitter, Instagram and Pinterest. I love to interact with my followers and I’d love you to share my content with your friends too.
The Recipe
Quick & Easy Plum Curd Recipe
Equipment
Ingredients
- 200 g Fresh Plums - 50g = roughly 1 Plum
- 2 tbsp Water
- 50 g Salted Butter
- 90 g Sugar
- 2 Eggs - large
Instructions
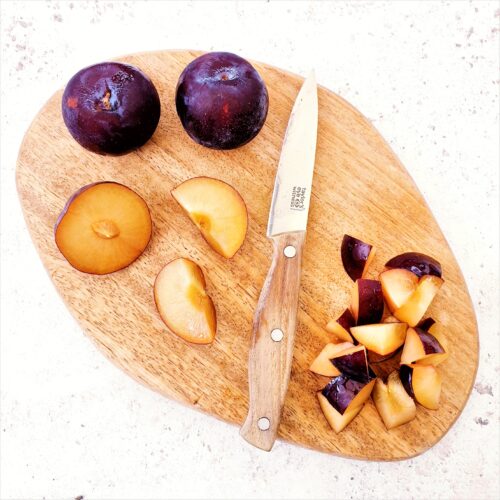
- Remove the stone and chop 200g Fresh Plums. You do want this weight to be after they have been destoned. You do not need to peel the plums.

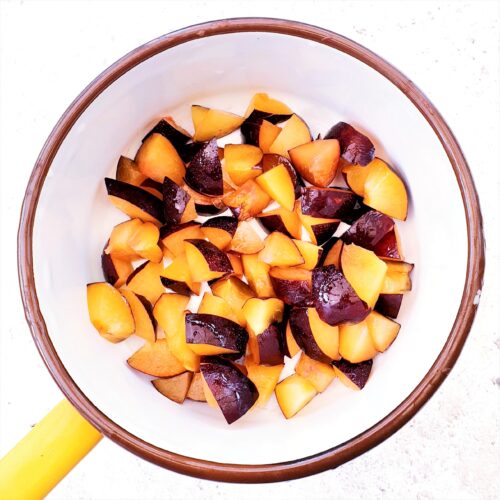
- Add the chopped plums to a medium saucepan along with 2 tbsp Water. Cook the plums over a medium heat until the pieces are soft enough to easily squash with a spatula – around 5 minutes.

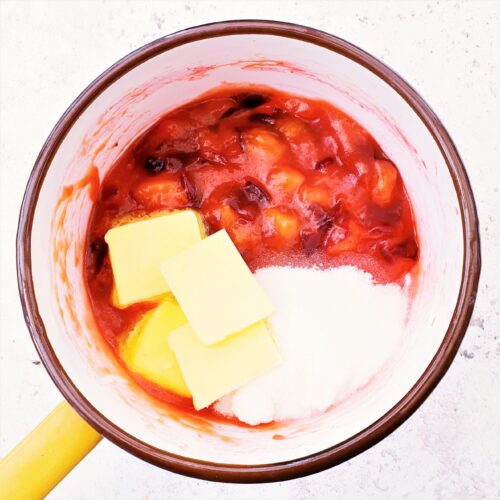
- Add 50g Salted Butter and 90g Sugar to the plums.

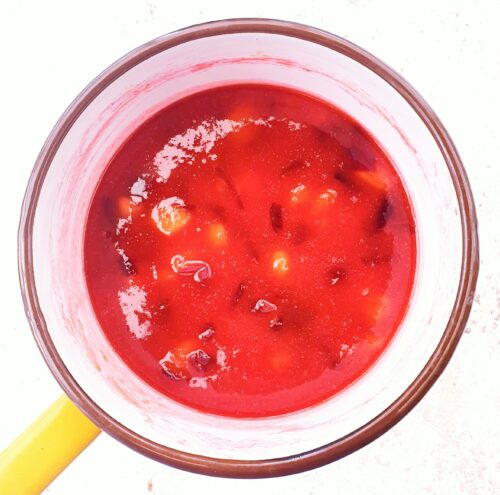
- Continue to stir over the heat until the sugar and butter have melted – around 1 to 2 minutes.

- Pour the mixture into a large jug or blender jug ready to puree.

- Use a stick blender or regular blender to puree the plum mixture until it is as smooth as possible.

- Add 2 Eggs and blend again until everything is incorporated.

- Strain the mixture back into the saucepan. This will remove the remaining pieces of plum skin.

- Stir the mix over the heat until it has thickened. You can raise the heat a little at the beginning to get the heat up. And you can continue to adjust the heat so that the mixture is no hotter than a very light simmer. If you are underconfident, keep the heat low – it will just take longer to thicken. Keep stirring and make sure to keep scraping along the bottom of the pan. Do not walk away or take your eyes of the pan.
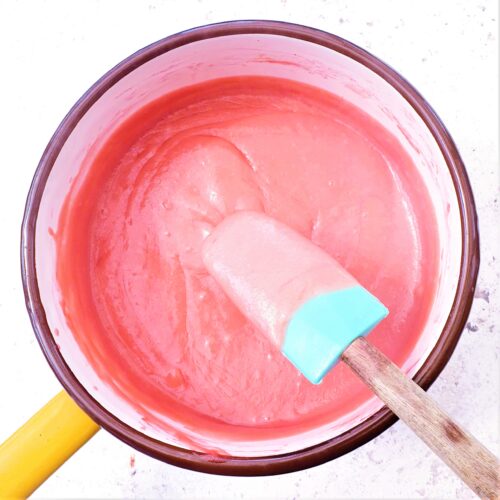
- The curd is ready once it coats the back of a spoon or spatula. This should take no more than 8 to 10 minutes. You will know it is ready when it stops getting any thicker.

- Take the curd off the heat and pour into jars or storage containers.


Jason Ruder says
I made this, doubled the recipe. It was great. I added 1.5 teaspoon of corn starch to help it thicken when I baked it into crumble bars.
I did that with the peach curd, and while delicious, it needed some corn starch to hold the top and bottom layers of the bar together. It was a bit too creamy and loose without the corn starch.
Question. Why no lemon juice? I think it would have been nice. Or maybe orange juice or lime.
Chloe says
You can add lemon juice although lemon zest might work better to not make it too watery! If you check out the “be flexible” section of my post, You’ll find I’ve made a load of suggestions of extra flavour. I do love orange with plum, that’s a good one!
Tasha says
I made this with 200g fresh cherries and 200g Mirabelles (yellow plums) that had been used to make liquor (were in vodka, vanilla and sugar for 10 months). I doubled the recipe and took away a bit of the sugar since the plums were already really sweet.
I’m not lying when I say this was one of my top 3 yummiest things I have ever made. Thank you!
Kat says
Could this be baked on top of shortbread to make bars? Would you skip the final cooking stage and pour directly onto par baked crust, then bake until set? Or would you still cook on stove first?
Chloe says
Ooh that’s an interesting question that I don’t entirely know the answer to. Lets break it down. So firstly I definitely don’t think its a good idea to pour it on before thickening – I think that you couldn’t guarantee it would get hot enough to thicken and the lack of stirring could be problematic. So then the question is could you bake the finished curd? Again I’ve not tried this so it is only conjecture. I think you could. I’ve made baked lemon curd tarts before now and they work great. But the curd is contained rather than a layer. So a part of me wonders if the curd would still be too runny. If I was going to try it, I think I’d maybe make the curd with an extra egg in the recipe. That way it should set thicker. I will reiterate that I cannot guarantee results but if I was going to try it, that’s what I’d do. Please let me know if you do try!
Hilde Felicia Hvidsten says
I had a mixed batch of plums, so while I didn’t get that color-pop the taste is amazing!
I am now going to try the peach one next week 😀
Helen says
I rarely make any curds, aside from citrus, and I usually jam my plums, time to mix it up a little,
Chloe says
You will not regret it!
Cat says
What a fantastic colour. I’d spread this on everything!
Chloe says
Everything?!
Jo says
What a lovely colour! I’d never think of making plum curd but this sounds delicious. I bet it would be great on a Victoria Sponge with cream. Yum. Thanks for sharing.
Chloe says
It would be immense on a Victoria Sponge!
Corina Blum says
It sounds delicious and is such a pretty colour too! I haven’t ever made curd but I would love to have a go and this sounds like a really easy method too.
Janice says
Such a beautiful colour and a clever easy method, awesome!
Kate - Gluten Free Alchemist says
Now that’s inspired! I love experimenting with different curd flavours, but I’ve never tried plum. What an incredible colour too xxx
Lesley says
A really simple and straight-forward recipe to follow. What a great use for plums and a beautifully coloured curd.
Choclette says
Oh yes indeed, that colour is fabulous and I can just imagine how good it tastes too. It’s exciting to find I still have so many fruit curds to try. Gorgeous.