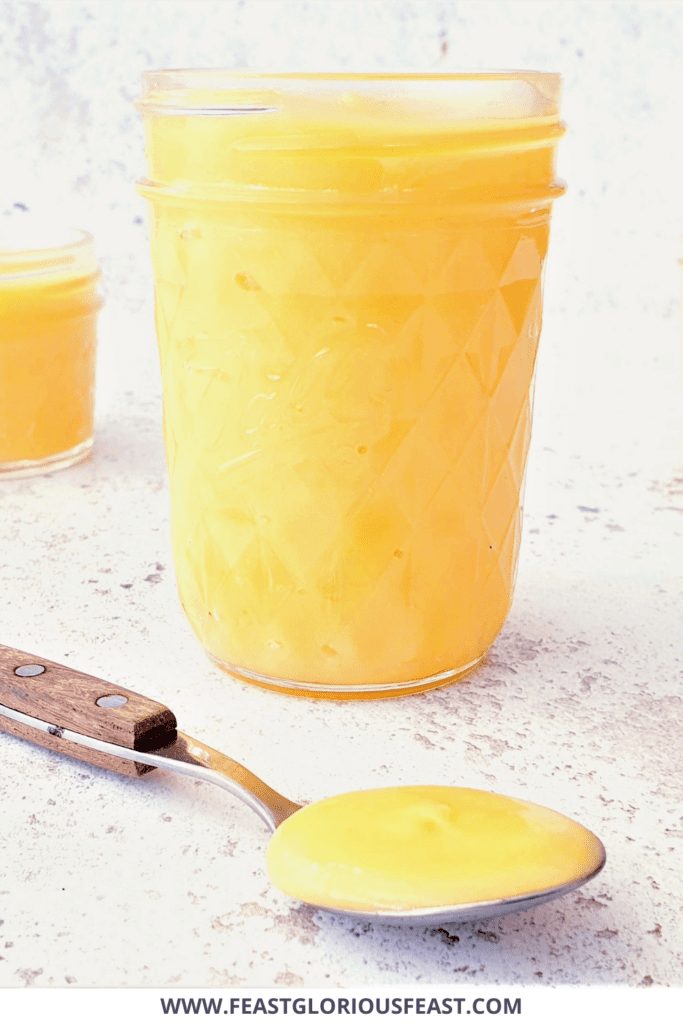


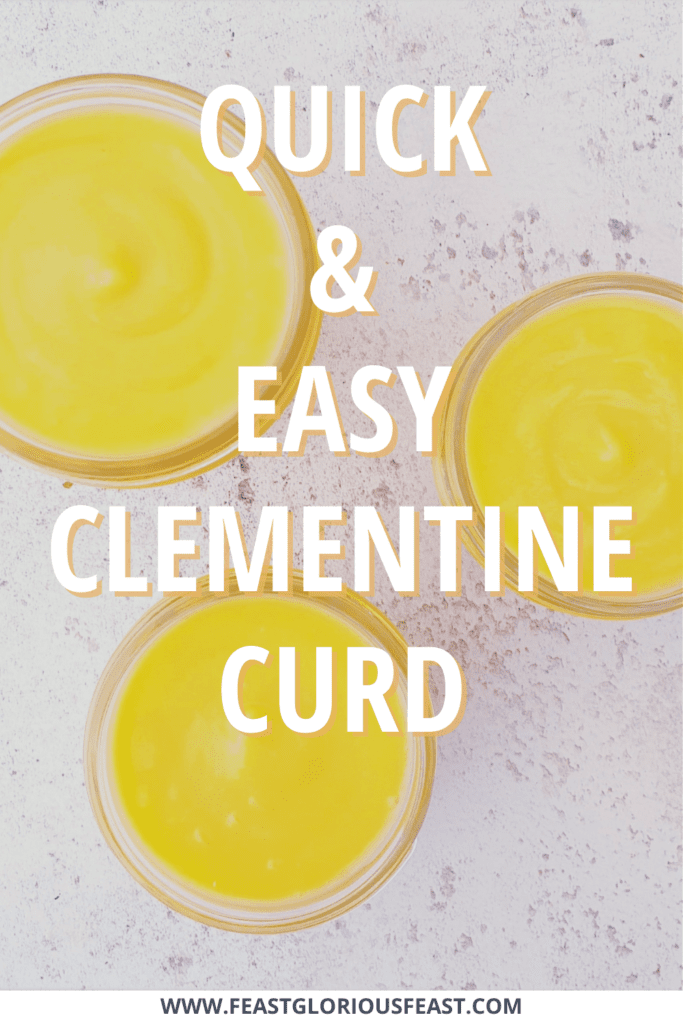

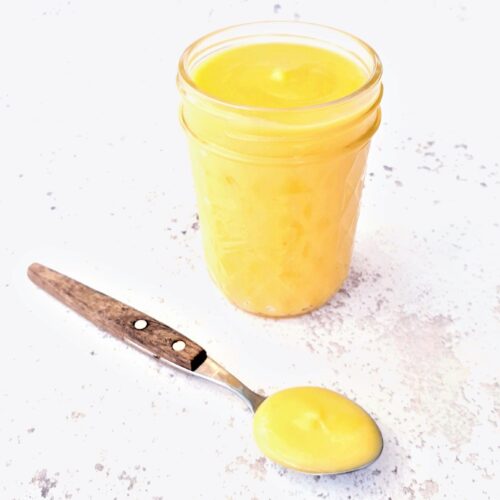
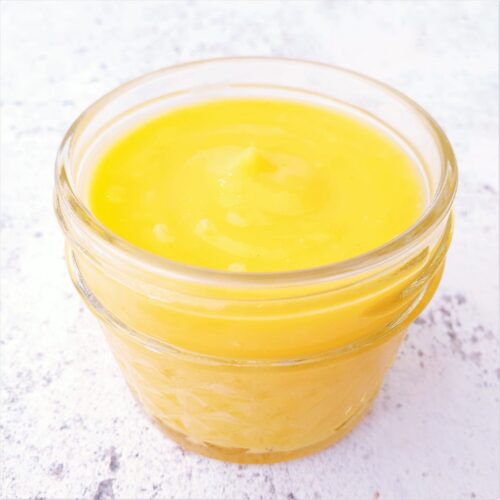
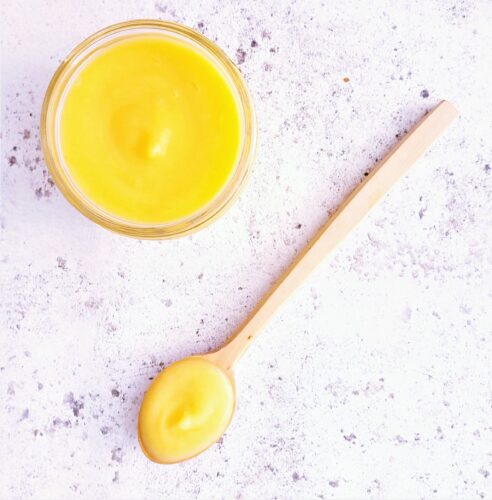
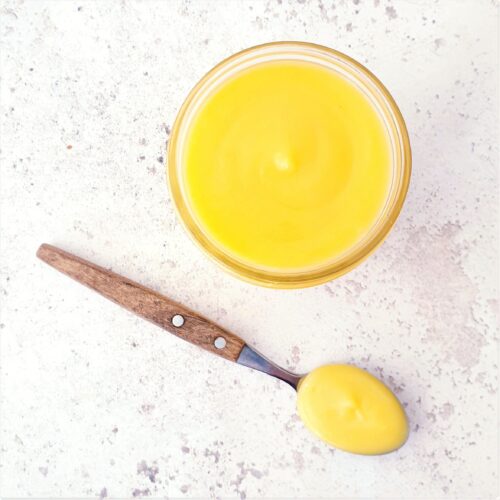
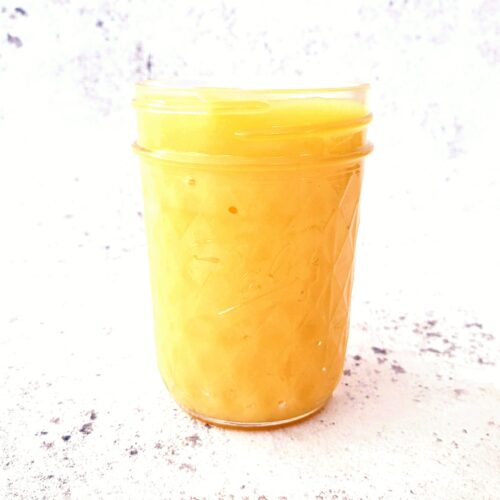
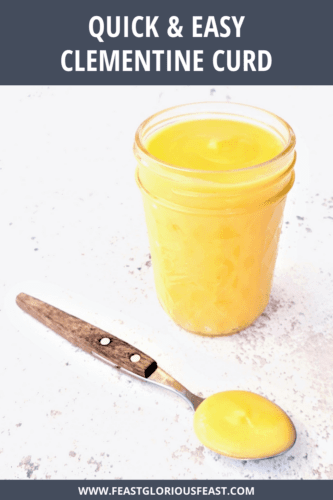
Make the most of fresh clementines with this Quick & Easy Clementine Curd. My super simple method makes curdling and splitting a thing of the past. You’ll get super smooth sweet citrus curd every time. This versatile curd is fresh and zingy and perfect for both summer baking and as a festive treat.
This post may contain affiliate links. Please refer to my Disclosures Page for more details.
Every year around Christmas I do what we all do and buy a load of clementines. And then I never really know what to do with them. I don’t actually like to eat them just as a fruit. I have issues, don’t judge me.
A few years ago, I hit on the idea of making a clementine version of lemon curd. Over the years I’ve used it as a cake filling, a layer in a trifle and more often than not, just eaten it straight from the jar.
Fruit Curds – Hints, Tips & FAQs
For more help and information about making any flavour fruit curd, head over to my fruit curds FAQs post.
FRUIT CURD RECIPES – HINTS, TIPS & FAQS
All the recipes and all the extra information you could possible need to help you make the most out of my collection of fruit curd recipes.
Are Clementines the same as Tangerines or Satsumas?
And what about mandarins? And what are “easy peelers”? Let’s break this down.
Clementines, tangerines and satsumas are all types of mandarin. Sometimes referred to as a mandarin orange. They’re all very similar and smaller than regular oranges. they tend to be a bit flatter in shape than a regular orange too.
Clementines are a seedless variety of mandarin and the smallest type. The taste is sweet and the skins are smooth. The term is often used interchangeable with other types of mandarins so it can get confusing.
Tangerines have a more tart flavour than clementines. The skins are thicker and more brightly coloured.
Satsumas are the lightest in colour and have the loosest skins. They originally come from Japan, have lots of juice and are sweet in flavour.
In theory, all mandarins are “easy peelers“. Shops here in the UK have started selling the fruits with this term. But without using any of the other variety names. Which can make it rather confusing.
It is generally safe to assume that a fruit marked as an easy peeler is in fact a clementine.
You can use any of these fruits in this curd recipe. The flavour will be subtly different, especially if you use tangerines. But totally delicious.

How to Serve Clementine Curd
It is important to try and bring curd to room temperature before eating. It does need to be stored in the fridge. But the cold really dulls the flavours. Your warm toast will also thank you for not cooling it down.
Curd doesn’t want to get too warm either. So try not to leave it out too long on a warm day or it will lose it’s consistency and melt. Some recipes calling for curd might require it to be hot or cooked and that’s fine.

Make Easy Clementine Curd into a Feast
I truly believe that you can make any dish into a proper feast! Whether thats a feast for one after work on a Tuesday, a casual feast for four on a Friday evening or a feast for 12 for a special occasion!
Scones aren’t just for summer. And a smidge of curd in place of jam is a great alternative topping. They’re really good as part of a more alternative afternoon tea or party buffet spread. Especially around the festive season.
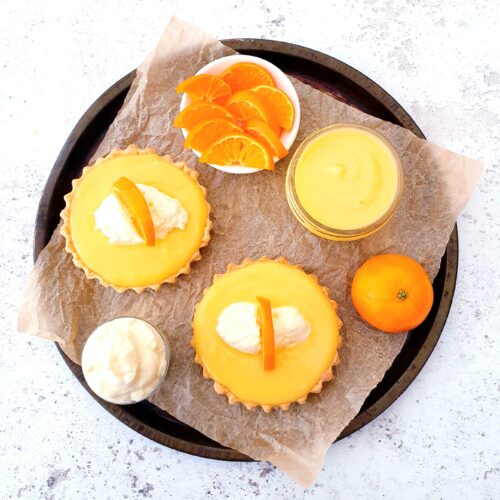
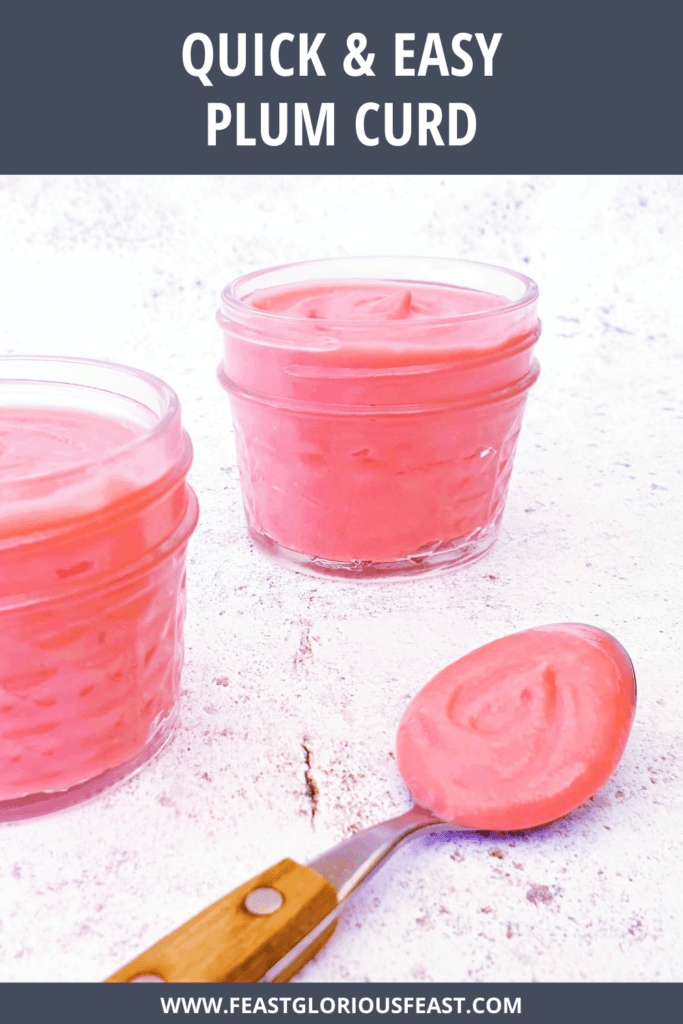
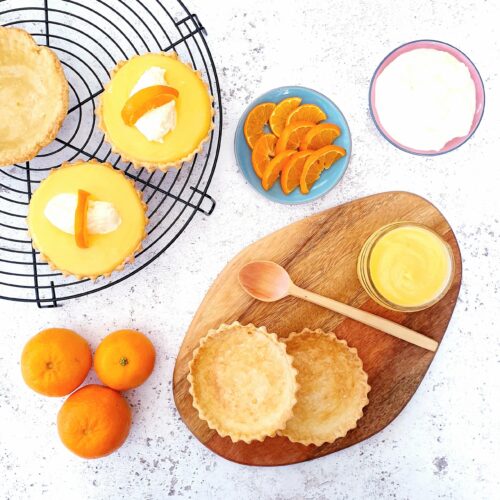
To make the curd into a feast of their own, I recommend making Clementine Curd Tarts. The principle is exactly the same as my Plum Curd Tarts and Quick & Easy Peach Curd.
They start with individual pastry cases made from American style Pie Pastry. All they need is a slice of clementine each for garnish and they’re simple and delicious.
Don’t forget to head over to my Feast Collection pages to find all of my tips and tricks to help you host a fun and stress-free feast. Plus remember to check out my recipe index to create your own awesome Feast!
Ingredients for Clementine Curd
Clementines
I’ve talked above about the differences and similarities of clementines, tangerines and satsumas. You can use any you like for this recipe. It is worth noting that tangerines will give you a slightly sharper curd.
I do generally fresh squeeze my clementines but you can buy it. Just try to make sure you are buying 100% pure juice and not something with added sugars and sweeteners. They will change the balance of the curd.
Lemon Juice
Don’t worry, this doesn’t make the curd taste just of lemon. But the sour tang of the lemon juice is needed to balance the sweeter flavour of the clementine juice.
You can use fresh or bottled juice, whichever takes your fancy.
Butter
I only use salted butter in my cooking and baking. I really like to make my own Homemade Butter but I do just buy it too! The important things are that you use proper butter and not margarine. If you use a substitute the curd might not set properly.
If you are not in the UK. please look to use a “European style” butter and not a strong flavoured cultured butter. This can really affect the overall flavour.
Equally if you have to use unsalted butter, please add in some salt along with the butter.
Sugar
White sugar is best in this recipe. Caster/superfine or granulated is great. Confectioners /icing sugar cannot be directly substituted due to the differing weights.
Brown sugar will add an overwhelming and unwelcome flavour so please avoid this too.
Eggs
I used UK large sized eggs in this recipe. This would be the preference. If you use smaller eggs, the curd will set less firm. Larger eggs may result in a firmer set. XL eggs should be avoided – you don’t want the curd to actually taste of egg.
Be Flexible
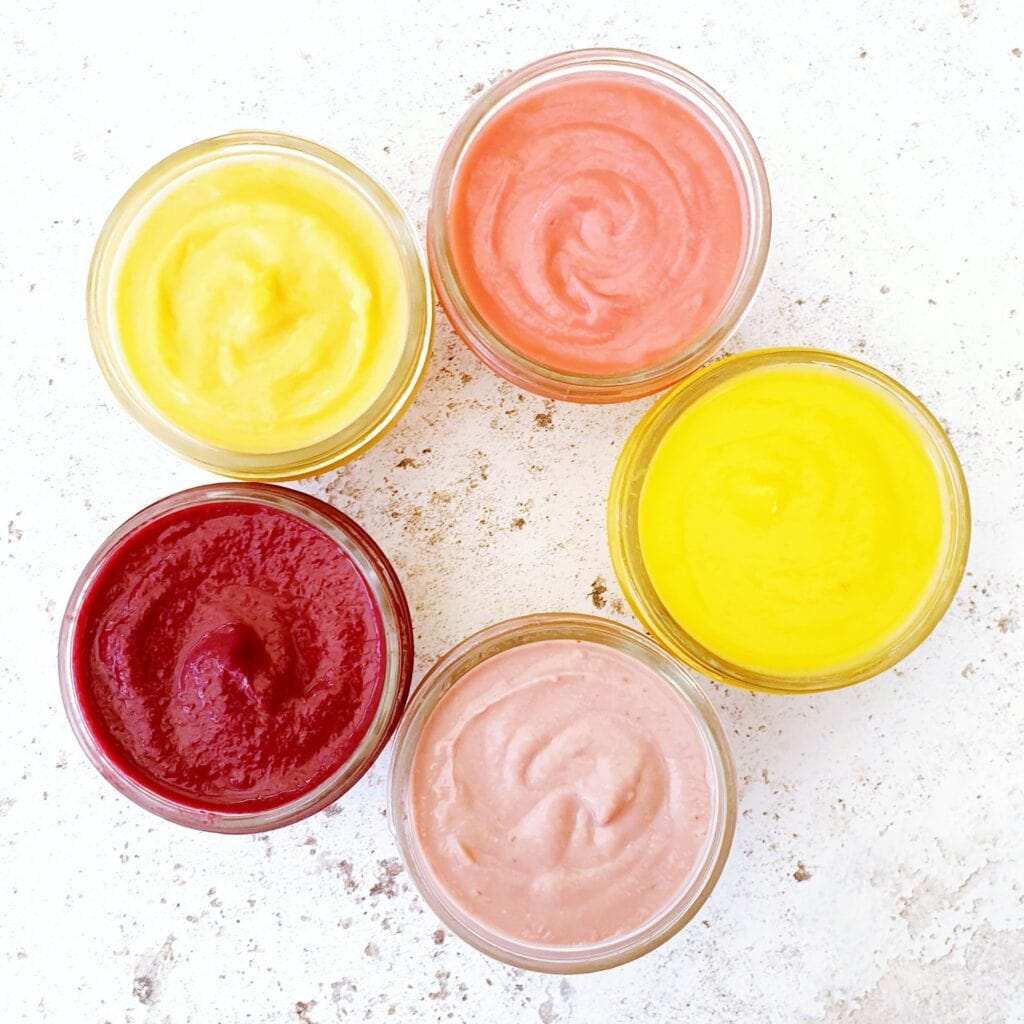
You can use this recipe to make any citrus based curd. Orange curd, blood orange curd and grapefruit curd would all be good. And of course the more traditional lemon curd and lime curd. I haven’t yet tested it but I’m thinking that mango or pomegranate juices would work well too.
I wouldn’t recommend using this recipe as a base for any fruits where you’d want to use the whole fruit. For those curds I use a puree of the fruit and the ratios of ingredients needed are quite different.
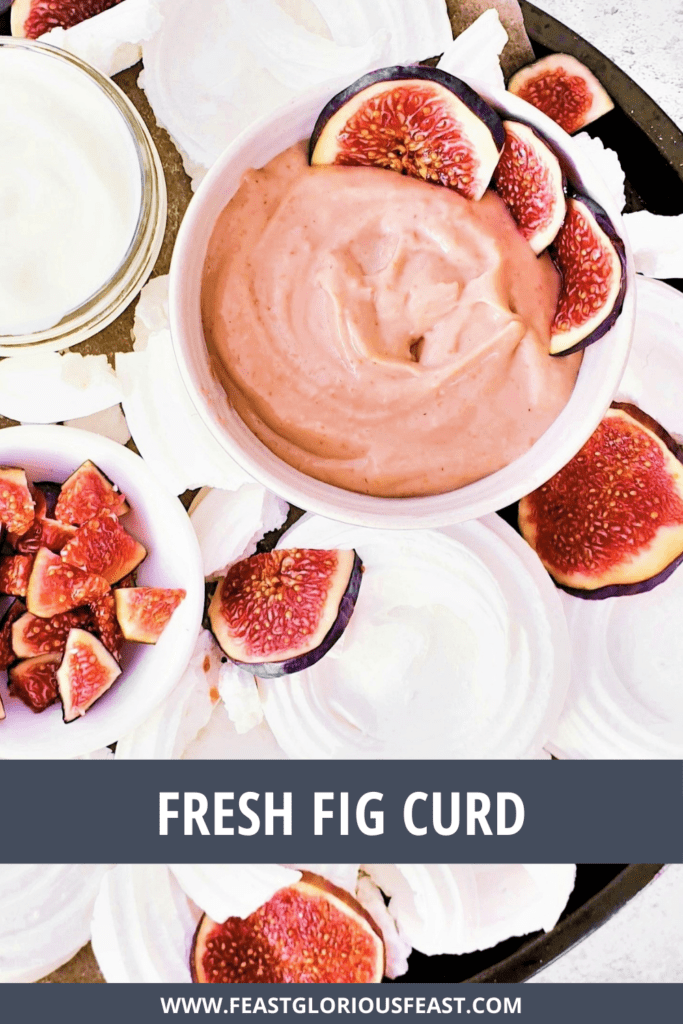
Check out my fresh fig, peach or plum curd recipe for more help in that area.
You can add other flavours to this curd – alcohol is the most obvious candidate but a little vanilla works too. To use booze, replace 1 tbsp of the clementine juice with a strong spirit. Southern Comfort, bourbon, brandy or Cointreau would be my first choices. Or something coconutty like Malibu would add a tropical twist.
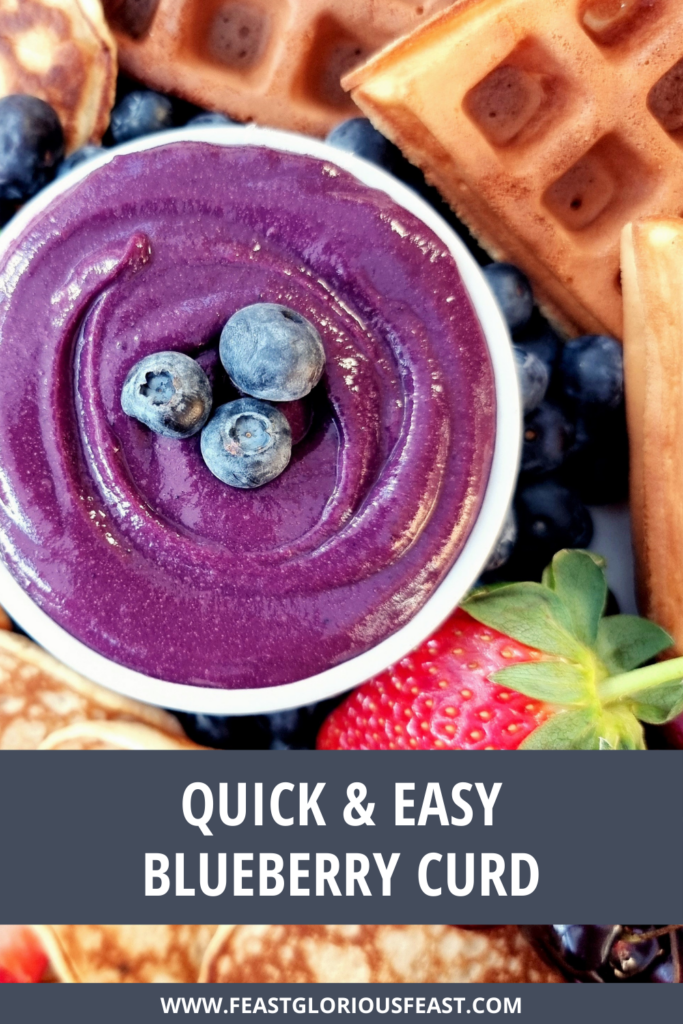
I’ve created a whole range of curd recipes with different fruits for you to try –


Make it Vegetarian or Vegan
Clementine curd is suitable for vegetarians.
But it is not a vegan curd. As eggs are a primary ingredient in the texture and setting of the curd, it is not easy to adapt. I would recommend that you look for a vegan specific recipe instead. These are usually thickened with cornflour.
Make it Allergy Friendly
This recipe is free from gluten and nuts.
Dairy Free: To make dairy-free clementine curd you will need to switch the salted butter for a dairy free substitute. You will need to use a sub which is a hard block and not a margarine or the curd may not set.
Egg Free: I’ve mentioned above that this isn’t a good recipe to veganise. And that is because the eggs are crucial to this recipe. I would also recommend seeking out a dedicated egg-free recipe if needed.
Please note that this recipe may contain other allergens not referred to above and any variations suggested have not been tested unless otherwise stated. For more information regarding any dietary information provided on this website, please refer to my Nutritional Disclaimer.
Equipment Notes for Clementine Fruit Curd
There are a few pieces of equipment that you will need to make this fruit curd.
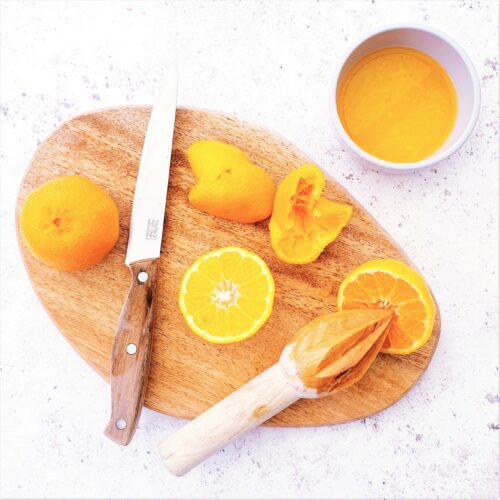
To juice my clems I use a simple Lemon Reamer. Look for one with a sharp pointy end for maximum juice. I find this much easier then faffing with anything electric for a relatively small amount of juice.
You do really need some kind of blender. My preferred type for this kind of job is a stick blender. It creates minimal waste, minimal washing up and you can really see what you are blending.
If you don’t have one, you can use any electric blender. Just make sure to use a silicone spatula to scrape it out really well.
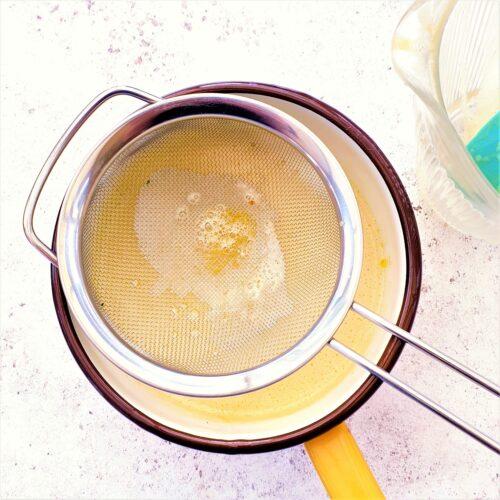
The other required piece of basic equipment is a good fine sieve. This is essential to both remove any bits of rogue pieces of clementine and gnarly bits of egg and make sure the mixture is super smooth before it is thickened.
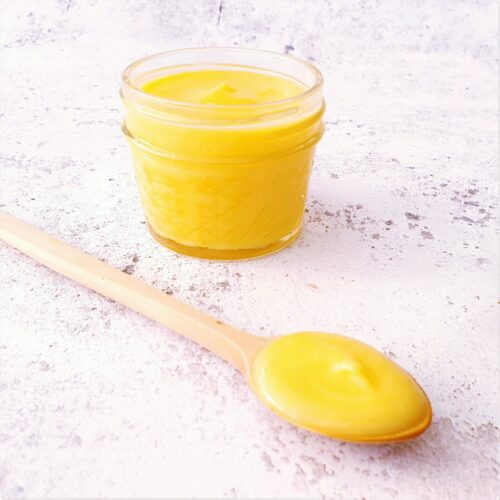
You can store the finished curd in any airtight container you like, you do not need to use jars. But if you do have jar envy, these are like the quilted jam jars I use!
A comprehensive list of the equipment used to make this recipe is included in the main recipe card below. Click on any item to see an example. There are no hard and fast rules so many items can be sensibly substituted to achieve the same results.
Get Ahead
The curd will store in an airtight container for a couple of weeks. I don’t can or preserve this curd and I wouldn’t recommend it unless you’re particularly experienced in the area. The recipe doesn’t really contain enough sugar to preserve well.
I also haven’t frozen the curd. I’m not convinced that it will hold up terribly well. Although if you really must, I suspect that a quick blitz with the blender once its defrosted would do the trick.
Clementine Curd Tips
Once you add the eggs, crack on with the blending sharpish. I’ve never found that the eggs are terribly stressed about going into the hot liquid. But I wouldn’t chance it for too long.
If the mixture does split as it is thickening, a quick spell back in the blender will sort out any problem. This is fairly unlikely to happen unless you really turn the heat up very high.
Don’t forget to let me know in the comments if you try making this recipe – I want to know what you think and if you made any substitutions, how did it turn out?
Still Have Questions?
Simple! Just contact me and I will do my best to help as quickly as I am able. Head over to my Contact Me page, any of my social media channels or post a comment at the bottom of this page and I’ll see what I can do.
Pin Quick & Easy Clementine Curd For Later
Hit one of the share buttons to save this page to your Pinterest boards so you can come back and find it at anytime!
Keep Up to Date
Make sure you SUBSCRIBE to my newsletter and avoid missing out on any of my newest and bonus content. Don’t worry, I promise not to spam you or bombard you too often. Plus you’ll receive a copy of my FREE 7 Day International Meal Plan!
Also please don’t forget to follow me over on my social media channels over at Facebook, Instagram and Pinterest. I love to interact with my followers and I’d love you to share my content with your friends too.
The Recipe
Quick & Easy Clementine Curd Recipe
Equipment
Ingredients
- 100 ml Clementine Juice - 100ml = roughly 230g/½lb whole clementine
- 120 g Sugar
- 80 g Salted Butter
- 1 tsp Lemon Juice
- 2 Eggs - large
Instructions
- If using whole clementines, slice each in half and juice until you have 100ml Clementine Juice. Or measure out pre squeezed juice.

- Add the juice to a saucepan along with 120g Sugar. Cook over a medium heat whilst stirring until the sugar is all dissolved.
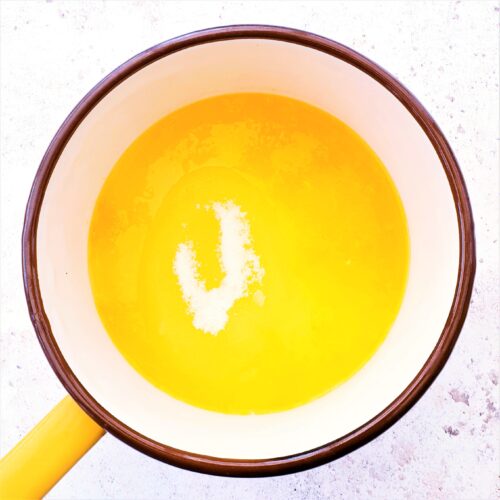
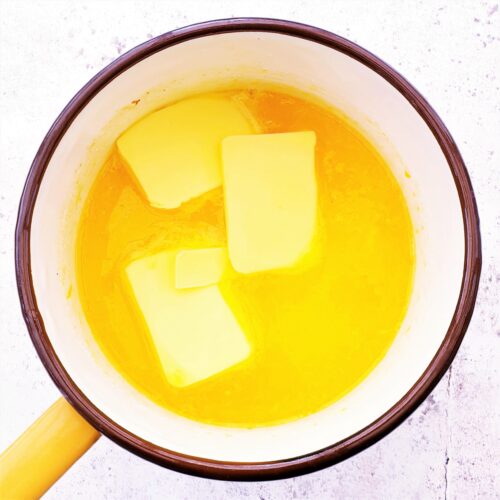
- Add 80g Salted Butter and 1 tsp Lemon Juice and continue to heat until the butter has fully melted.
- Pour the mixture into a large jug or blender jug. Add 2 Eggs.
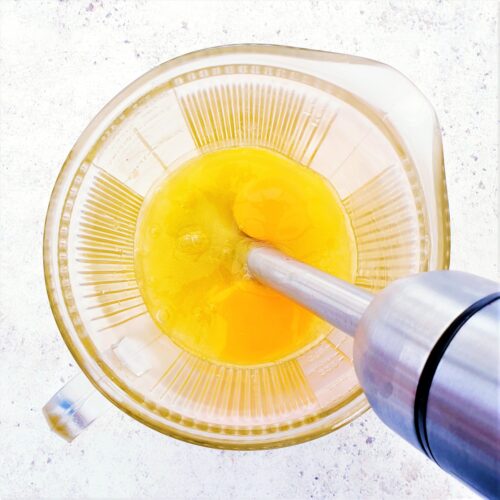
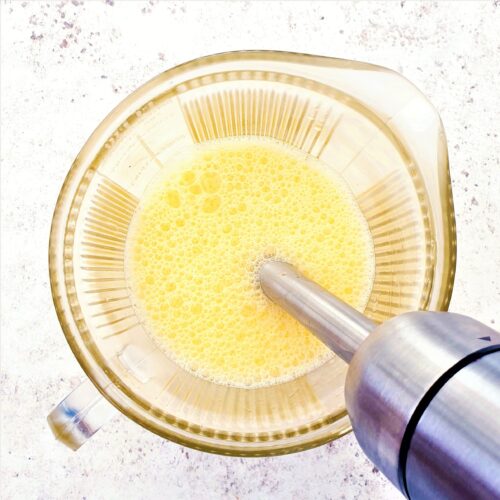
- Blend until everything is incorporated and the mixture is smooth. It will look a little frothy.
- Strain the mixture back into the saucepan. This will remove any stray pieces of clementine pulp or egg.
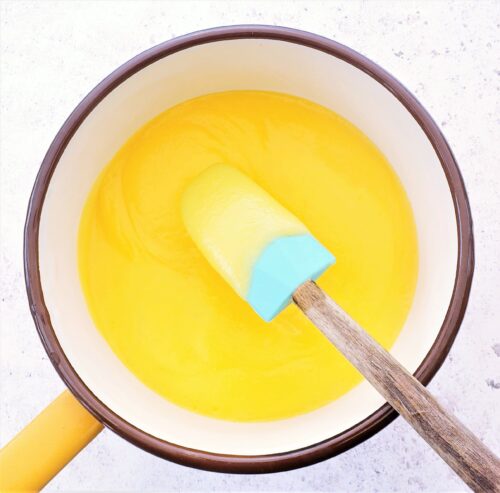
- Stir the mix over the heat until it has thickened. You can raise the heat a little at the beginning to get the heat up. And you can continue to adjust the heat so that the mixture is no hotter than a very light simmer. If you are underconfident, keep the heat low – it will just take longer to thicken. Keep stirring and make sure to keep scraping along the bottom of the pan. Do not walk away or take your eyes of the pan.
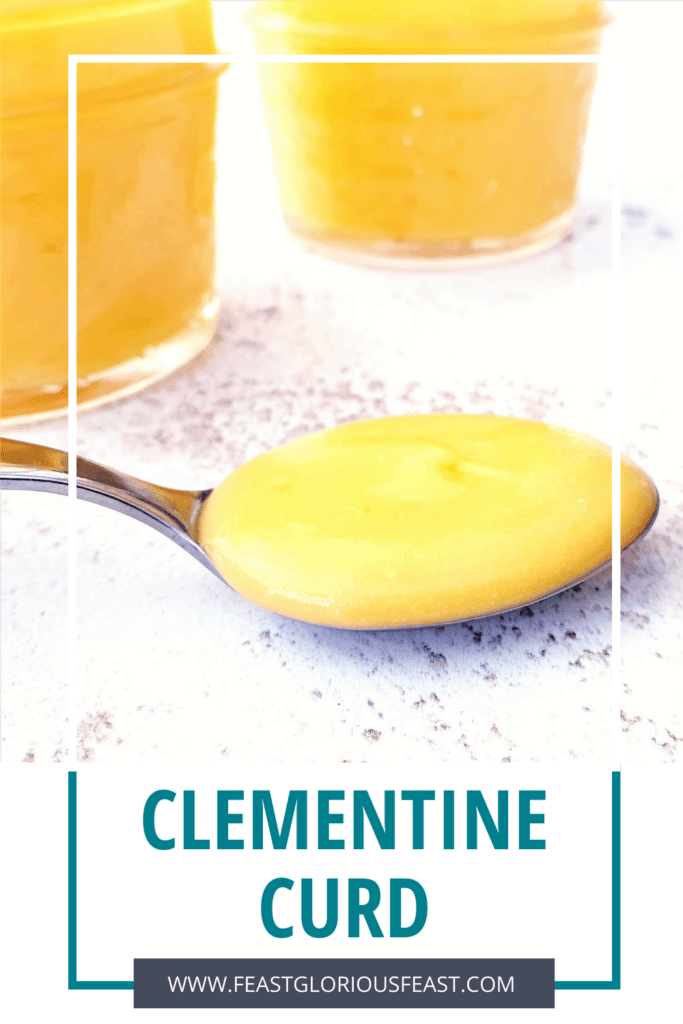
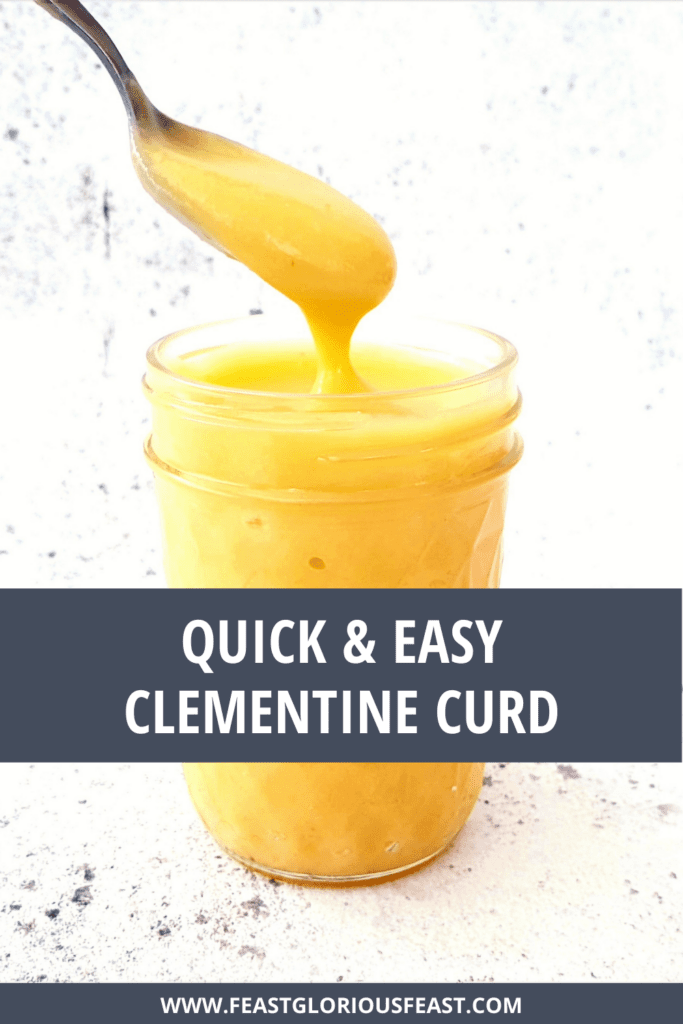
- The curd is ready once it coats the back of a spoon or spatula. This should take no more than 8 to 10 minutes. You will know it is ready when it stops getting any thicker.

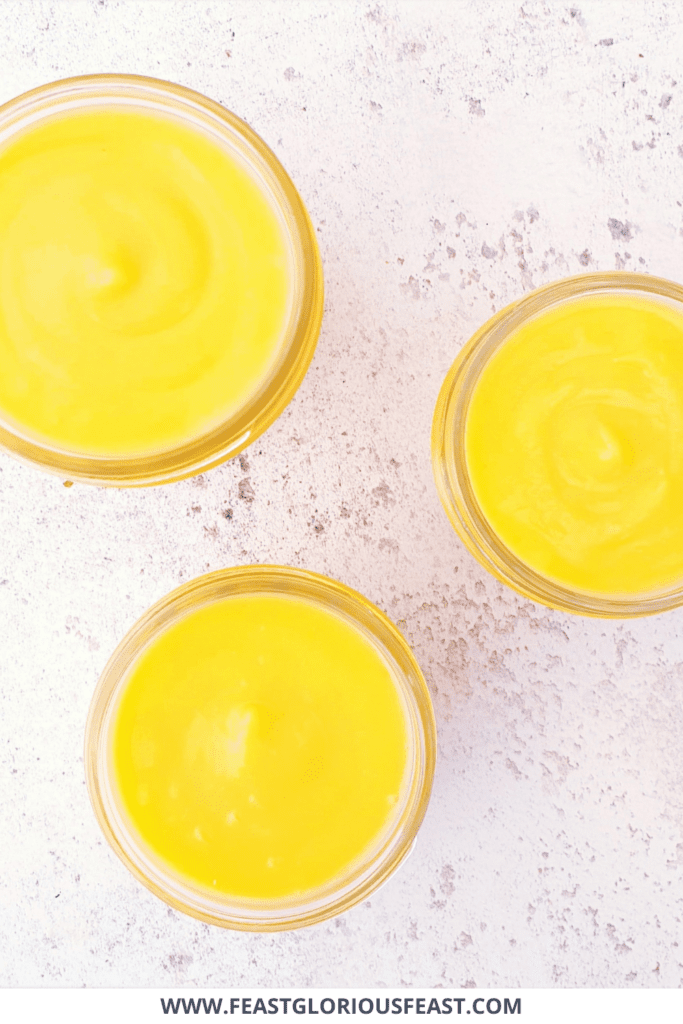
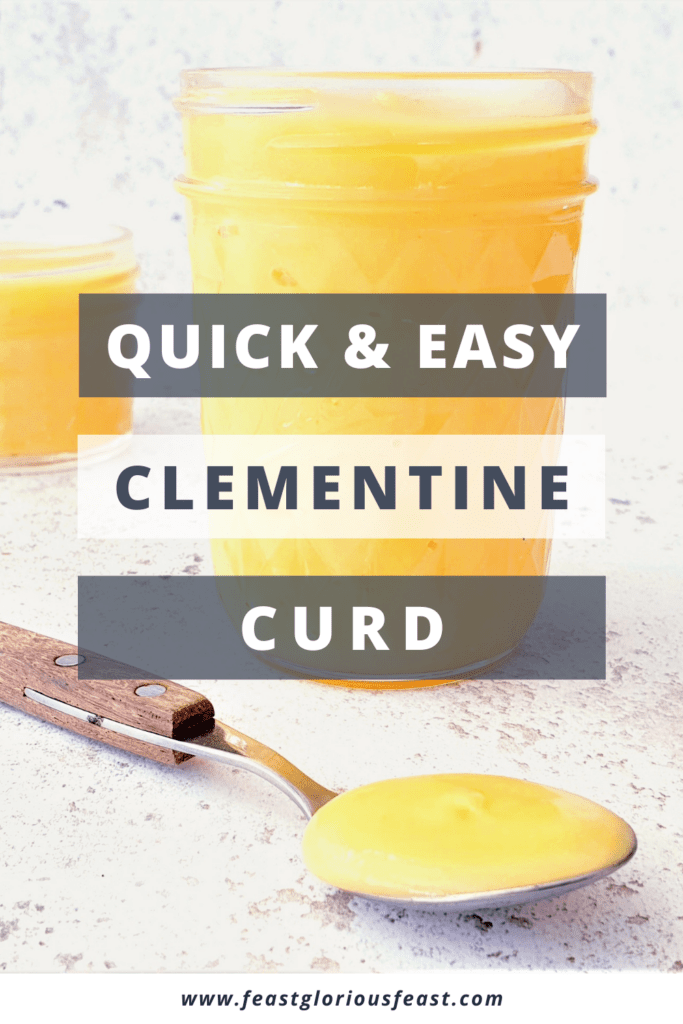
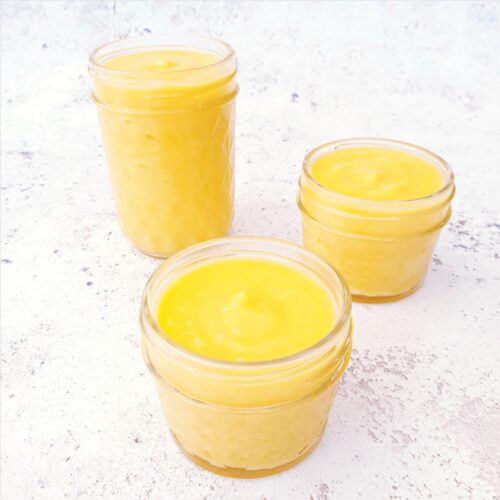
- Take the curd off the heat and pour into jars or storage containers.
Cat says
What a wonderful fresh and festive recipe. Such a great colour too.
Janice Pattie says
Such a lovely festive curd recipe, it’s delicious!