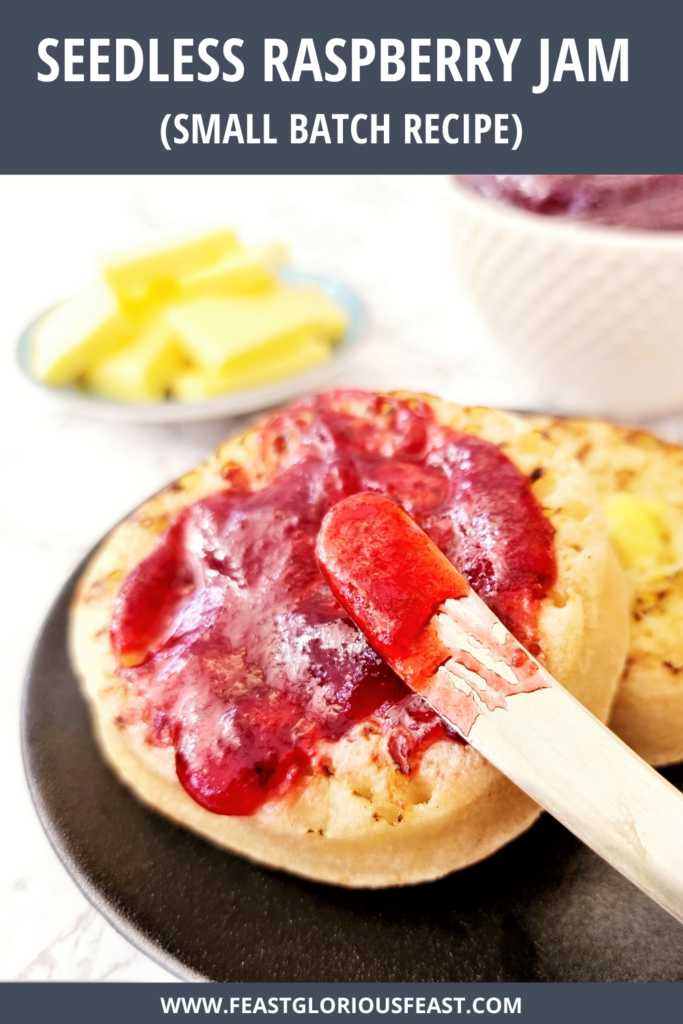
This simple step-by-step recipe for Seedless Raspberry Jam is both delicious and deliciously easy to make. With just 3 ingredients and no specialist sugar or pectin required, this is a great way to use fresh or frozen raspberries to make a lovely smooth jam with no bits.
This post may contain affiliate links. Please refer to my Disclosures Page for more details.
I’ve mentioned before in my recipes for Strawberry Jam and Blueberry Jam that I am adverse to bitty jam. I much prefer a smooth jam with no seeds in it. And raspberry is no different. So when I came into a bounty of cheap raspberries, I knew what I needed to do. And so this seedless raspberry jam recipe was born.
Seedless or smooth jam shouldn’t be confused with a jelly. Jellies are made in a similar way to jam but just use the juice of the fruit. My smooth jam recipes use the pureed whole fruit with just the pips sieved out. This gives a fuller texture and I think it retains more flavour.
How to Serve Smooth Raspberry Jam
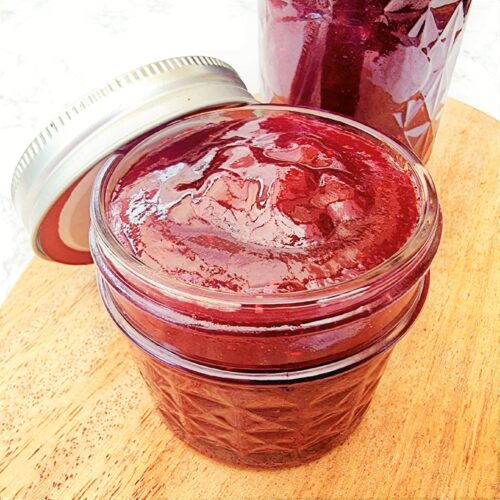
I will always be a promoter of eating jams and fruit curds etc at room temperature. I keep open jars in the fridge but take them out a little before using/eating.
This makes sure that the jam is nice and easy to spread. But also ensures that the full flavour of the jam is able to shine. Cold temperatures dull flavour and I’m just not into dull flavours!
As for what to serve jam with, the options are endless. Start the day using it as a breakfast spread on everything from Scotch Pancakes and croissants to toasted sourdough or Sesame Bagels.
Move on to elevenses or afternoon tea and jam is idea to add to Vanilla Fairy Cakes or slather in the middle of a Victoria Sandwich Cake. Add some clotted cream and you’ll have the best filled Scones of your life.
Pile jam into part baked Small Pastry Cases and finish off in the oven. Or make a quick microwave jam sponge pudding or traditional jam roly poly. Use in my Sweet Pizza Pockets as an alternative to strawberry jam. Just add custard to make delicious rounded desserts.
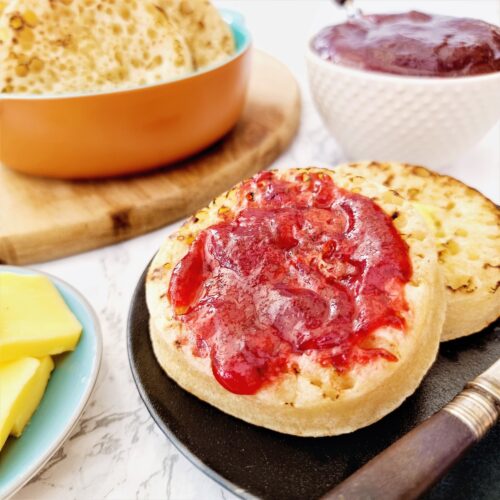
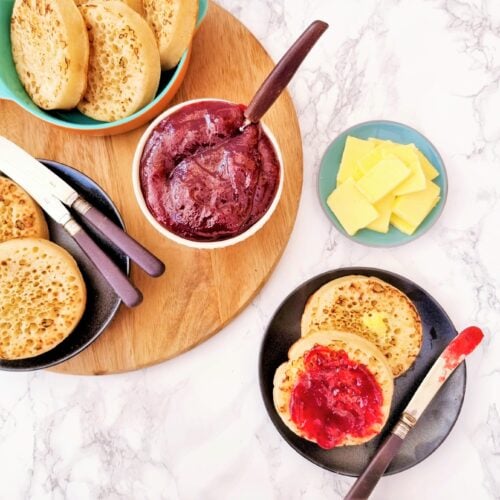
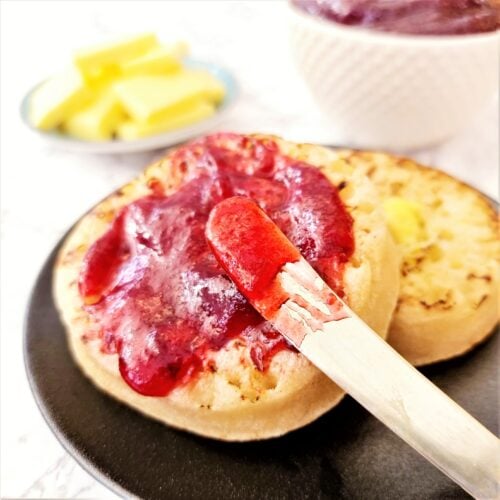
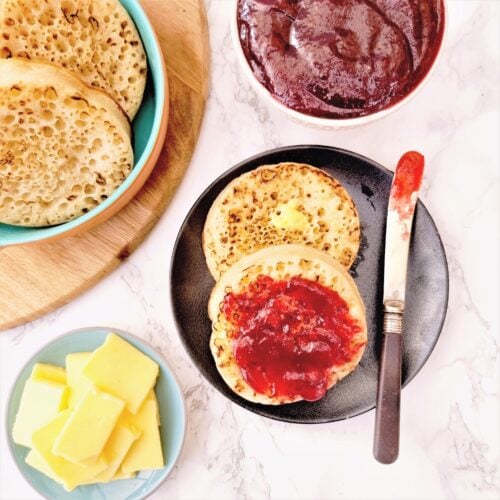
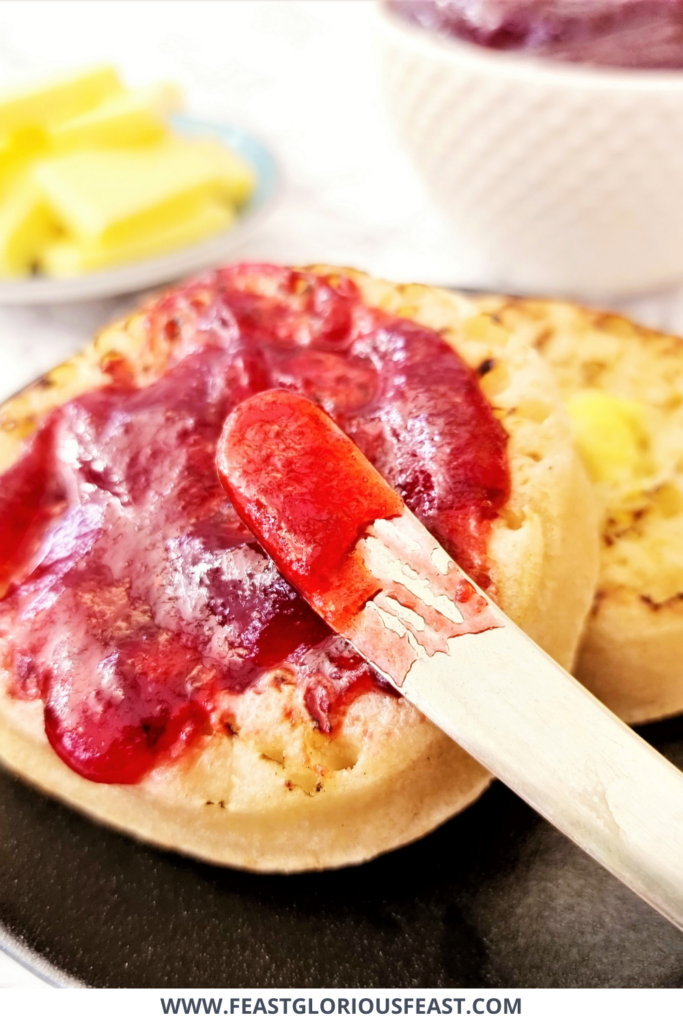
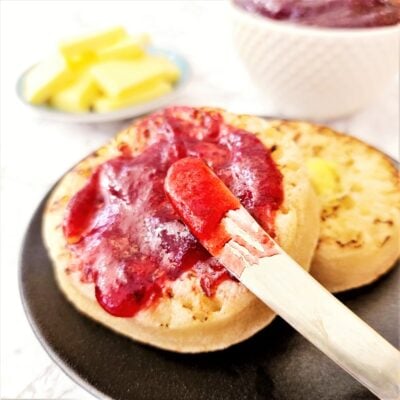
Follow lashings of butter and pile jam onto crumpets for the ultimate tasty supper or snack at any time of day.
Ingredients for Seedless Raspberry Jam
Raspberries
It doesn’t matter if you are using fresh, frozen, home-grown or store-bought raspberries, this recipe will work out great.
You will need to make sure frozen fruits are thawed before blitzing or you will struggle. Leave them spread in one layer on a tray or dish on the counter and they will thaw in no time.
You can also substitute or in mix raspberry adjacent fruits like cloudberries, loganberries, or tayberries. You can also use blackberries (brambles) to make a seedless blackberry jam using exactly the same recipe. If you get black raspberries in your area, they will work too.
Sugar
Regular white sugar is all you need to make jam. You do not need to use specialist (and expensive) jam sugar. Jam sugar contains added pectin which is not required in this recipe.
It also doesn’t matter if you use regular or caster/superfine sugar as it will be melting in the pan. I do tend to just use regular granulated sugar as it is the cheaper option and I save caster sugar for when it is really needed.
As with all my seedless jams, please don’t be tempted to use a brown sugar or sugar alternative as the jam will either have an odd flavour or texture respectively.
Lemon Juice
Lemon juice does two things in a jam recipe. Firstly it adds a little bit of a sharp counterbalance to the sweetness. Secondly, and most importantly, it adds the extra pectin that rasberries don’t contain themselves.
Pectin is what allows the jam to set. Most fruits contain some natural pectin. Some contain enough that they don’t need any help during the jam making process. But most need a little helping hand.
Using lemon juice rather than powdered pectin or jam sugar is both the tastiest and best value way of doing this.
Using too much lemon juice can therefore results in jam becoming overset. For this reason it is important to measure the juice you’re using and try to be fairly accurate about it. If you want to add more actual lemon flavour, you can add some fresh and very finely grated lemon zest instead.
Fresh, frozen or bottled lemon juice are all perfectly fine to use.
Be Flexible
I’ve already mentioned subbing in another raspberry type fruit or mixing these with the raspberries. And I’ve talked about adding more lemon flavour by adding lemon zest.
You can add other flavour like vanilla or even almond by using a good quality extract. Orange extract could also be added or you could add orange zest.
Don’t be tempted to replace the lemon juice with orange juice or any of the other flavour. The recipe as written can take up to 1 tbsp of added liquids but no more.
To this end, adding booze is a fun option. I especially like to add an orange liqueur like Cointreau, Cassis for a dark fruit backnote, or Amaretto if you are into almond type flavours.
Vegetarian or Vegan Jam
This seedless raspberry jam recipe is suitable for both vegetarian and vegan diets.
Is Raspberry Jam Allergy Friendly?
This recipe is free from egg, dairy, gluten and nuts.
Please note that this recipe may contain other allergens not referred to above and any variations suggested have not been tested unless otherwise stated. For more information regarding any dietary information provided on this website, please refer to my Nutritional Disclaimer.
Discover More Homemade Jam Recipes
Smooth & Seedless Jam Recipes
Here you’ll find all of my fabulous jam recipes in one easy place. With no pesky pips, my recipes are all written to make small batches but can easily be scaled up to make larger quantities.
Featuring mixed berry, plum, blueberry, blackberry, strawberry, and raspberry, fig and dark cherry jams plus some ideas how to use it.
Equipment Notes for Smooth Raspberry Jam
You don’t really need any great specialist equipment to make jam. The most important thing is to have a good sized pan. This recipe using just one pound of fruit makes a fairly small amount of the finished product but you still need to use a good large saucepan.
You might think that I’m being excessive when you first see the amount of fruit in the pan but it bubbles up so much when boiling, you’ll soon understand why.
There are a few things that will help make your jam making easier although they’re not essential. A thermometer is one of them. It turns out that I own quite a selection and they are all suitable. My laser thermometer (centre) is mess free and fun to use.
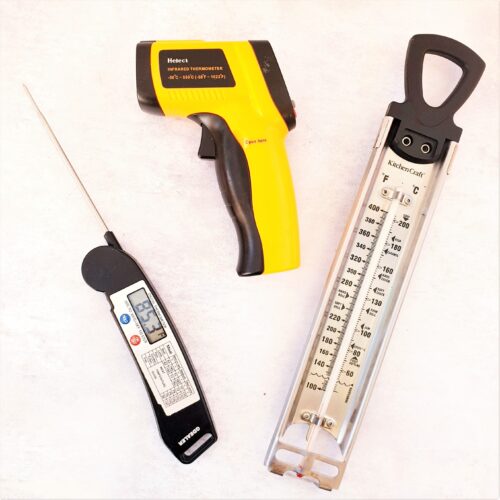
My meat thermometer (left) posed a little more peril as I needed to hold it in the jam until it registered the temperature. And my old fashioned sugar thermometer (right) just happily sat in the pan the whole time. But it was harder to wash up!
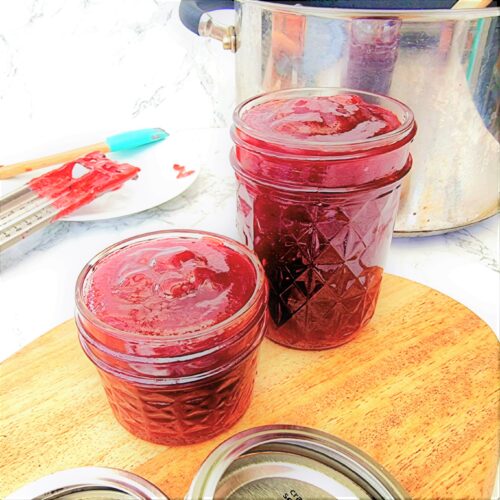
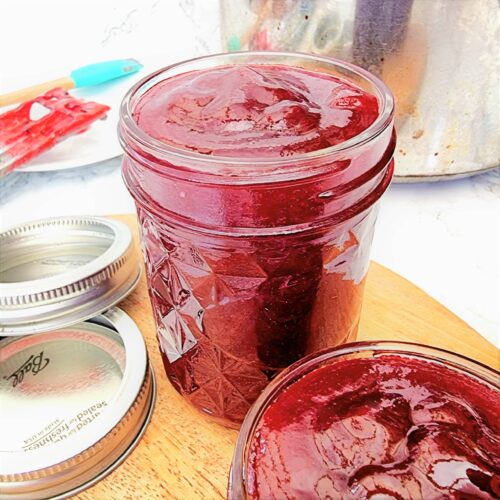
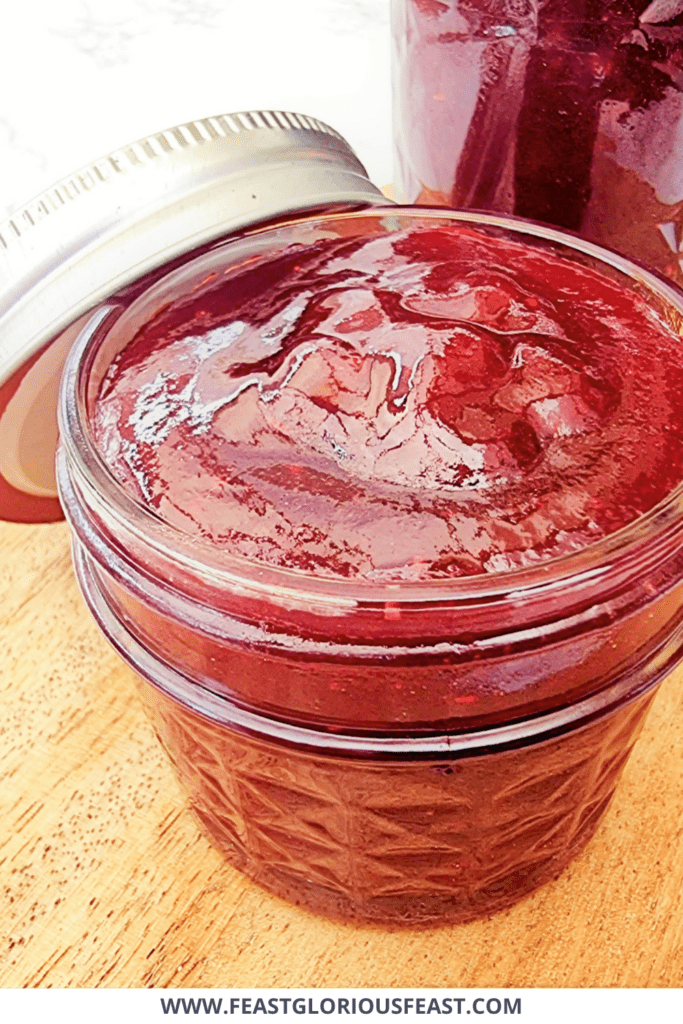
And don’t forget something the store the jam in. I love my super cute quilted jam jar set. But you can simply use old jam jars that you’ve thoroughly cleaned.
A comprehensive list of the equipment used to make this recipe is included in the main recipe card below. Click on any item to see an example. There are no hard and fast rules so many items can be sensibly substituted to achieve the same results.

How to Sterilise Jars and Preserve/Can Jam
There is a whole world of variations and advice for how you should prepare your jars and deal with the jars once they’re sealed. They vary from person to person and country to country.
Here in the UK we largely make sure that the jars are properly sterilised, fill the jars with the hot jam, seal them and that’s that. In the US it is almost a given that the jars will then be “processed” to complete the “canning” process. I have purposely provided no links here – if you’d like to learn more about canning, Google is your friend.
There are a lot of strong feelings about this in the “jam community” (yes there is one) which I have no interest in being drawn into. All I know is that UK cooks have been making jam for a very long time without any issues. Therefore I am more than happy to follow the UK process for my jams.
Jar Sterilisation Options
There are several ways that you can sterilise your jam jars.
- Run the jars and lids through a hot wash in the dishwasher.
- Bake the jars and lids in the oven on a baking tray.
- Microwave the jars and boil the lids in water.
- Boil the jars and lids in water.
Whichever method you choose the only important thing is to make sure that the jars and lids are left to dry without being touched. And that you do not under any circumstances touch the inside of the jars or lids as this can contaminate them and undo your sterilisation. Tongs are your friend.
For the record, I usually use the dishwasher method.
How to Tell if the Jar is Sealed
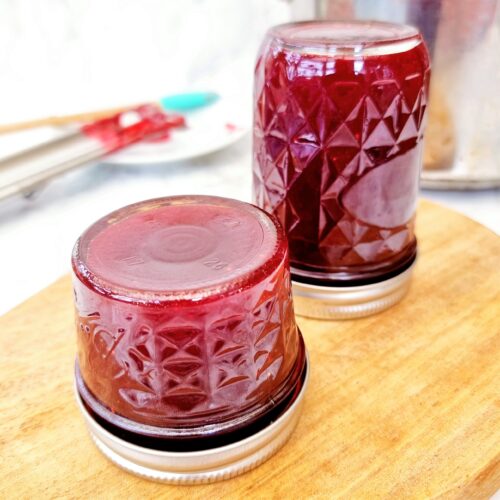
It is essential to add the lid to the hot jars filled with the hot jam straight away. As the jam and jar cool, a vacuum is created in the jar and the lid will be pulled downwards. To help this, I often turn my jars upside down to cool.
This means that when you press the lid, it doesn’t move or pop. When you open a jar of properly sealed jam the lid will then pop. And an opened or not properly sealed jar will pop when you press it.
If your jars don’t seal properly, you can either keep the jar in the fridge and eat it relatively quickly or go though a canning process to seal them. The choice is yours.

Get Ahead
You can make jam up to a year in advance. Whether you consider that getting ahead or not I don’t know!
The important thing to note is that you want to be making it at least 24 hours in advance of needed it so that it has time to properly set. You can probably get away with 12 to 16 hours in the fridge if you are in a real hurry.
Smooth Raspberry Jam Tips
Do not touch the hot jam. I cannot stress this enough. I don’t care how tempting it looks. Or if that little bit on the side looks a bit cooler. Do. Not. Touch. It. You will regret it.
If you are using a thermometer, you can simply rely on the jam hitting temperature and not worry about doing the wrinkle test on a cold plate. I like to take a belt and braces approach so I use both testing methods. But you can just use one or the other.
I mentioned before to use a good big saucepan. This is worth repeating here!
If you don’t need to keep your jam for any length of time, you can skip the jar stage and use any old container and keep your jam in the fridge.
Don’t forget to let me know in the comments if you try making this recipe – I want to know what you think and if you made any substitutions, how did it turn out?
Still Have Questions?
Simple! Just contact me and I will do my best to help as quickly as I am able. Head over to my Contact Me page, any of my social media channels or post a comment at the bottom of this page and I’ll see what I can do.
Pin Seedless Raspberry Jam (Small Batch Recipe) For Later
Hit one of the share buttons to save this page to your Pinterest boards so you can come back and find it at anytime!
Keep Up to Date
Make sure you SUBSCRIBE to my newsletter and avoid missing out on any of my newest and bonus content. Don’t worry, I promise not to spam you or bombard you too often. Plus you’ll receive a copy of my FREE 7 Day International Meal Plan!
Also please don’t forget to follow me over on my social media channels over at Facebook, Twitter, Instagram and Pinterest. I love to interact with my followers and I’d love you to share my content with your friends too.
The Recipe
Seedless Raspberry Jam (Small Batch Recipe)
Equipment
Ingredients
- 500 g Raspberries
- 400 g Sugar
- 1 tsp Lemon Juice
Instructions
- Pop two ceramic or china plates into the freezer.
- Prepare and sterilise your jars or container for your jam. How you chose to do this is up to you. Further details are provided in this recipe post.
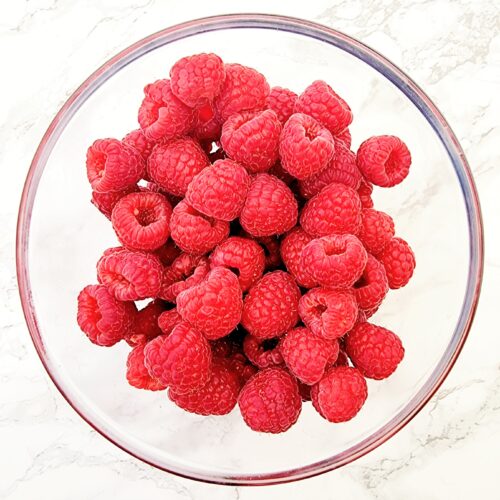
- Put 500g Raspberries into the bowl of a food processor or large bowl.

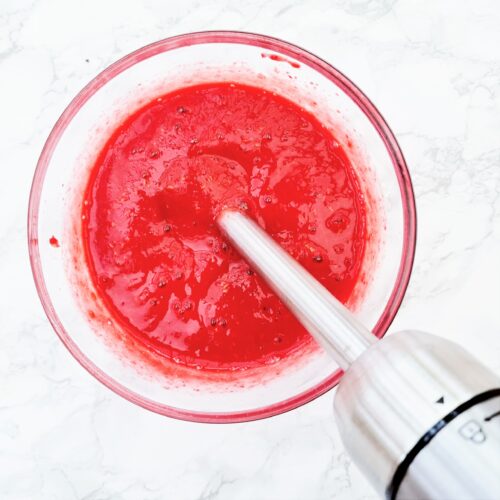
- Blitz them in the processor or with a stick blender until as smooth as possible.

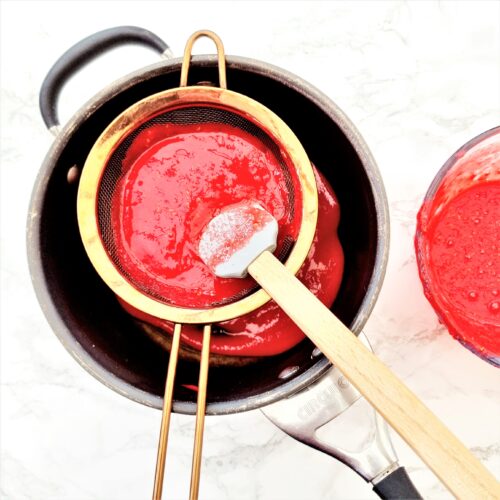
- Sieve the raspberry puree into a large saucepan. Use a spatula to push the pulp through.This will take a few minutes but have patience as this is how we get a smooth jam. You should be left with a fairly dry bit of seeds left in the sieve. Don’t forget to wipe the underside of the sieve into the pan.

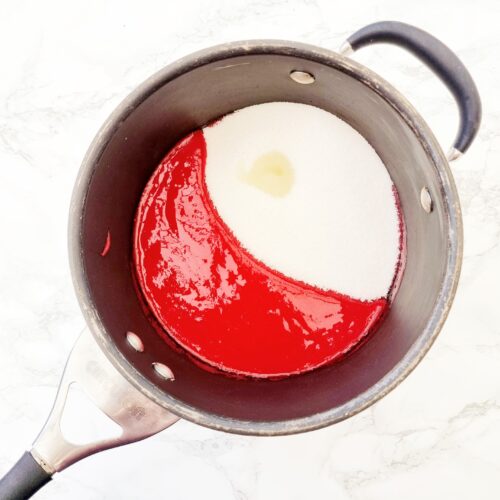
- Add 400g Sugar and 1 tsp Lemon Juice to the pan.

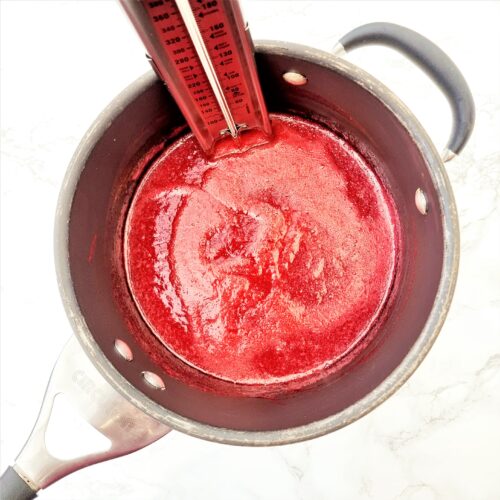
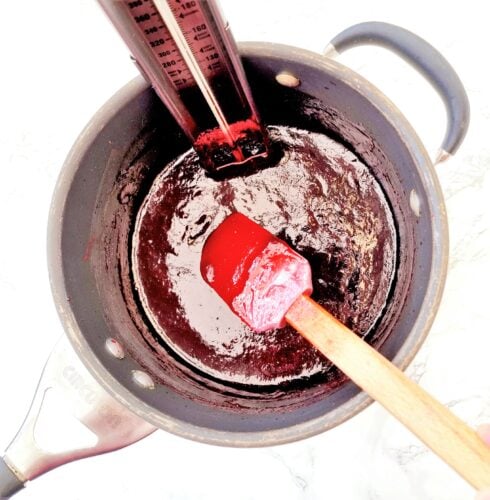
- Put the pan on a medium low heat and stir it until all the sugar has dissolved. Put your jam thermometer into the pan now if you are using one.

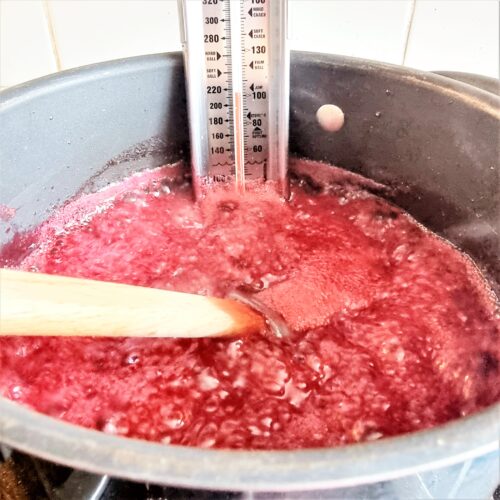
- Allow the jam to come up to a rolling boil. Allow to boil for 6-7 minutes or until the jam reaches the 105c or 225f. You can give it a gentle stir and scrape of the sides and bottom every minute or so to keep things even.

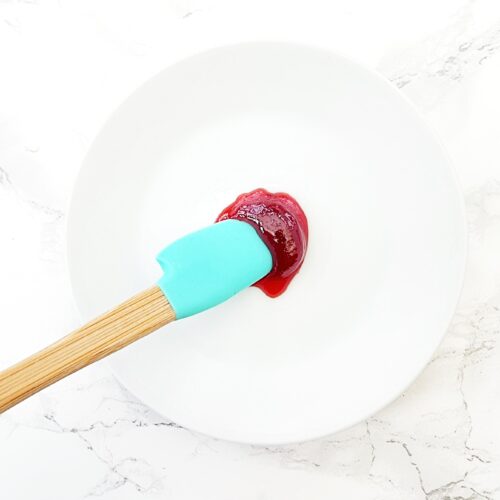
- Take the jam off the heat and take one of your very cold plates out of the freezer. Use a small spoon to dollop a small amount of jam onto the plate. Leave it for 1 minute and then push the jam towards the centre of the dollop. If you get wrinkles, the jam is ready. If you don’t, put the pan back on the heat for another minute.

- Repeat the cold plate test as many times as is needed. Make sure to put your first plate back in the freezer in case you need it again.

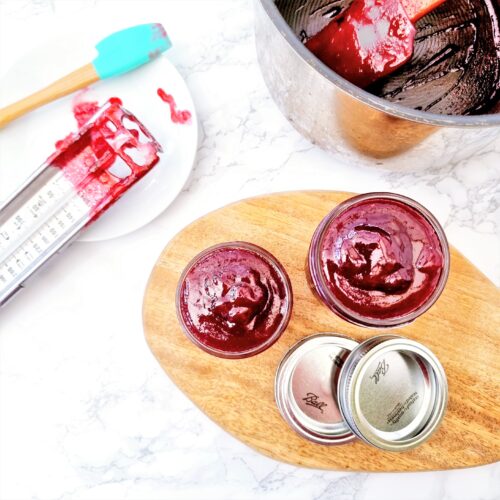
- Carefully pour the jam into your prepared jars or container.

- Seal and leave to cool or continue the canning process if you have chosen to.




Kaitlyn says
I have made this recipe twice now and it is definitely my favorite, easy jam recipe I’ve come across! Removing the seeds provides for such a good end-product and I have gotten rave reviews over cakes that have this jam as a filling. In fact, I’m whipping up a double batch today for a friend’s birthday cake! Thank you!
Elena says
Thank you for the recipe. My family says it’s the best ever. I will pass it down to my descendants.
Doreen Dassen says
Can this recipe be doubled? I had an excellent drop of black raspberries this year.
Chloe says
Yes absolutely! Just bear in mind that you will need a very decent sized pan – ideally a stockpot and each stage of the process will take slightly longer. I hope you enjoy!
Kaye Redgrave says
Your receipe states 450gr of sugar but you say pour in 400g of sugar.
Which weight is used?
I’ve made lots jam but I’m making a seedless one for my granddaughter
Thanks
Kaye
Chloe says
Good spot, sorry about that! The correct amount is 400g – I’ve updated the recipe card. I hope your granddaughter enjoys it!
Kate - Gluten Free Alchemist says
A fabulous recipe (as always) Chloe. And since raspberry seeds are not great (IMHO), then they should definitely be removed! Thanks for sharing xx
Janice says
Such a great and simple method to make a smooth jam. It looks delicious, and would be perfect in a Victoria Sandwich.
Jo Keohane says
I love raspberry jam – but the seeds to bother me lol. This recipe is definitely the solution. I will give it a go, thanks for posting.
Jenny says
You had me at no bits girl. Why do they put them in there????? Genius recipe and love your recipe format xx
Choclette says
Jam with no bits indeed! I can sort of see what you mean with raspberry jam though, the seeds can be a bit annoying. Gorgeous colour and I’d be happy to spread some on my toast any day.
Kacie Morgan says
I recently started making jam; rhubarb was my first one! I am yet to make a raspberry jam but this looks wonderful. I bet it’s deliciously smooth.