My How to Make Roast Chicken guide provides step by step instructions and photographs to help you prepare a raw chicken and cook it simply. Once you master cooking a basic roast chicken, the uses and variations are endless.

This post may contain affiliate links. Please refer to my Disclosures Page for more details.
I am a big fan of just cooking a chicken. Not necessarily for a specific meal (although I’m clearly always up for a roast) but to have in the fridge to use for the rest of the week.
A Simple Roast Chicken can be the basis for a whole world of meals. It can be added to soups, stews, casseroles, curries or pies, made the star of a salad or sandwich or indeed, form the centrepiece of a great Roast Chicken Dinner. Even if you never learn to cook anything else, try this!
My Paprika & Sage Roast Chicken takes roasting a chicken to the next level. This is just one of the ways that a simple roast chicken can be gussied up. It really is a cornerstone of any cooks repertoire.

Please don’t waste the fat and juices that have drained off. There are a myriad of uses for them; add them to that risotto, thicken with cornflour to make a gravy, soak your sandwich bread in them. But under no circumstances waste them. I’ll know and I’ll come and get you!
Once the meat is taken off the bone it can be added to boiling water along with all of the raw trimmings. Boil that up with a whole onion and some salt for an hour and you have chicken stock to boot.
How to Make Roast Chicken into a Feast
I truly believe that you can make any dish into a proper feast! Whether thats a feast for one after work on a Tuesday, a casual feast for four on a Friday evening or a feast for 12 for a special occasion!
A fully loaded chicken caesar salad is a star of my repertoire. Double the basic caesar salad recipe, add homemade dressing and torn roast Chicken then top with a runny poached egg. It is a whole feast on one plate!
It can also form the basis of a middle eastern inspired salad with Lemon & Coriander Couscous, my easy Griddled Courgettes, some Hummus and Roasted Cherry Tomatoes along with some leaves and other salad ingredients.

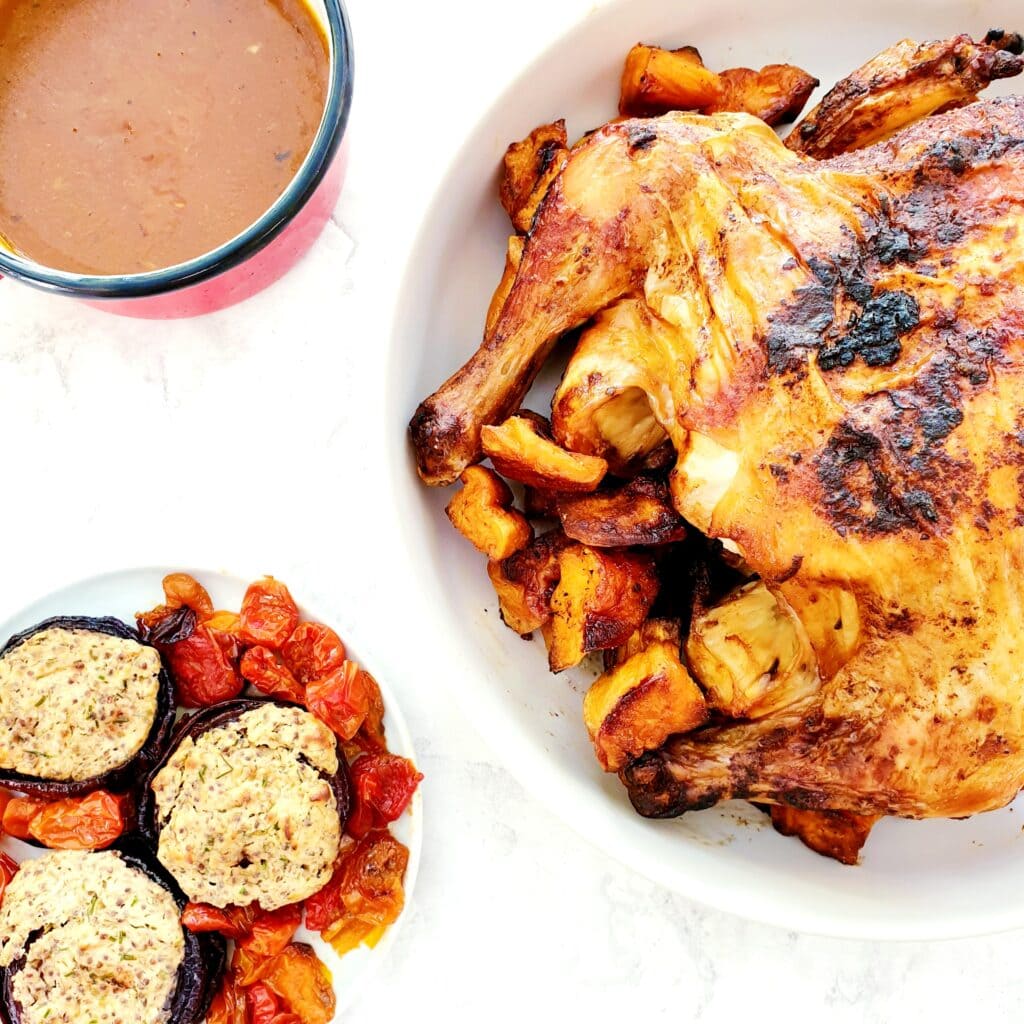
A Roast Chicken is of course classically the centre piece of a great Roast Dinner Feast. I like to mix up my roasts with my Roast Potatoes or Garlic Sweet Potatoes, Topped Red Onions and even my Green Bean Casserole.
A pile of Proper Yorkshire Puddings is a must and some Pigs in Blankets are a bonus. Plus you need a custard drenched pudding like Peach and Ginger Crumble or Fig Upside Down Cake too.
Don’t miss my Leftover Roast Dinner Pizza which is the perfect way to use up all manner of leftovers from any Sunday roast or Christmas dinner.

Ingredients for Roast Chicken
Chicken
Chickens are one of the items where spending more is truly reflected in the quality. I do use cheap supermarket chickens because I can’t always get to the butchers and sometimes I can’t justify spending more. But the difference in texture and and taste of a well reared free-range chicken makes it worth the extra pennies when you can.
The chicken used in the step-by-step guide is 1.8kg. Reduce the cooking times for a smaller bird, increase it for a larger one. Don’t panic that my given cooking time is fairly short. The oven heat is also fairly high which I think makes for a better roast and crispier skin.

Olive Oil
This isn’t a time to use a single estate artisan extra virgin olive oil. Something more robust will be just fine. Any other oil will also work such as vegetable, canola, rapeseed or sunflower oil.
Sea Salt Flakes
I use Maldon Sea Salt Flakes for everything. That’s a bit of a lie actually – I do use cheap table salt for salting pasta and boiling vegetable water. But for adding to cooking or baking – I always use sea salt flakes.
You can use fine sea salt or regular old school table salt. In this case, you will want to half the quantity as this salt is much stronger in flavour.

Make it Allergy Friendly
My Roast Chicken is free from dairy, egg, gluten and nuts.
Please note that this recipe may contain other allergens not referred to above and any variations suggested have not been tested unless otherwise stated. For more information regarding any dietary information provided on this website, please refer to my Nutritional Disclaimer.

How to Make Roast Chicken – Equipment
A good pair of heavy duty kitchen scissors will be your best friend when preparing a chicken. They are much easier and safer to wield that a sharp knife and much easier and more effective.
I generally use a roasting tin or dish only slightly larger than the chicken that I’m roasting. This is to ensure that the juices collect rather than spreading and burning onto the tray. I think that it ultimately keeps the chicken moister (sorry).
Silicone tongs make light work of lifting the chicken with one hand in order to drain the juices from the pan. Be firm otherwise the chicken will slip away from you and no one wants a part cooked chicken on the floor!
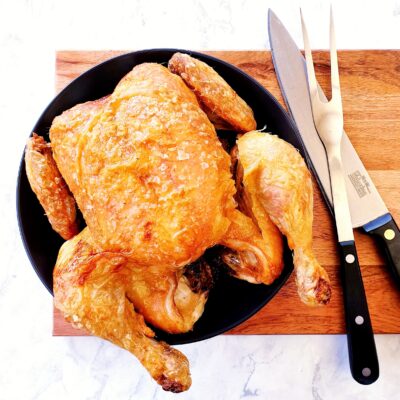
A carving fork is not an essential piece of kitchen equipment. But they are pretty handy. When I remember to dig mine out, it really does help save my sensitive little fingers from getting burnt while I carve up the chicken.
A comprehensive list of the equipment used to make this recipe is included in the main recipe card below. Click on any item to see an example. There are no hard and fast rules so many items can be sensibly substituted to achieve the same results.

How to Make Roast Chicken – Step by Step
Step 1
Preheat the oven to 220c or equivalent and line a small roasting pan with foil and parchment. A snug fit is desirable.
Step 2
Use kitchen roll to pat the chicken fully dry then rest it on a plastic chopping board for the preparation procedure.

Step 3
Use a good pair of kitchen scissors to snip off any string holding the chicken together. Keeping it trussed is a sure-fire way to end up with under-cooked thighs and over-cooked breasts. No one wants that.

Step 4
Cut off both of the wingtips through the joint. Leave the rest of the wing intact and attached.

Step 5
Turn the chicken and cut off both the drumstick ends. Again you can cut through the joint. You should not have to try to cut through any bone.

Step 6
Flip the chicken over and cut a ‘V’ to remove the parsons nose (the polite term for the chicken ass bit).

Step 7
Turn the chicken again and use the same ‘V’ cut to remove what remains of the neck bone.

Step 8
Right the bird then cut away any flabby bits of skin around the openings at both ends.

Step 9
Move the chicken to the lined tin and use your hands to fully coat the chicken with 4 tbsp Olive Oil and 1 tbsp Sea Salt Flakes.

Step 10
Pop the chicken in the oven and leave for 1 hour. Remove from the oven and drain any juices into a bowl or saucepan.

Step 11
Leave the chicken in the oven for another 30 minutes. Take the chicken out again and drain any further juices.

Step 12
Check the chicken is cooked though by making a split with a knife where the thigh meets the breast. If there is any pink visible, put the chicken back in to cook for another 10 minutes.

Step 13
Keep repeating until all the pink is gone. Once cooked, cover the chicken with foil and leave it to rest for at least 20 minutes.

Step 14
The chicken can then be served however you intend or left to fully cool before being refrigerated.

Still Have Questions?
Simple! Just contact me and I will do my best to help as quickly as I am able. Head over to my Contact Me page, any of my social media channels or post a comment at the bottom of this page and I’ll see what I can do.
Don’t forget to let me know in the comments if you try making this recipe – I want to know what you think and if you made any substitutions, how did it turn out?
Pin How to Make Roast Chicken For Later
Hit one of the share buttons to save this page to your Pinterest boards so you can come back and find it at anytime!

Keep Up to Date
Make sure you SUBSCRIBE to my newsletter and avoid missing out on any of my newest and bonus content. Don’t worry, I promise not to spam you or bombard you too often. Plus you’ll receive a copy of my FREE 7 Day International Meal Plan!
Also please don’t forget to follow me over on my social media channels over at Facebook, Twitter, Instagram and Pinterest. I love to interact with my followers and I’d love you to share my content with your friends too.
More Chicken Recipes


Instructions in Brief
How to Make Roast Chicken
Equipment
Ingredients
- 1.8 kg Whole Chicken
- 4 tbsp Olive Oil
- 1 tbsp Sea Salt Flakes
Instructions
- Preheat the oven to 220c or equivalent and line a small roasting pan with foil and parchment. A snug fit is desirable.
- Use kitchen roll to pat a 1.8kg Chicken fully dry then rest it on a plastic chopping board for the preparation procedure.
- Use a good pair of kitchen scissors to snip off any string holding the chicken together. Keeping it trussed is a sure-fire way to end up with under-cooked thighs and over-cooked breasts. No one wants that.
- Cut off both of the wingtips through the joint. Leave the rest of the wing intact and attached.
- Turn the chicken and cut off both the drumstick ends. Again you can cut through the joint. You should not have to try to cut through any bone.
- Flip the chicken over and cut a ‘V’ to remove the parsons nose (the polite term for the chicken ass bit).
- Turn the chicken again and use the same ‘V’ cut to remove what remains of the neck bone.
- Right the bird then cut away any flabby bits of skin around the openings at both ends.
- Move the chicken to the lined tin and use your hands to fully coat the chicken with 4 tbsp Olive Oil and 1 tbsp Sea Salt Flakes.
- Pop the chicken in the oven and leave for 1 hour. Remove from the oven and drain any juices into a bowl or saucepan.
- Leave the chicken in the oven for another 30 minutes. Take the chicken out again and drain any further juices.
- Check the chicken is cooked though by making a split with a knife where the thigh meets the breast. If there is any pink visible, put the chicken back in to cook for another 10 minutes.
- Keep repeating until all the pink is gone. Once cooked, cover the chicken with foil and leave it to rest for at least 20 minutes.
- The chicken can then be served however you intend or left to fully cool before being refrigerated.


Lesley says
Great step-by-step recipe with really clear instructions.
Carrie Carvalho says
Everyone needs this recipe – not much better than roast chicken and you can use it in so many ways!
Cat says
What a great step by step guide. Once you know how to roast a chicken well you can make so many delicious things so this such a helpful guide to have.
Rebecca - Glutarama says
Great step-by-step how to here. Shoving a bird in the oven isn’t what it’s about you need to do these things properly, great tips.
Kavita Favelle says
You are so right, there’s little to beat a roast chicken, both to eat at is and to provide the base for so many other recipes!!
Chloe says
Yup, super versatile!
Kavita Favelle says
Loving the look of that crispy salted skin! This is one for me to try, I’ve not used this extra high temperature method before.
cedges says
I have to admit I wasn’t previously aware quite how different my method was! I throw almost everything into the oven on super high for a little time as possible 🤣
Janice Pattie says
I made this Roast Chicken today. I’ve been roasting chicken for more than 40 years but I’ve never roasted it at such a high heat. What a revelation The chicken skin is so crisp and delicious and, although I feared the meat might dry out, it absolutely didn’t. My 95-year-old mother-in-law said it was the best meat she had had for ages, really tender and tasty. I’ll definitely be roasting chicken this way from now on. Thank you.
cedges says
Gosh I think there is something in my eye. That might be the nicest thing anyone has ever said about a roast chicken. I’m so pleased you enjoyed it 🤗
CAMILLA HAWKINS says
This looks like the perfect roast chicken, love how crispy that skin looks! Thanks for sharing my Chicken Fiesta recipe:-)
cedges says
It was an extra good one I have to admit – thanks! You’re more than welcome – such a great name if nothing else!