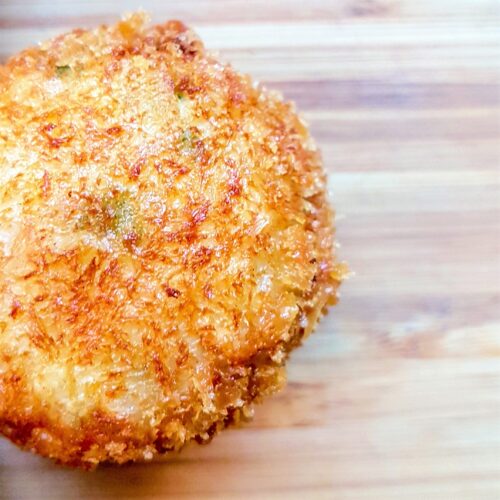
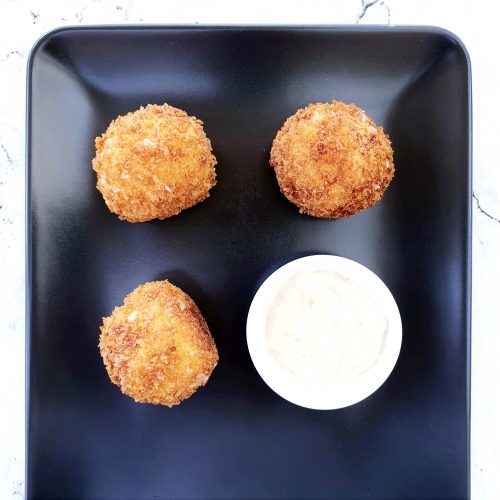
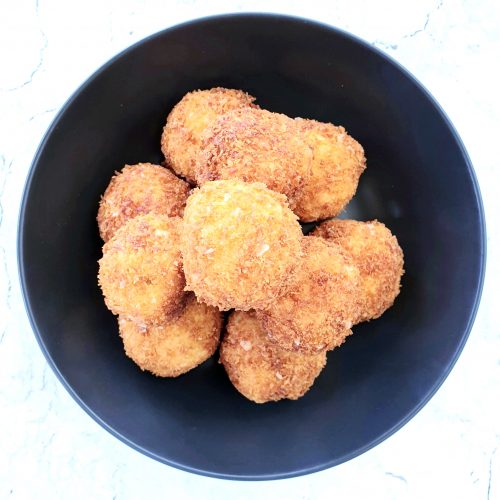
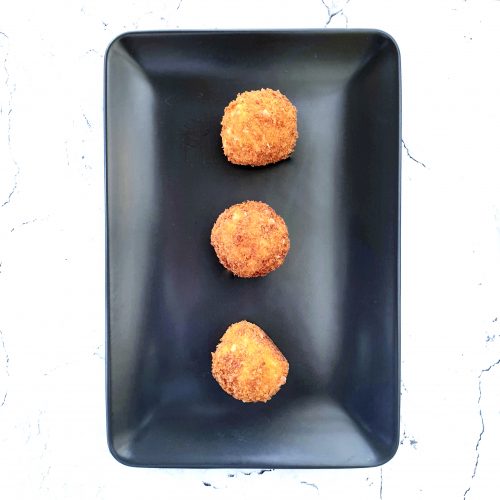
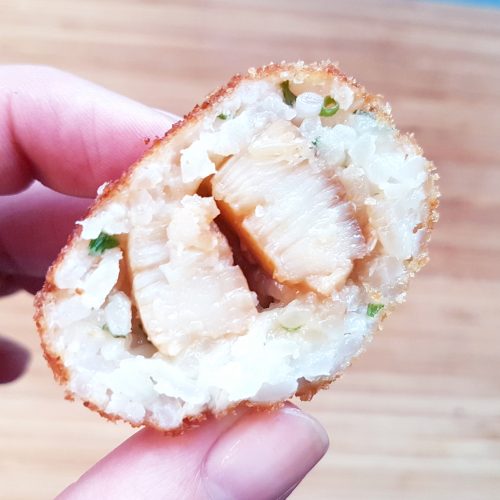
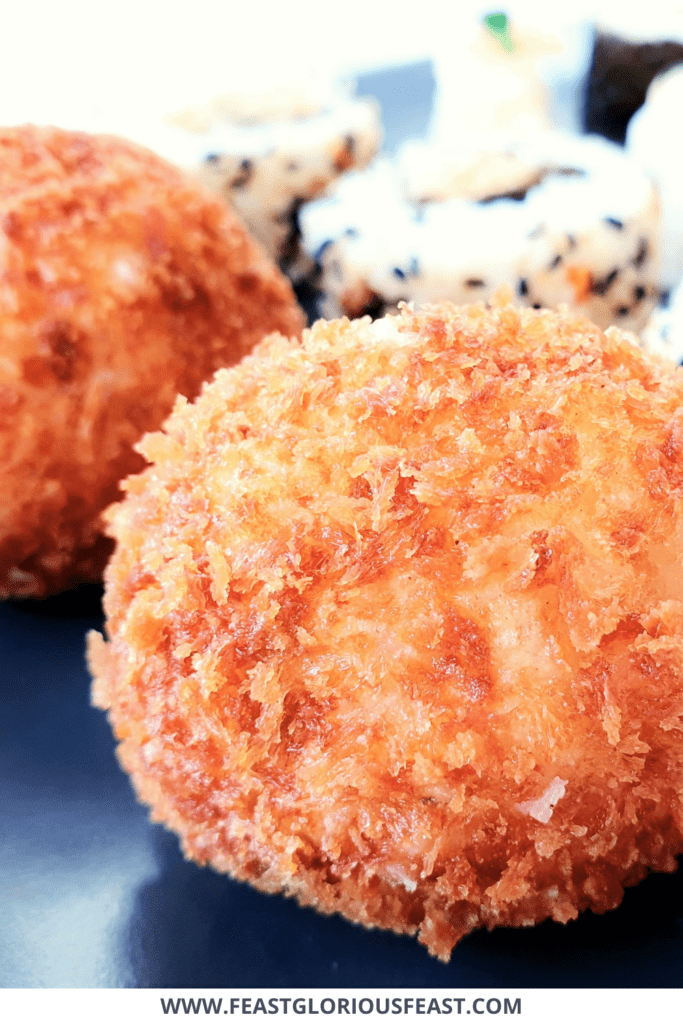
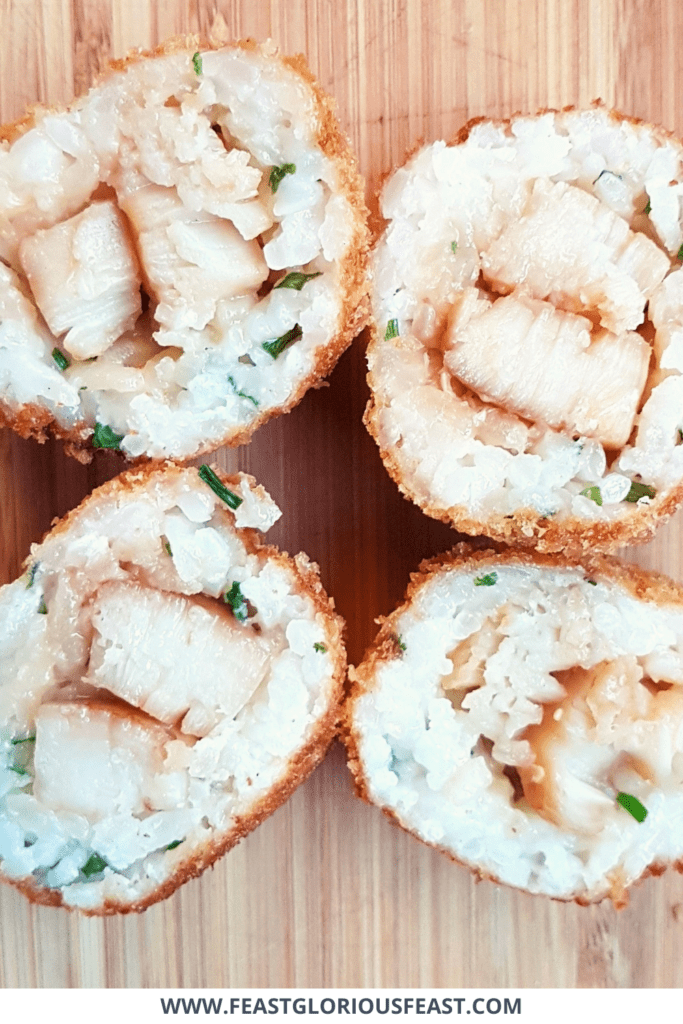
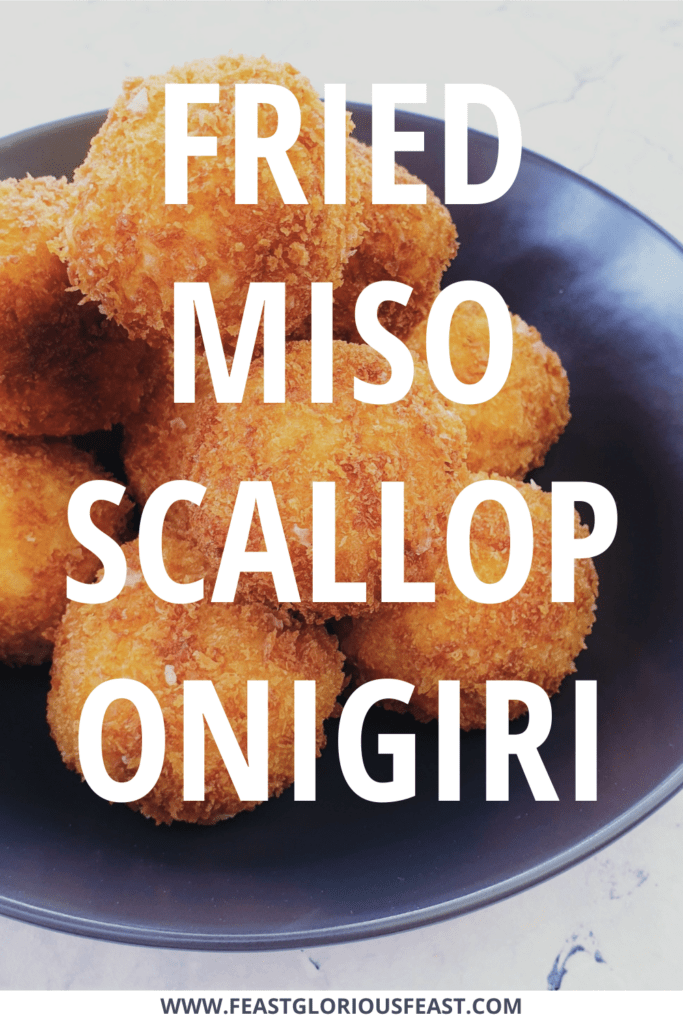
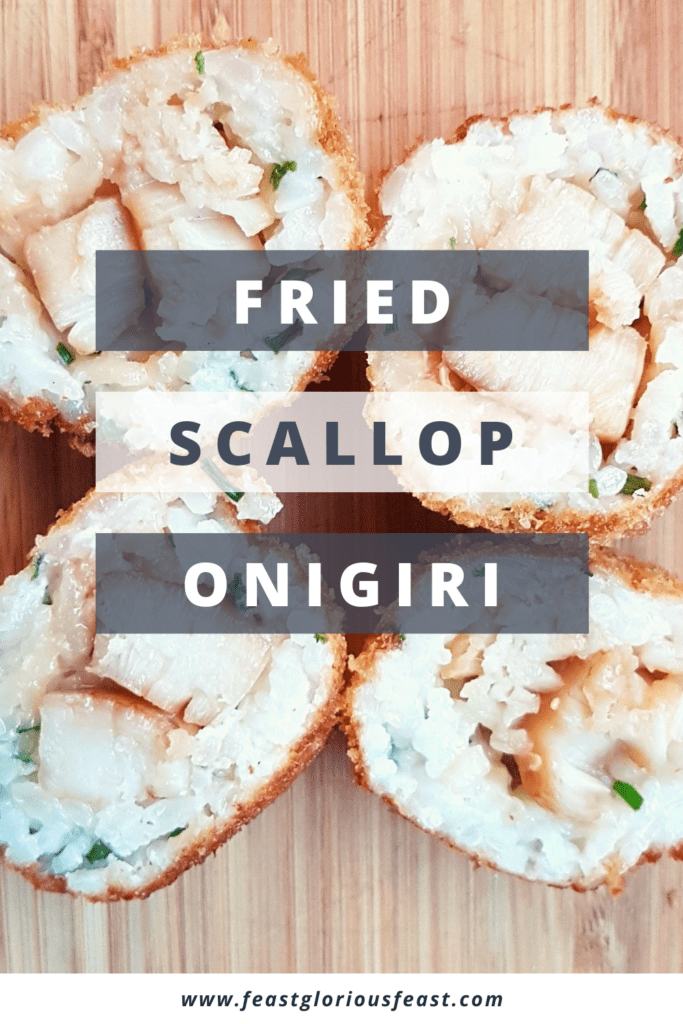
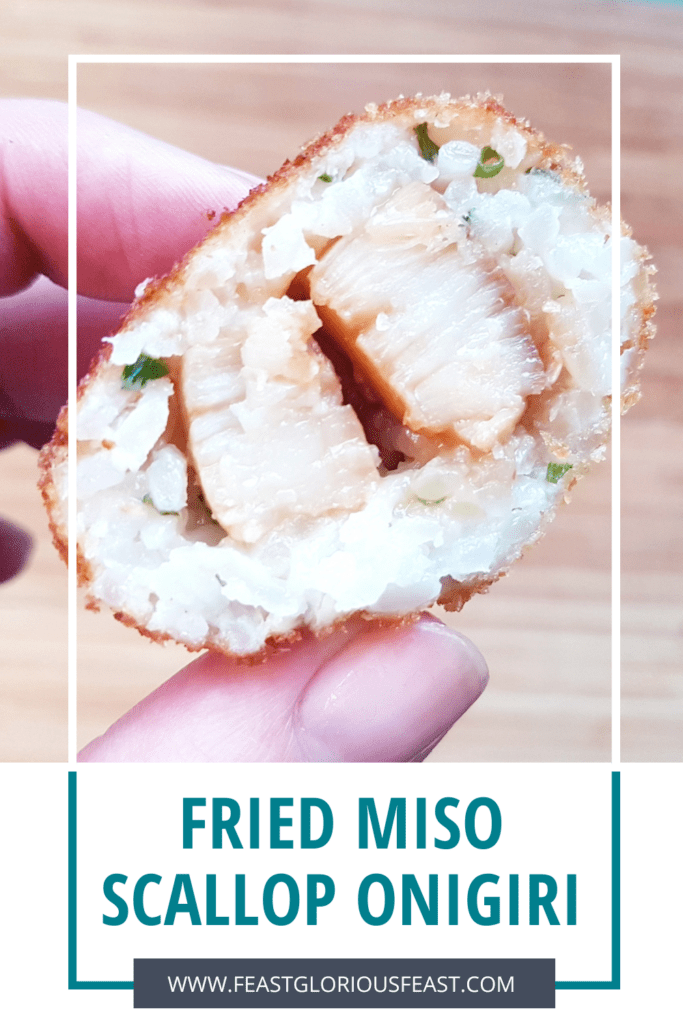
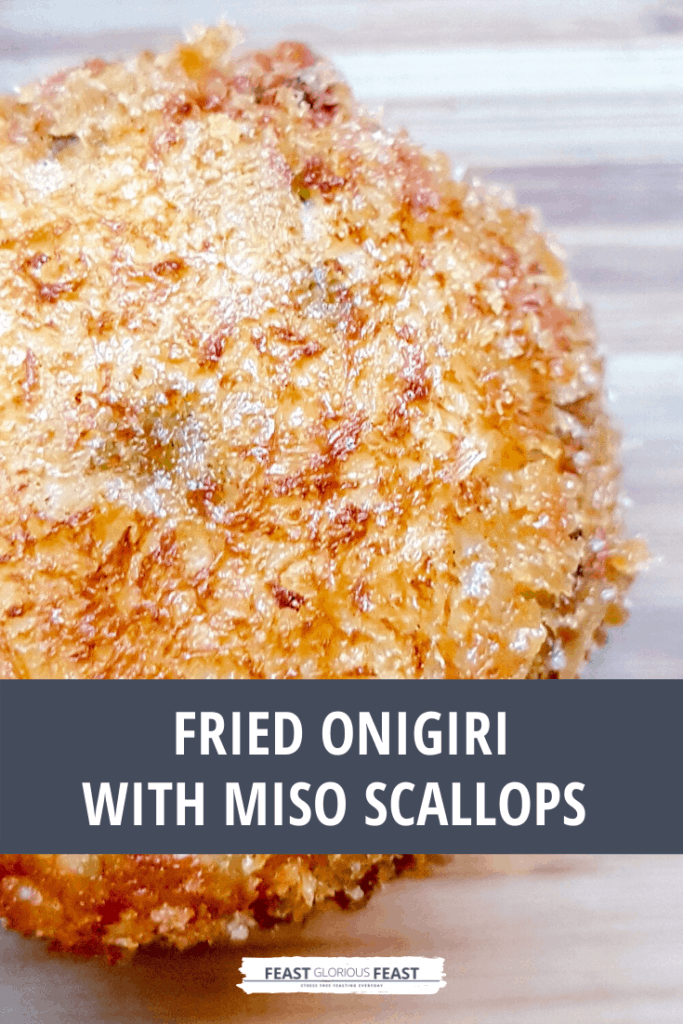
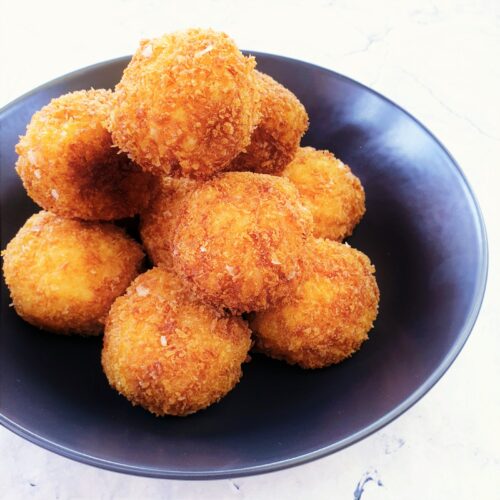
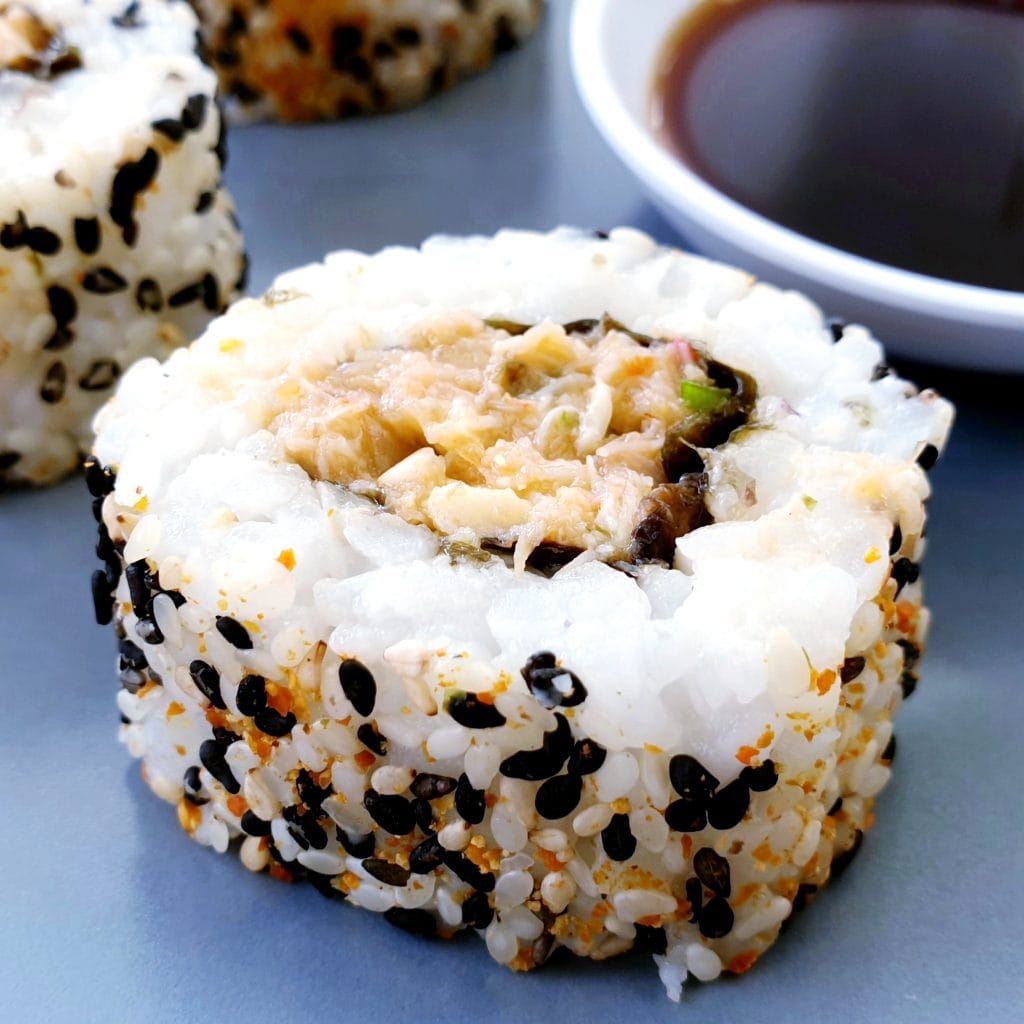
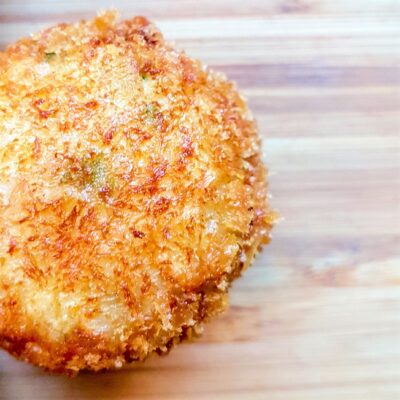
Fried Onigiri is not traditional sushi! But no matter, my Japanese take on arancini with Miso marinated Scallops makes a great addition to a sushi platter. The coating provides great crunch and the scallop filling is full of fabulous flavour.
This post may contain affiliate links. Please refer to my Disclosures Page for more details.
My Miso Scallop Onigiri might not be a wholly traditional part of a sushi platter but they certainly make a great addition. They’re crunchy, sweet and bursting with umami.
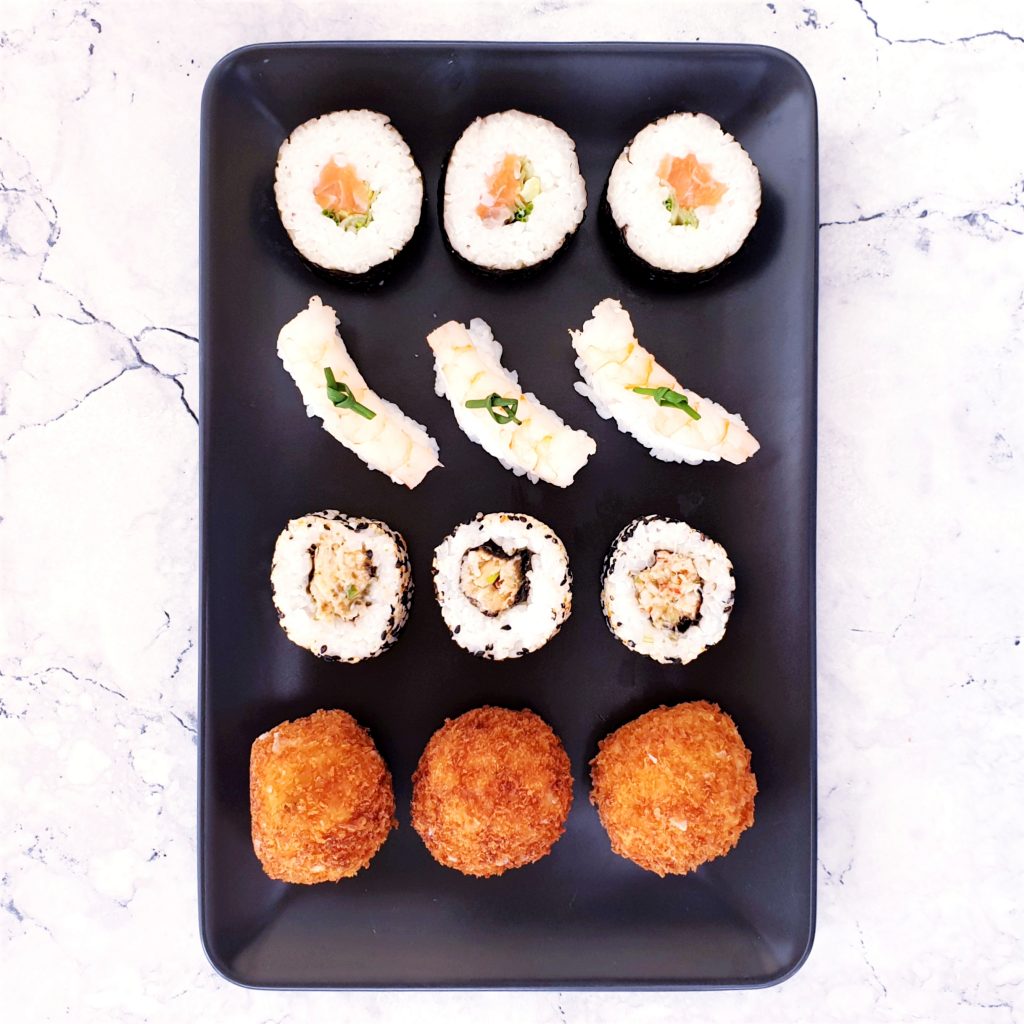
Whilst stuffed balls of sushi rice called onigiri are a traditional form of sushi, deep frying onigiri is not to my knowledge or research in any way common. I’m pretty sure authentic sushi chefs would be utterly horrified but I have seen some versions of deep fried sushi hanging around the internet.
How to Serve Fried Onigiri with Miso Scallops
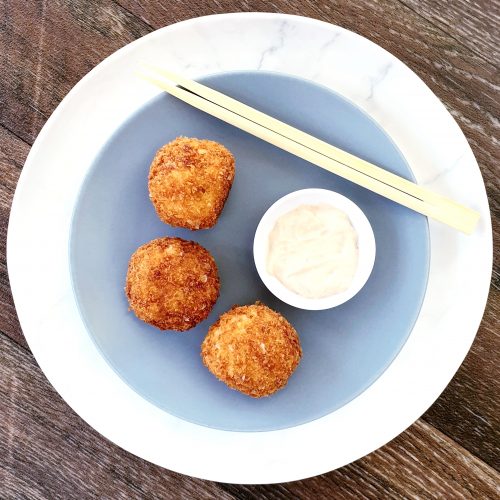
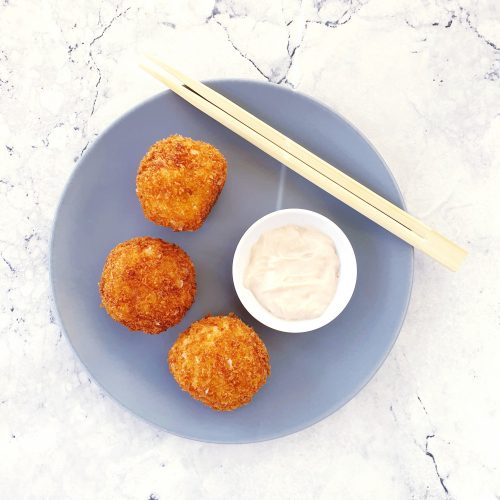
Hot and fresh ideally. And with something to dip it in. I like to whip up a little miso mayo with some light mayo, miso paste, a little salt and a dash of mirin. I will usually serve my Onigiri as part of a larger sushi platter but they are perfectly valid served in their own right.
Try to relish the fun of trying to pick up the Scallop Onigiri with chopsticks! I usually resort to just using my fingers. Sushi is supposed to be picked up and eaten anyway so I feel just fine about this!
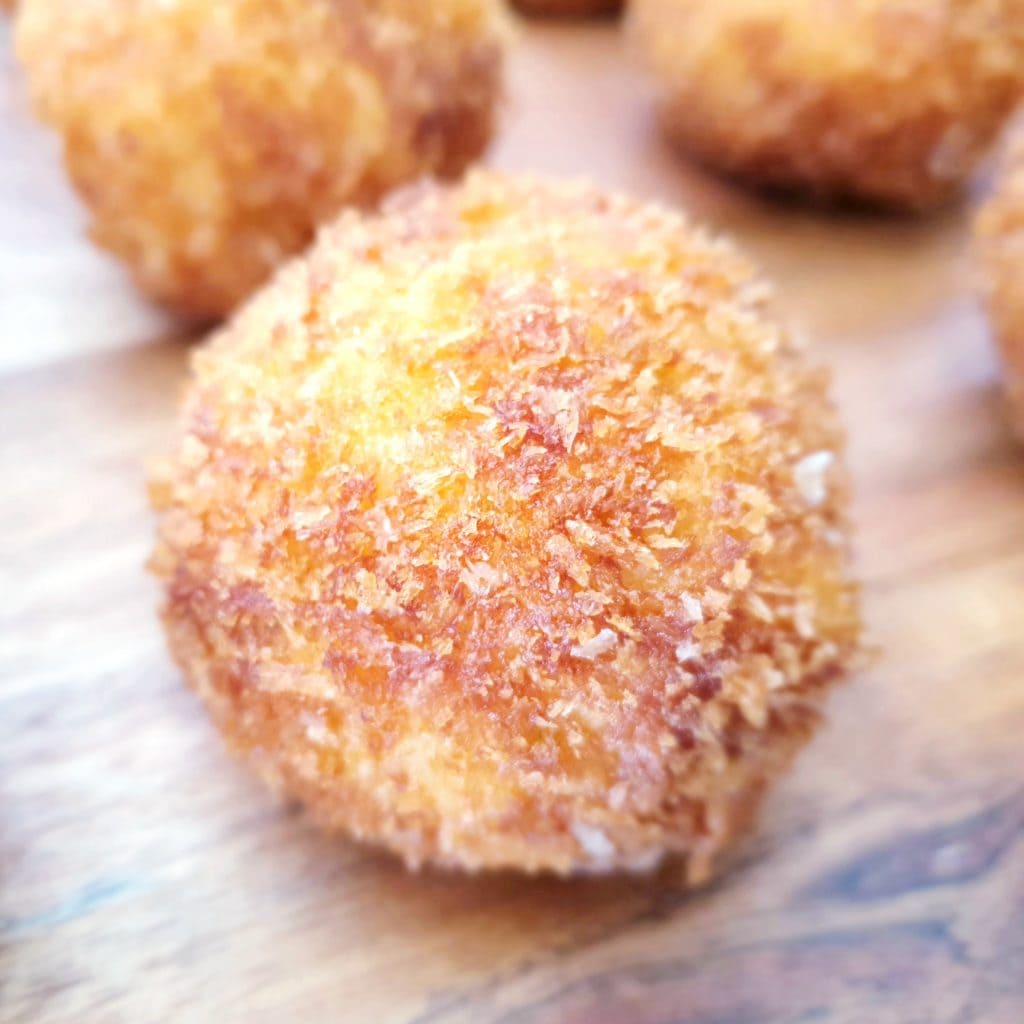
Ingredients for Fried Onigiri with Miso Scallops
Scallops
Scallops are actually one of my favourite seafood ingredients – I often air fry large king scallops and use them in various dishes.
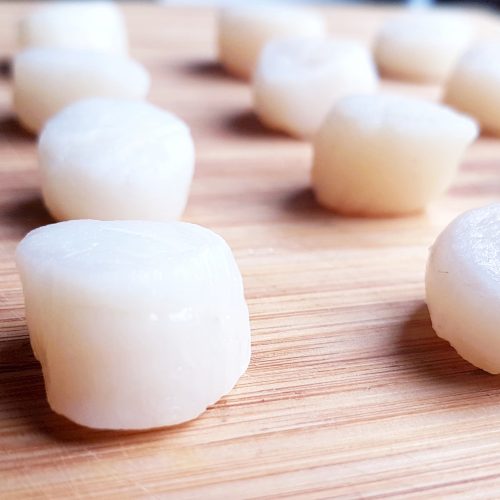
The most economical way to buy scallops is to buy the small queen scallops. You don’t need many at all to make a decent quantity of these onigiri which makes them even better value.
If you do happen to find yourself in possession of some larger scallops, simply cut them down into cm cubed pieces and carry on as normal with the recipe.
You could alternatively make this recipe with king prawns, salmon or white fish.
Sushi Rice
Sushi rice is an essential ingredient. Check out my How to Make Sushi Rice post to find out all you need to know. The post also includes full instructions re exactly how to cook the rice.
To find out about more of my favourite Asian Ingredients, check out my guide to the Top 16 Asian Ingredients which I always keep stocked in my pantry.
I’ve also suggested a whole bunch of recipes to try once your cupboard is fully stocked!
Miso
You can buy pots of miso paste in the supermarkets. Check the world food aisles or speciality ingredient sections. I now tend to buy a big pot from an Asian supermarket and keep it in the fridge to dip into. It keeps brilliantly for a long time.
There are a few varieties of miso available. Don’t panic, just consider that the lighter in colour the miso, generally the lighter the flavour. Have an experiment and see what you prefer.
Panko
Be Flexible
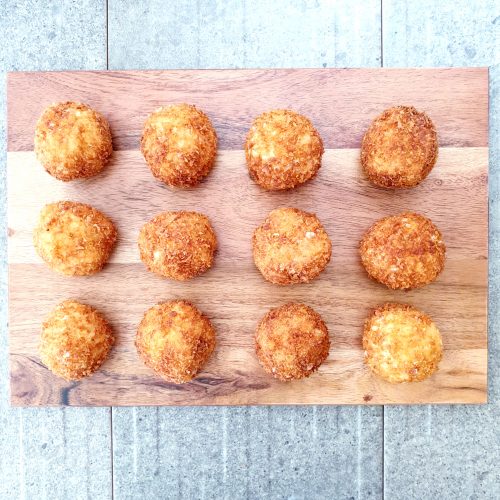
You can also more or less put whatever filling you want in the middle. It will ideally be a cooked filling like teriyaki chicken or a cooked garlic king prawns. The trick is to make sure that the filling isn’t too wet or the rice will absorb the liquid and the balls will fall apart.
Other flavourings could be added to the rice like garlic or chilli but again it is important to make sure that the rice is not watered down in any discernible way.
It would also be possible to fry the onigiri with just the flour coating. Make sure that they are chilled very well before frying. Freezing them a little would be ideal to ensure that the balls don’t fall apart when hitting the oil.
Lastly, you could just go with the flour coating then pan fry the onigiri for a much more traditional cooking method. In this case I would squish the balls down into patties rather than cooking them whilst still spherical.
Make it Vegetarian
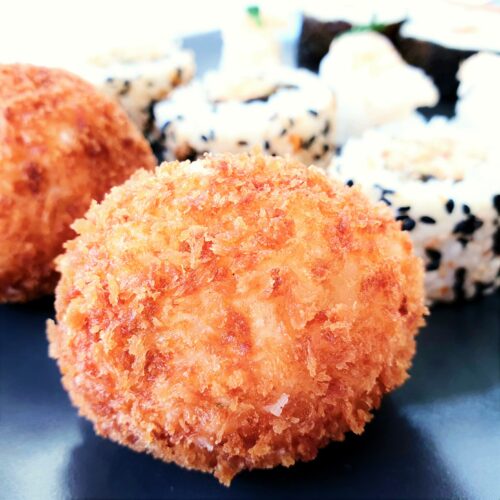
This recipe will work perfectly if the scallop is replaced with firm tofu cut into small cubes. The filling from my Tofu Crystal Dumplings would be idea. Or a vegetable like courgette or mushroom could be used as a replacement. The filling can still be marinated and will need to be cooked through before being stuffed into the rice.
Make it Vegan
In addition to the above suggestion to replace the scallops, you will want to substitute the egg layer in the coating. There are a number of liquid egg substitutes now available and that would make the most appropriate alternative.
Make it Allergy Friendly
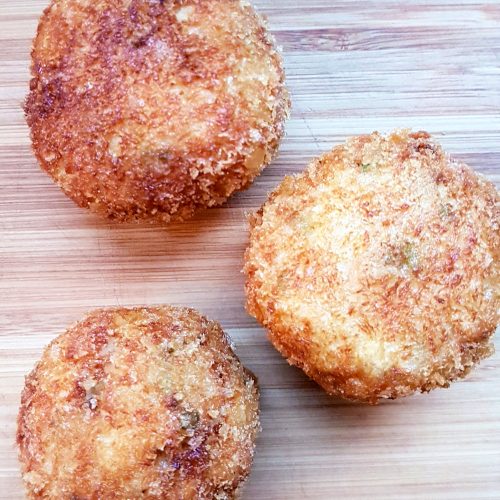
My Fried Onigiri is free from nuts and dairy.
Gluten Free: The panko breadcrumbs will need to be substituted for gluten free breadcrumbs. These can now be bought or made by whizzing up gluten free bread. White would be best.
A gluten free soy sauce can replace the light soy sauce in the marinade but you will need to be extra careful when buying miso paste as many of them erroneously contain gluten.
Egg Free: Using a vegan egg alternative instead of the egg in the coating would be the most ideal option here. But using a whole milk or even cream would also allow the panko to stick to the balls.
Please note that this recipe may contain other allergens not referred to above and any variations suggested have not been tested unless otherwise stated. For more information regarding any dietary information provided on this website, please refer to my Nutritional Disclaimer.
Please note that this recipe may contain other allergens not referred to above and any variations suggested have not been tested unless otherwise stated. For more information regarding any dietary information provided on this website, please refer to my Nutritional Disclaimer.
Equipment Notes for Fried Onigiri
I’m had an on-again-off-again relationship with deep fat fryers. I’ve actually never owned one as I try not to deep fry as a general rule.
But then when I was living in London, my housemate bought a mini Tefal fryer. Which I borrowed a little too often for both these scallop balls and making Scotch Eggs. I have to admit it was very handy and compact.
I now live with a massive fryer that lives under the sink. Its too heavy and a pain in the ass so I just use a large saucepan, either my sugar or laser thermometer and a silicone slotted spoon or my trusted tongs. I let the oil cool before sieving it back into the oil bottles. Not difficult at all really.
A comprehensive list of the equipment used to make this recipe is included in the main recipe card below. Click on any item to see an example. There are no hard and fast rules so many items can be sensibly substituted to achieve the same results.
Get Ahead
I would not start to prepare any of the elements of this dish more than 24 hours in advance of serving. Within this time you could marinate and cook the scallops, cook the sushi rice, form the balls and prepare the coating.
Ideally the onigiri will be cooked just before serving.
Leftover Scallop Onigiri
My Miso Scallop Onigiri can be reheated in the oven or microwave. The coating will be significantly less crisp with the latter method. They could also be re-fried until just hot all the way through.
As with all of my sushi recipes, I would not recommend freezing the onigiri.
Fried Onigiri Tips
Make sure to have a bowl of cold water handy when forming the rice balls. Use the water on your hands to stop the rice sticking to you and everything else!
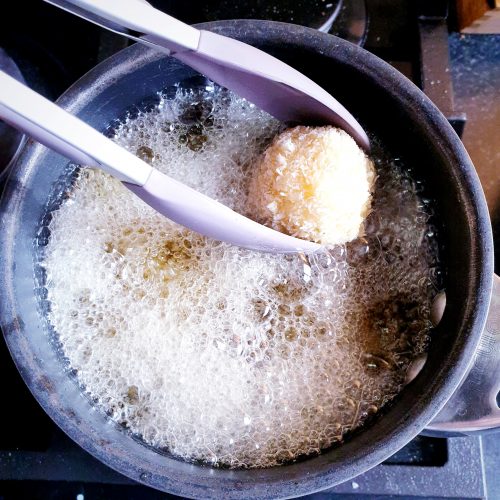
Be careful when deep frying. The balls will likely spit oil when they are first added.
Try to have a gentle hand when dealing with the rice. If if is crushed together it will become heavy and not have a pleasant texture when served.
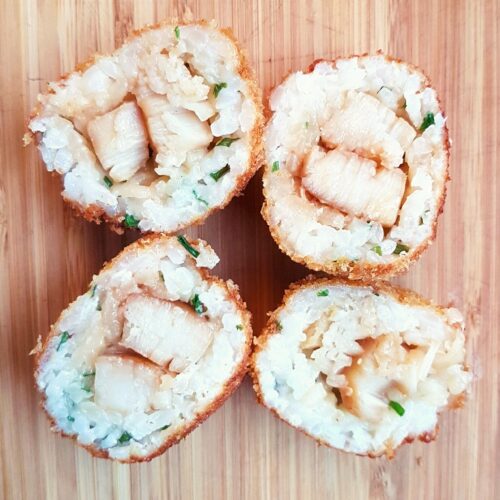
Don’t forget to let me know in the comments if you try making this recipe – I want to know what you think and if you made any substitutions, how did it turn out?
Still Have Questions?
Simple! Just contact me and I will do my best to help as quickly as I am able. Head over to my Contact Me page, any of my social media channels or post a comment at the bottom of this page and I’ll see what I can do.
Pin Fried Onigiri with Miso Scallops For Later
Hit one of the share buttons to save this page to your Pinterest boards so you can come back and find it at anytime!
Keep Up to Date
Make sure you SUBSCRIBE to my newsletter and avoid missing out on any of my newest and bonus content. Don’t worry, I promise not to spam you or bombard you too often. Plus you’ll receive a copy of my FREE 7 Day International Meal Plan!
Also please don’t forget to follow me over on my social media channels over at Facebook, Twitter, Instagram and Pinterest. I love to interact with my followers and I’d love you to share my content with your friends too.
More Fish & Seafood Recipes
The Recipe
Fried Onigiri with Miso Scallops Recipe
Equipment
Ingredients
- 500 g Cooked Sushi Rice
- 5 tbsp Fresh Chives
- 1 tsp Ginger Paste
For the Filling
- 1 tbsp Miso Paste
- 1 tsp Ginger Paste
- 1 tsp Sesame Oil
- 1 tsp Rice Wine Vinegar
- 1 tbsp Light Soy Sauce (Gluten free if required)
- 24 small Scallops
- 1 tbsp Vegetable Oil
For the Coating
- 3 tbsp Plain Flour (All Purpose)
- 2 Egg
- 80 g Panko Breadcrumbs
- 1 tbsp Sea Salt Flakes
- Oil for Deep Frying
Instructions
- Firstly ensure that your 500g Cooked Sushi Rice is prepared and fully cooled.
Prepare the Scallops
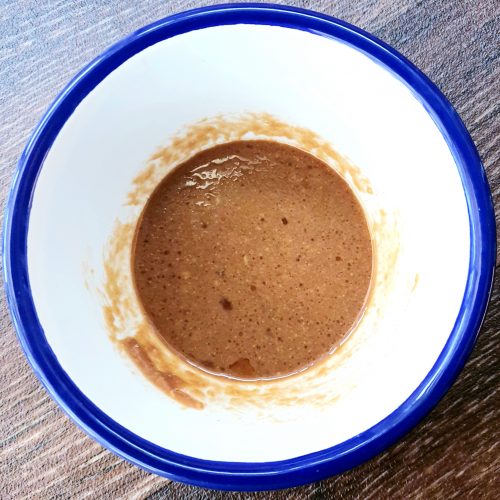
- Add 1 tbsp Miso Paste, 1 tsp Ginger Paste, 1 tsp Sesame Oil, 1 tsp Rice Wine Vinegar and 1 tbsp Light Soy Sauce to a small bowl and combine.

- Using kitchen towel, dry off 24 Small Scallops.

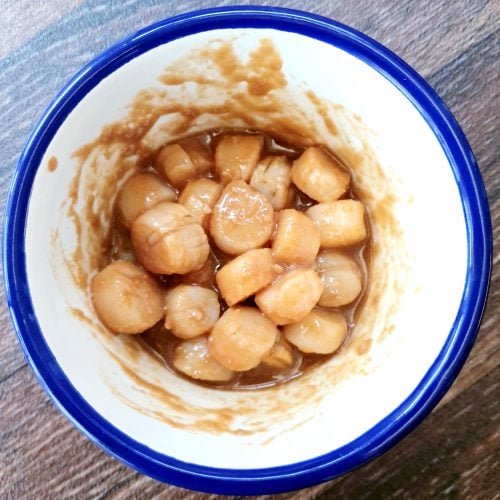
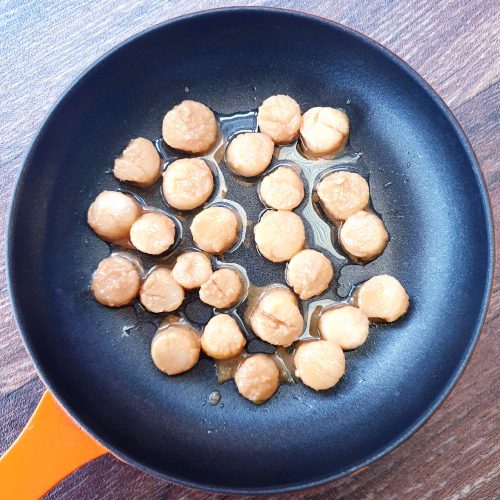
- Add them to the marinade mixture. Leave to marinate for at least 10-15 minutes. They are very small so don't really require much more.

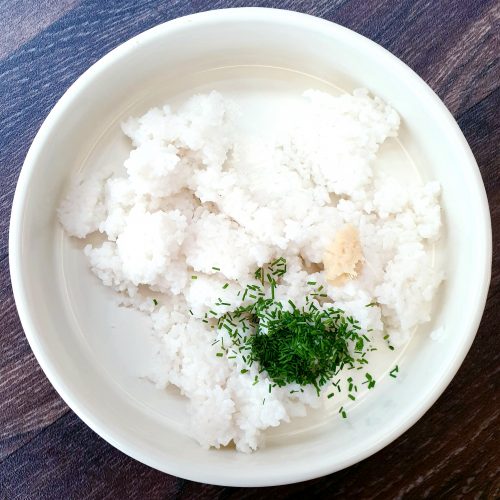
- Meanwhile, flavour the rice by finely chopping 5 tbsp Chives and adding to the rice with 1 tsp Ginger Paste. Gently combine the ingredients. You ideally don't want to turn the rice into mush.

- Add 1 tbsp Vegetable Oil to a small shallow pan on a high heat.
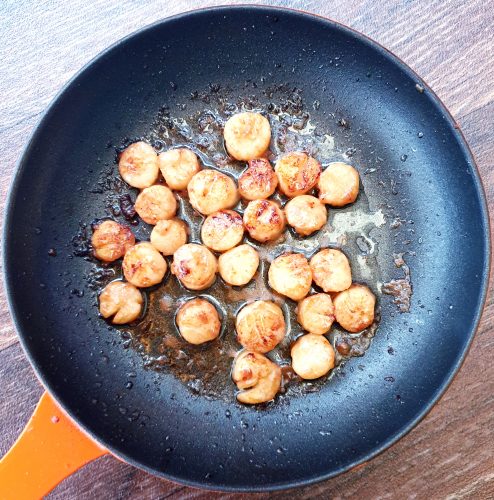
- Add the marinated scallops to the pan (excluding most of the marinade) Fry on each side for about minute until they're a little brown and caramelised on each side.

- Remove the scallops from the pan and set aside to cool a little.

Assemble the Onigiri
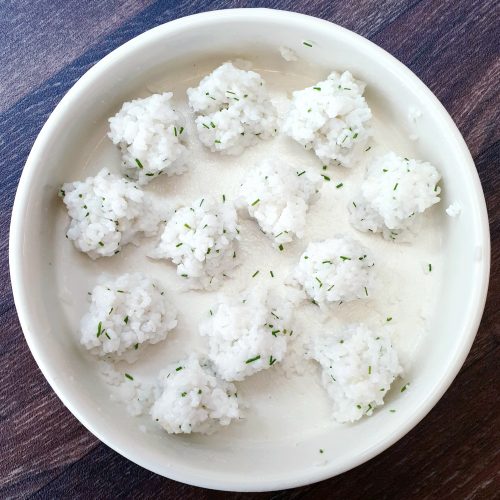
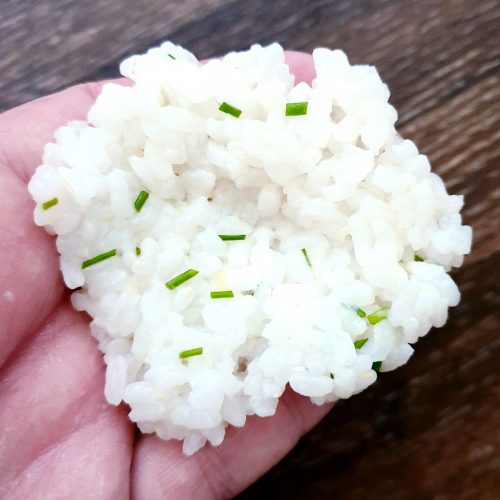
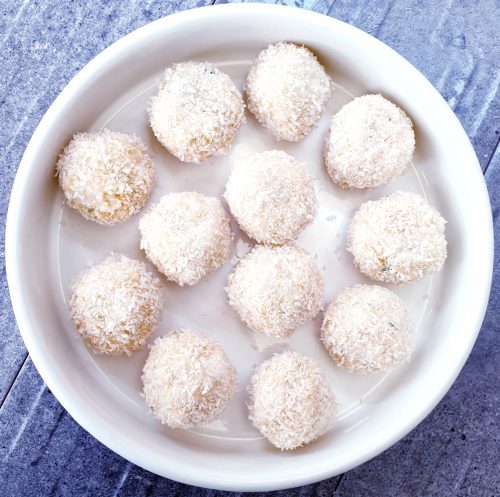
- Wet your hands with cold water and split the rice into 12 equal portions (roughly 40g each).

- Roll one of the rice portions into a ball and then flatten into a patty.

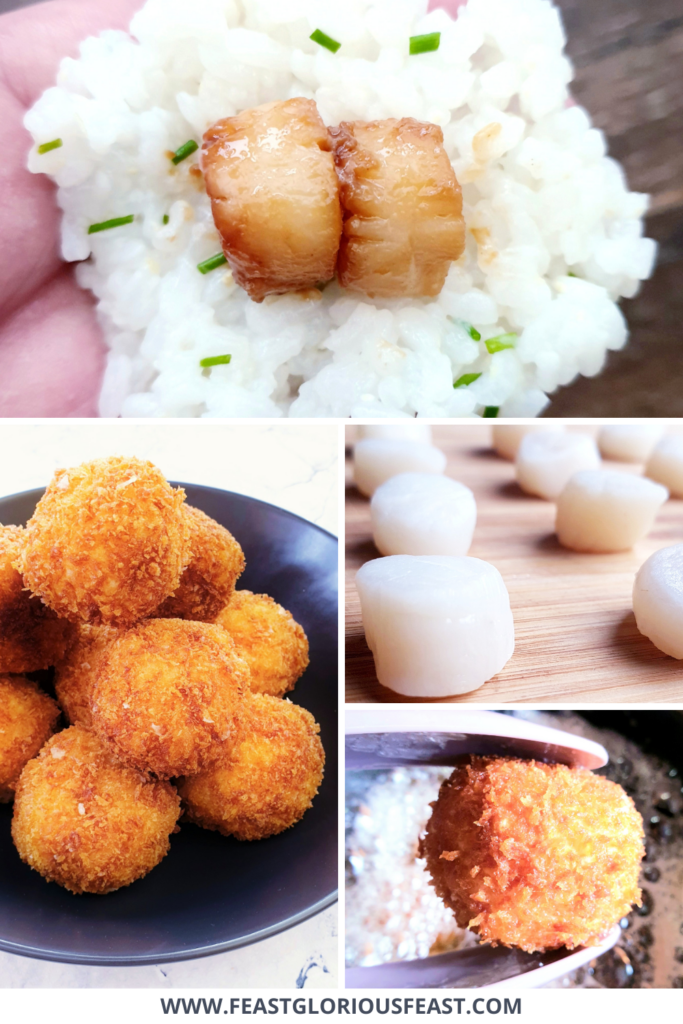
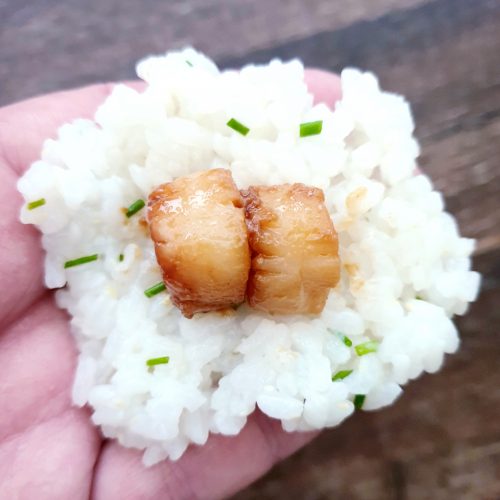
- Add 2 of the scallops to the rice patty.

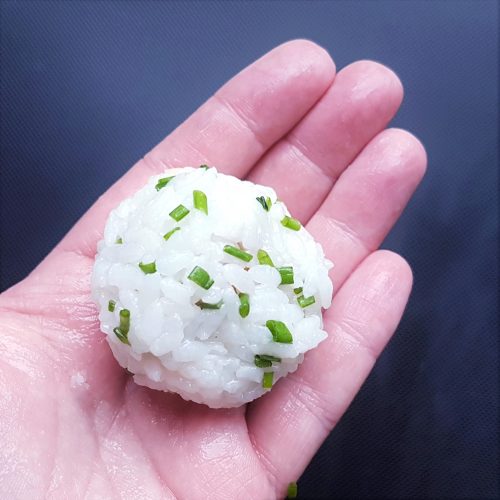
- Form the rice into a ball around the scallops. Try to be vaguely gentle as squeezing too hard will turn the rice into a mushy lump.

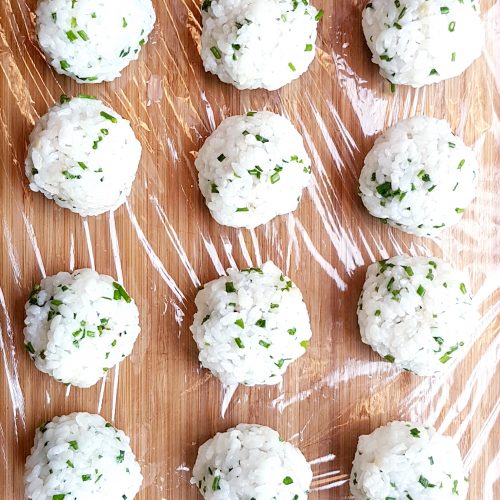
- Set aside on a plate or board and repeat to form the remaining balls.

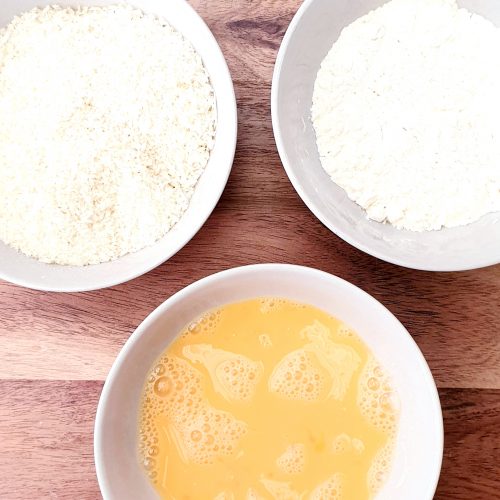
- Add roughly 3 tbsp Plain Flour to a small bowl. Set aside.
- Whisk 2 Eggs in another small bowl. Set aside.
- Mix 80g Panko Breadcrumbs and 1 tbsp Sea Salt Flakes in a 3rd bowl.

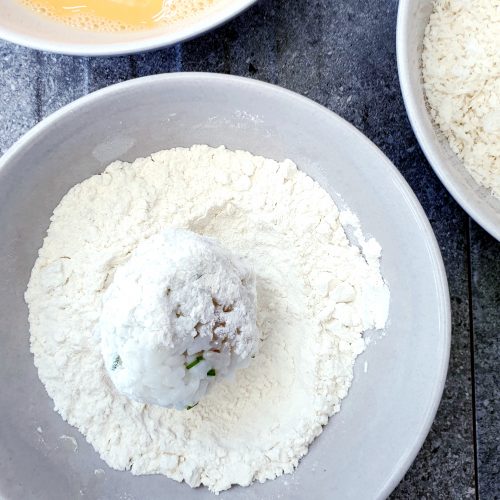
- Dip each of the rice balls in the flour and set aside on a clean plate.

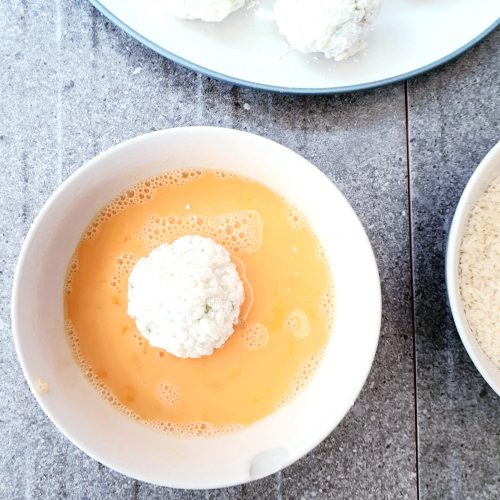
- Dip each ball in the egg …

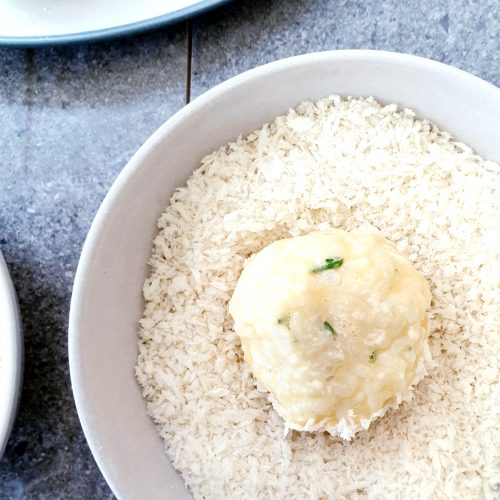
- … then the breadcrumbs. A single dip of each will suffice.

- Leave the balls to chill in the fridge for 30 minutes if possible.

Cook the Onigiri
- Heat your frying oil to 180c or equivalent).
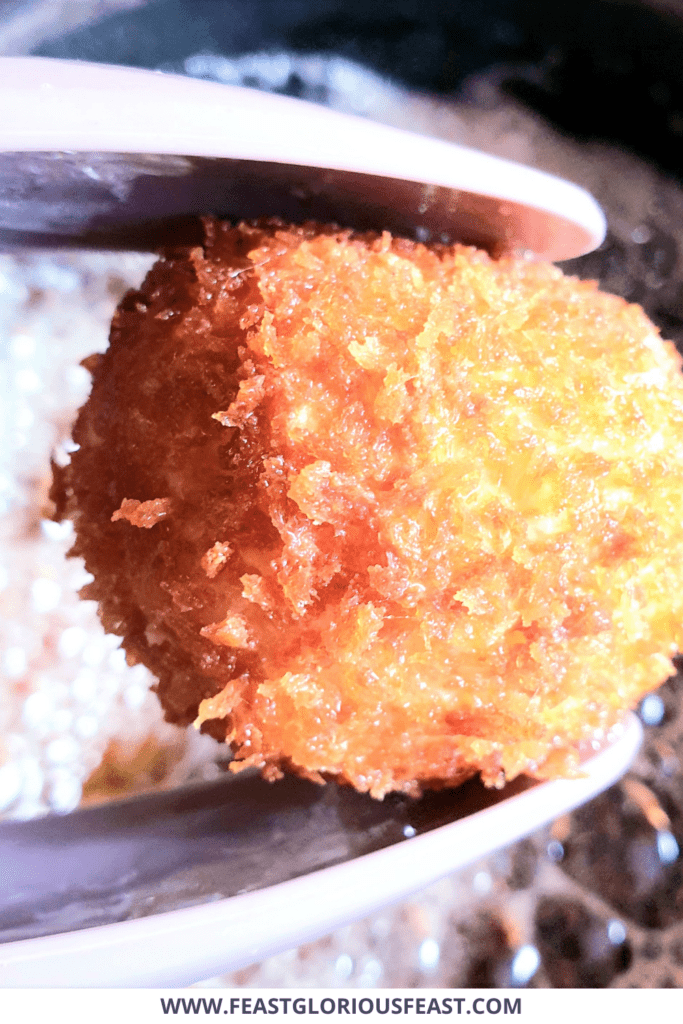
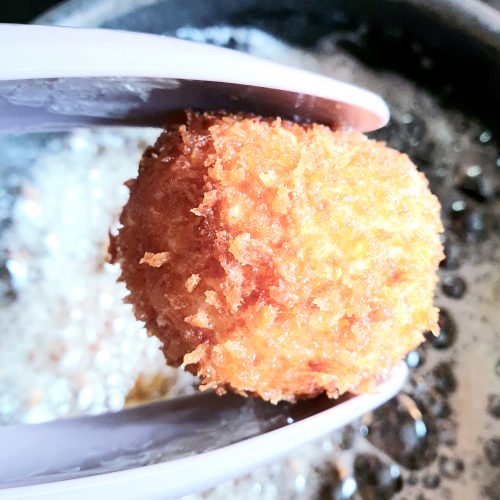
- Add the balls to the oil for 3-4 minutes until golden brown. Make sure not to overcrowd the cooking pan.

- Repeat for as many batches as you need.

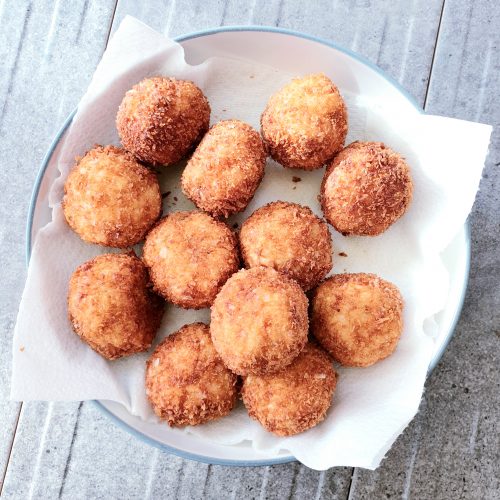
- Leave the cooked balls to drain on kitchen paper before serving hot.




Russell says
I love yaki onigiri (grilled rice balls), but I wondered, has anyone tried fried onigiri? I found this recipe and tried it out, it’s pretty good! The scallop filling is really delicious, frying the onigiri like tonkatsu is delicious, but it’s a little overwhelming. Also the amount of work compared to just making a non-fried onigiri makes this a recipe I would want to make rarely, but it’s definitely worth a try!
Chloe says
I’m so pleased you enjoyed them! They are definitely a labour of love but I find that quite relaxing sometimes. I do also generally eat them as part of a biggest sushi feast but if this was the only element I could totally see how the fried-ness could become a bit overwhelming!
Cat | Curly's Cooking says
What a great idea! I don’t think recipes need to always be completely authentic if they look this tasty! I love the crisp outside and the surprise inside.
Chloe says
I agree! I think more often than not, its the evolved versions of food which are the tastiest!