My easy step by step instructions show you how to make delicious Sushi Rice without fuss. All you need is a lidded pan, a sieve and some water. And rice obviously!
This post may contain affiliate links. Please refer to my Disclosures Page for more details.
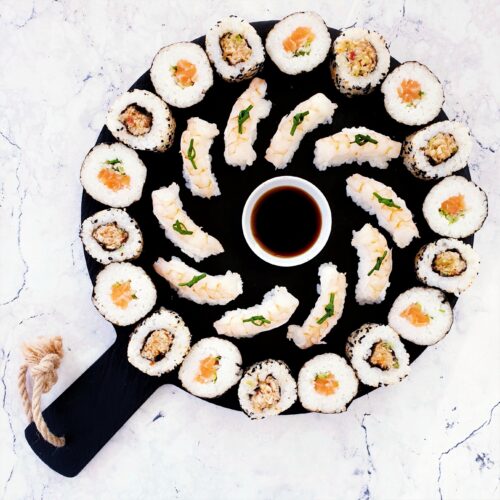
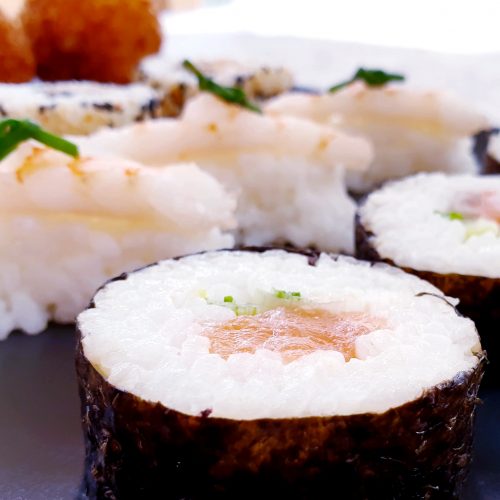
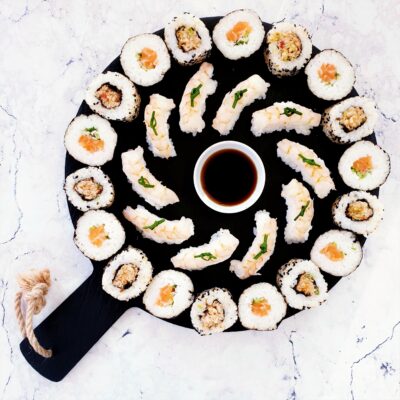
Did you realise that the word “sushi” doesn’t actually refer to raw fish at all? Sushi refers to the rice and various fillings/toppings combined with that rice. Raw fish is known as sashimi. You can have sushi without fish but you can’t have sushi without rice. Got that?!
Sushi Rice does have more uses than just the sushi that you are I are most likely familiar with. Without the additional seasonings mixed in at the end, I use this method of cooking sticky rice as an accompaniment to make hot dishes like my Korean Belly Pork with Rice & Greens and my Sweet Chilli Salmon and Sticky Rice.
Ingredients to Make Sushi Rice
Rice
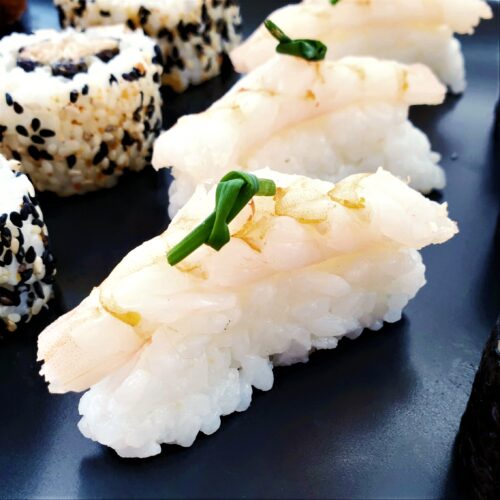
Sushi rice is sold in many supermarkets and Asian grocers called just that “Sushi Rice”. Which really does make thing lovely and simple!
Sushi rice is a short-grained starch-filled rice similar to risotto and paella rice. But it is different so don’t try to make sushi with either of those varieties! Save risotto for making an actual risotto like my Chorizo and Butternut version.
You can however substitute sushi rice with pudding rice. Which can be purchased everywhere. Usually found in the supermarket desserts aisle with the tart bases and condensed milk. The stickiness that you want in a rice pudding is exactly what you want in sticky/sushi rice. And its generally about half the price.
Water
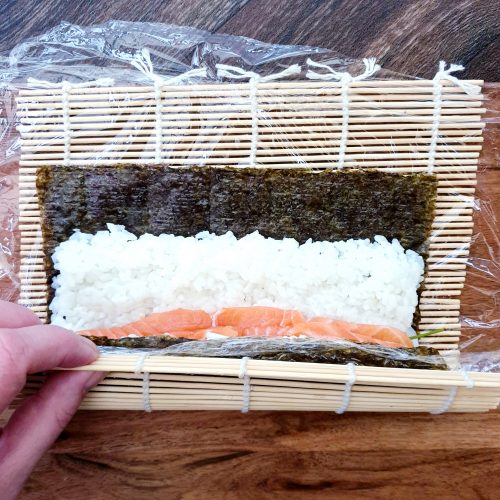
Whilst not an ingredient that I normally discuss at length, I wanted to point out here that you want to start cooking with cold water to get the timing and texture of the rice perfect. Most of the time I will advocate boiling a kettle and getting a head start but not here.
Rice Wine Vinegar
Rice wine vinegar is a staple of East Asian cooking. And it is readily available. Do note that rice vinegar is the same product just labelled slightly differently.
Rice vinegar is gluten free unlike malt vinegar and has a fairly sweet and neutral flavour. You could substitute with another vinegar like white wine vinegar but that will be harsher and less sweet.
Something like cider vinegar will provide a little too much flavour and will again taste noticeably harsher. I really would therefore recommend investing in a bottle of rice vinegar. I say invest but actually it is really cheap!
Allergen Information
Sushi Rice as prepared per the following instructions is free from nuts, egg, dairy and gluten.
Please note that this recipe may contain other allergens not referred to above and any variations suggested have not been tested unless otherwise stated. For more information regarding any dietary information provided on this website, please refer to my Nutritional Disclaimer.
How to Make Sushi Rice – Equipment
Sieve
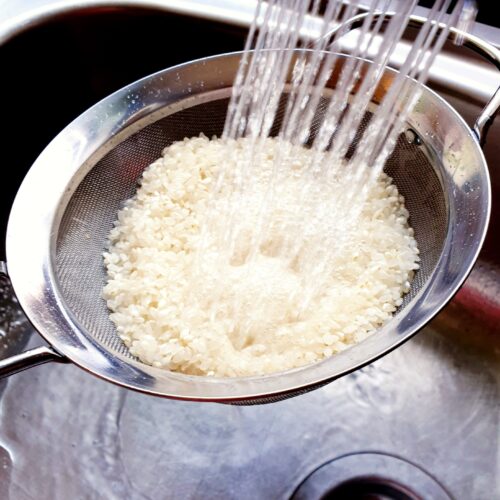
I find it easiest to rinse my rice in a sieve under the cold tap. You need to make sure that you have a relatively fine meshed metal or nylon sieve for this. Trying to use a colander will just result in a lot of rice in the sink!
You can alternatively put the rice in a bowl, cover with cold water and slosh it around with your fingers until the water is cloudy. Drain the water and then repeat until the water no longer turns very cloudy. But I would really recommend just getting a sieve!
Saucepan
You must use a pan with a well fitting lid to cook the rice.
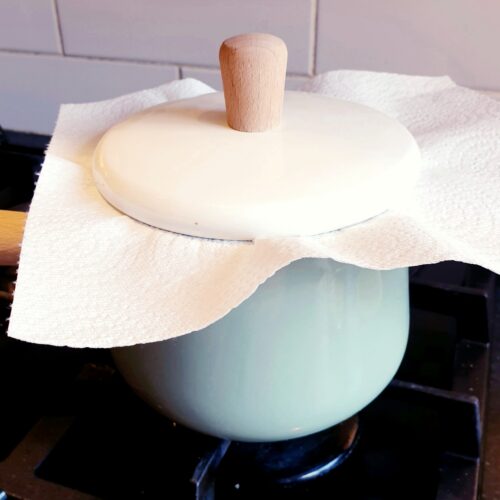
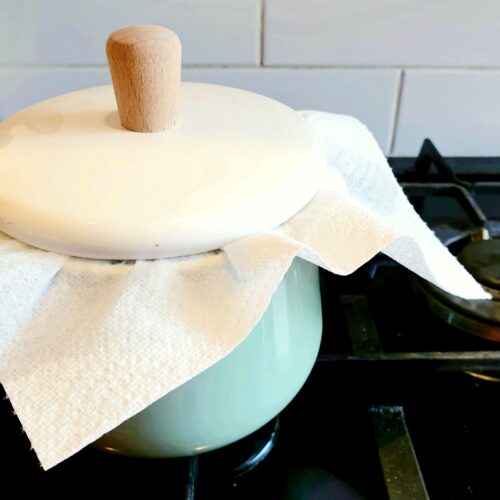
To create an even better seal, I lay a square of kitchen roll over the top of the pan before jamming the lid on. Nice and tight. Lovely. And no peeking!
You pan can be non-stick or not. If you are not using a non-stick pan, you might wish to cook a little extra rice to offset any that might stick to the bottom of the pan. I usually use an enamel pan and I accept this as inevitable.
Rice Cooker
The vast majority of Japanese kitchens are very small but almost all contain an electric rice cooker. Throw the rice and water in, set it and leave it. It sounds very simple but as I don’t actually cook rice everyday and I have room to store a range of saucepans, I do not own one.
Using a pan isn’t difficult so that’s the method I stick to. But if you have a rice cooker then ignore me completely and follow the instructions that came with it!
A comprehensive list of the equipment used to make this recipe is included in the main recipe card below. Click on any item to see an example. There are no hard and fast rules so many items can be sensibly substituted to achieve the same results.
Step by Step – How to Make Sushi Rice
Stated quantities make 500g or 3 loosely packed cups of cooked sushi rice. To make a different quantity, simply adjust the serving size in the brief instructions provided below.
Step 1
Measure 200g Sushi Rice into a sieve and run under the cold tap whilst swishing the rice around a little with your fingers to separate the grains. Stop once the water stops running out the sieve cloudy.
Step 2
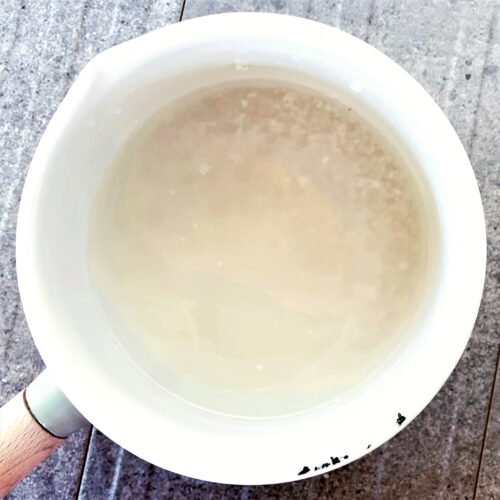
Put the washed rice into a large lidded saucepan and cover with 400ml Cold Water. Turn the heat onto medium and keep a close eye on it until the water is boiling.
Step 3
Once boiling, put the pan lid on and make sure it is well sealed. I use a square of kitchen roll to ensure a great seal. Turn the heat onto the lowest it will go and set a timer for 10 minutes.
Step 4
After 10 minutes, turn the heat off but do not touch the pan. certainly don’t take the lid off. The rice then sits for at least another 10 minutes to continue steaming.
Step 5
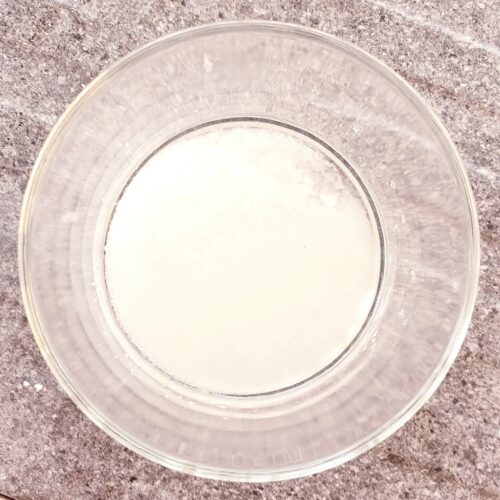
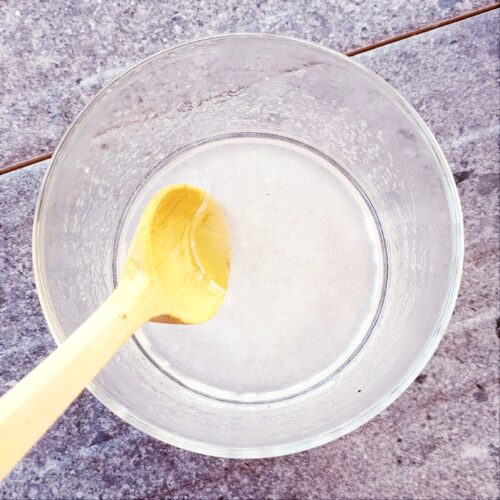
Meanwhile, add 2 tbsp Rice Wine Vinegar, 2 tbsp Sugar and 2 tsp Sea Salt Flakes to a small bowl.
Step 6
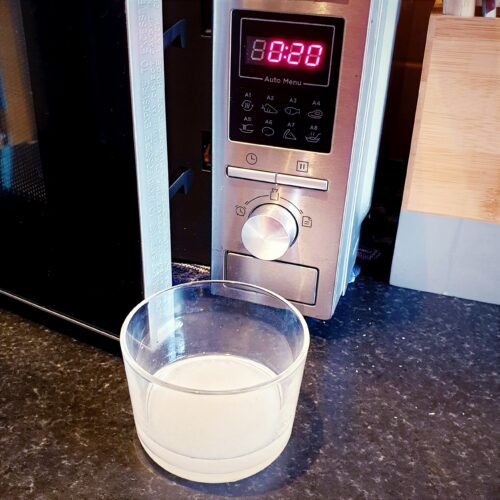
Blast the seasonings on high in the microwave for about 20 seconds. You can alternatively do this in a small saucepan on the hob.
Step 7
Once removed from the microwave, stir the sugar and salt until it has mostly melted into the vinegar.
Step 8
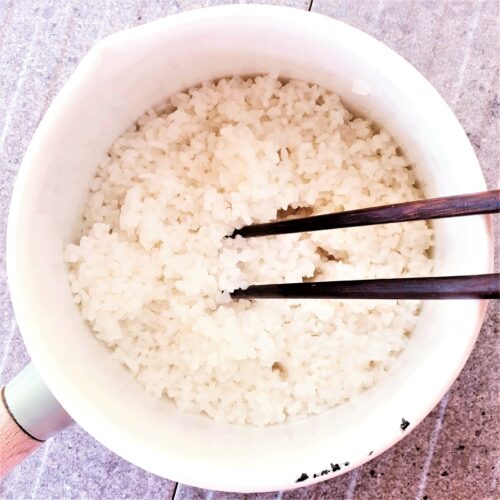
Once the rice has finished steaming, separate the rice grains a little using a large metal spoon or fork. Make sure not to stir and make it into a mush.
Step 9
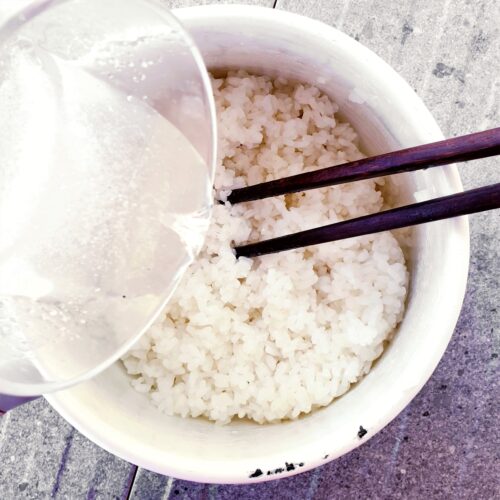
Add the sweet vinegar mixture into the rice and stir around to combine. Again be careful not to create a mush.
Step 10
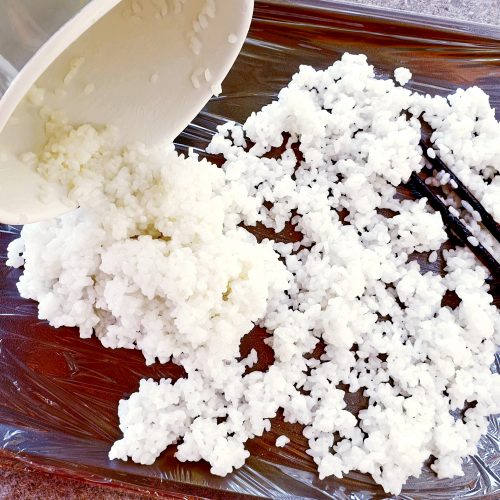
The rice now needs to cool. Speed up the process by spreading the rice in a thin layer on a tray and leave in a cool place.
Step 11
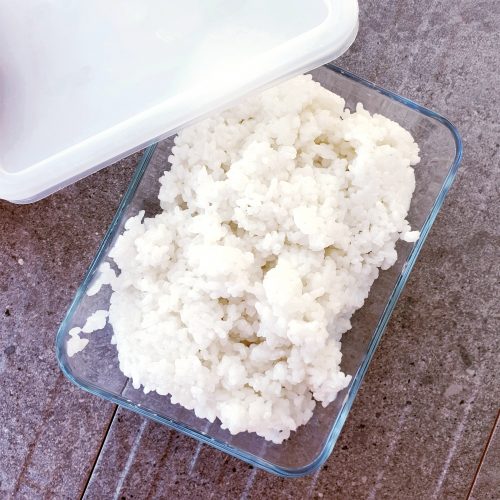
Once cool to the touch, put the rice into a container, cover it and leave in the fridge until needed.
Still Have Questions?
Simple! Just contact me and I will do my best to help as quickly as I am able. Head over to my Contact Me page, any of my social media channels or post a comment at the bottom of this page and I’ll see what I can do.
Don’t forget to let me know in the comments if you try making this recipe – I want to know what you think and if you made any substitutions, how did it turn out?
Pin How to Make Sushi Rice For Later
Hit one of the share buttons to save this page to your Pinterest boards so you can come back and find it at anytime!
Keep Up to Date
Make sure you SUBSCRIBE to my newsletter and avoid missing out on any of my newest and bonus content. Don’t worry, I promise not to spam you or bombard you too often. Plus you’ll receive a copy of my FREE 7 Day International Meal Plan!
Also please don’t forget to follow me over on my social media channels over at Facebook, Twitter, Instagram and Pinterest. I love to interact with my followers and I’d love you to share my content with your friends too.
Instructions in Brief
How to Make Sushi Rice
Equipment
Ingredients
- 200 g Sushi Rice
- 400 ml Water
- 2 tbsp Rice Wine Vinegar
- 2 tbsp Sugar
- 2 tsp Sea Salt Flakes
Instructions
- Measure 200g of Sushi Rice into a sieve and run under the cold tap whilst swishing the rice around a little with your fingers to separate the grains. Stop once the water stops running out the sieve cloudy.
- Put the washed rice into a large lidded saucepan and cover with 400ml Cold Water. Turn the heat onto medium and keep a close eye on it until the water is boiling.
- Once boiling, put the pan lid on and make sure it is well sealed. I use a square of kitchen roll to ensure a great seal. Turn the heat onto the lowest it will go and set a timer for 10 minutes.
- After 10 minutes, turn the heat off but do not touch the pan. certainly don't take the lid off. The rice then sits for at least another 10 minutes to continue steaming.
- Meanwhile, add 2 tbsp Rice Wine Vinegar, 2 tbsp Sugar and 2 tsp Sea Salt Flakes to a small bowl.
- Blast the seasonings on high in the microwave for about 20 seconds. You can alternatively do this in a small saucepan on the hob.
- Once removed from the microwave, stir the sugar and salt until it has mostly melted into the vinegar.
- Once the rice has finished steaming, separate the rice grains a little using chopsticks or a large metal spoon or fork. Be careful not to stir and make it into a mush.
- Add the sweet vinegar mixture into the rice and stir around to combine. Again be careful not to create a mush.
- The rice now needs to cool. Speed up the process by spreading the rice in a thin layer on a tray covered in clingfilm and leave in a cool place.
- Once cool to the touch, put the rice into a container, cover it and leave in the fridge until needed.

Cat says
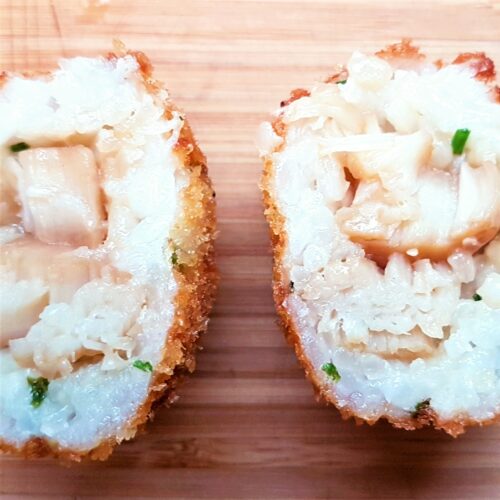
Used this today to make my first ever sushi! Great recipe, perfect fluffy rice and it made the most delicious sushi.
Chloe says
Fab and your sushi looked great!
Jenny Walters says
Yum, Yum Yum!! LOve a bit of sushi and now I can rustle it up myself!You make it sound so simple. I’m sushily inspired! X
Chloe says
I promise you it is simple….and fun!
Michelle Rolfe says
I used to make sushi when I first moved to the Uk – haven’t since! But cooking the rice was always the most difficult! But I do use kitchen roll when I cook long grain rice to absorb and it works a treat! I’ll have to get the teens involved in this one! Michelle x
Chloe says
Oh def give it another go and let me know what you think!
Kate - Gluten Free Alchemist says
My daughter treated us to Sushi on the beach this week! She’s 14 and clearly fearless in the kitchen. It wasn’t a bad attempt, but think she may need a second go…
Yours looks fab… Pinned and bookmarked xx
Chloe says
Oh wow, you’re daughter is a woman after my own heart! But yes, more sushi sounds like and excellent plan 🙂
donna says
I love sushi, and I’m ashamed to say I’ve never even tried to make it! You’ve made this look so simple, I might brave it!
Chloe says
Oh absolutely try it, its such fun. And you know what, if you end up with a sushi bowl…meh who cares 🙂
Choclette says
Ooh I do love sushi. We haven’t made any for literally years. Back in Cornwall we had a nice shop not too many miles away that had a Japanese corner and we bought everything we needed from it, including the rice. Here in the New Forest, I’m clueless. I have quite a tight fitting lid for the pan I make my rice in, but I do like your kitchen role tip. Fab diy photos.
Chloe says
Its funny because you’d assume the New Forest would be better stocked than Cornwall! Saying that, when I lived in Cornwall we owned the shop so there was very little I couldn’t get!