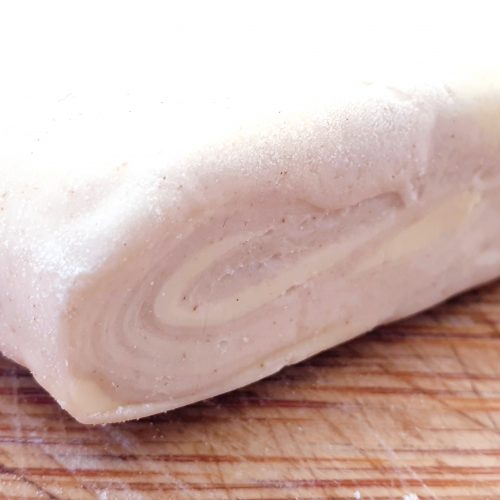
Puff Pastry seems to panic people but it really shouldn’t! I learnt at the WI Cookery School that real laminated puff pastry is actually incredibly easy, if just a little time intensive. But as with all these things, the result is so superior to the ready prepared versions, you are unlikely to go back!

This post may contain affiliate links. Please refer to my Disclosures Page for more details.
So yes, puff pastry does take a bit of time to make. But it is mostly time spend waiting for it to chill so its not like you can’t get on with other things at the same time. And actually its the kind of activity where the level of smug achieved far outweighs the time spent.
My recommendation would be to make a few batches of the pastry at once and freeze them in batches. That way you spend a couple of hours one day and then have super convenient pastry on hand for whenever you need it.
How to use Puff Pastry
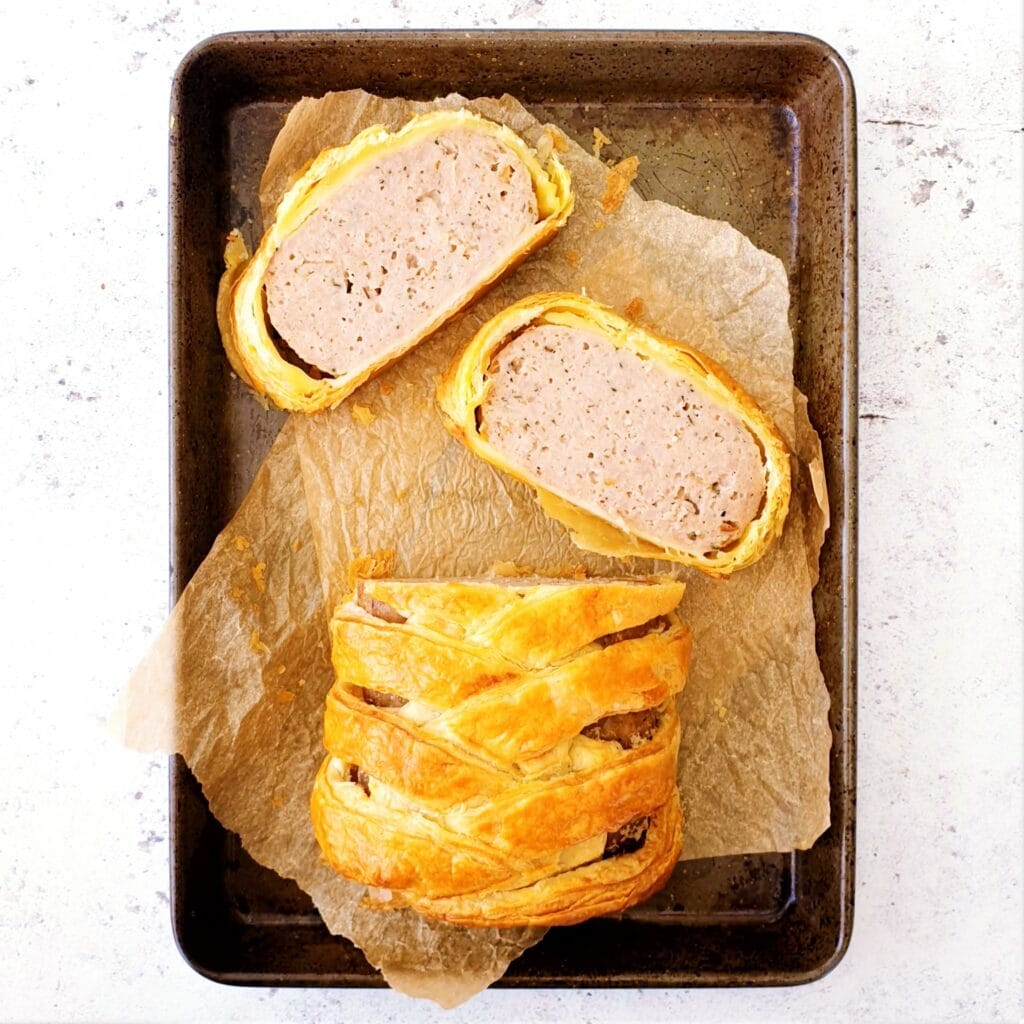
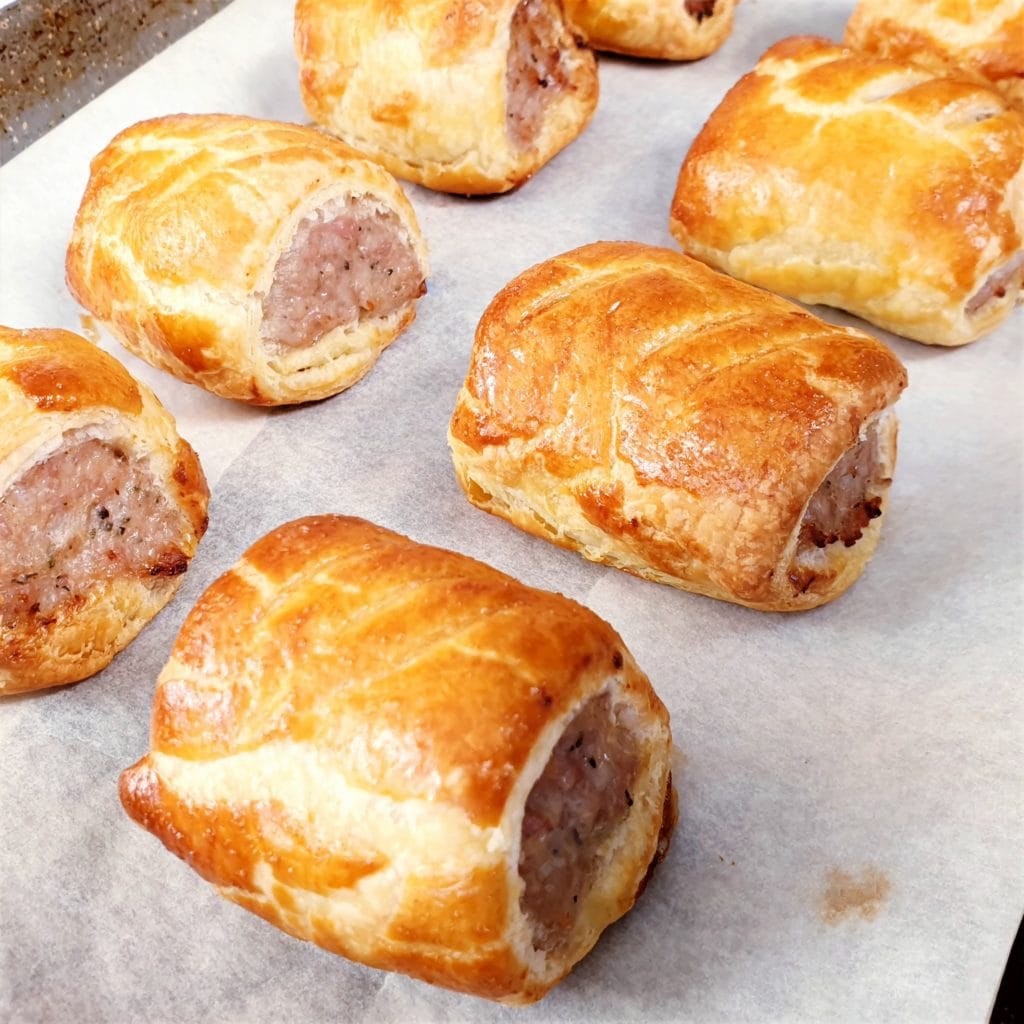
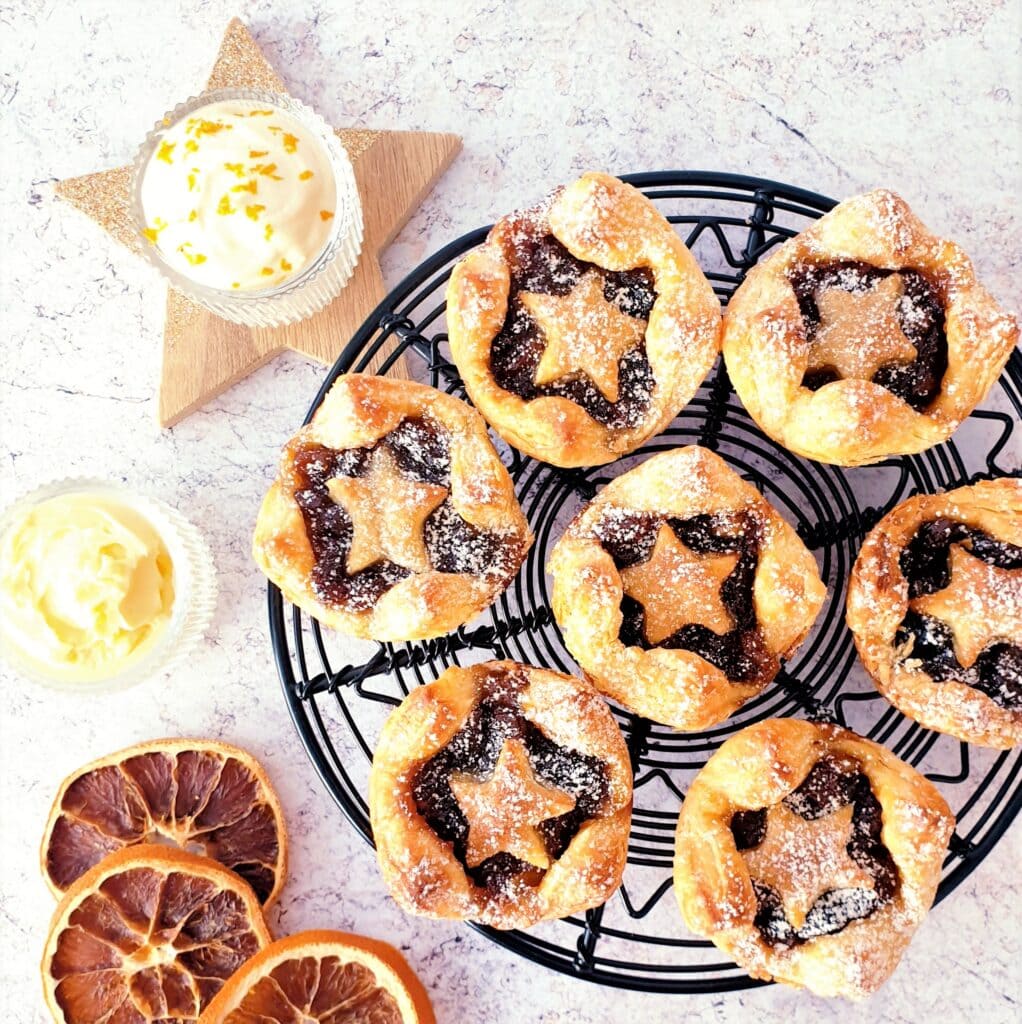
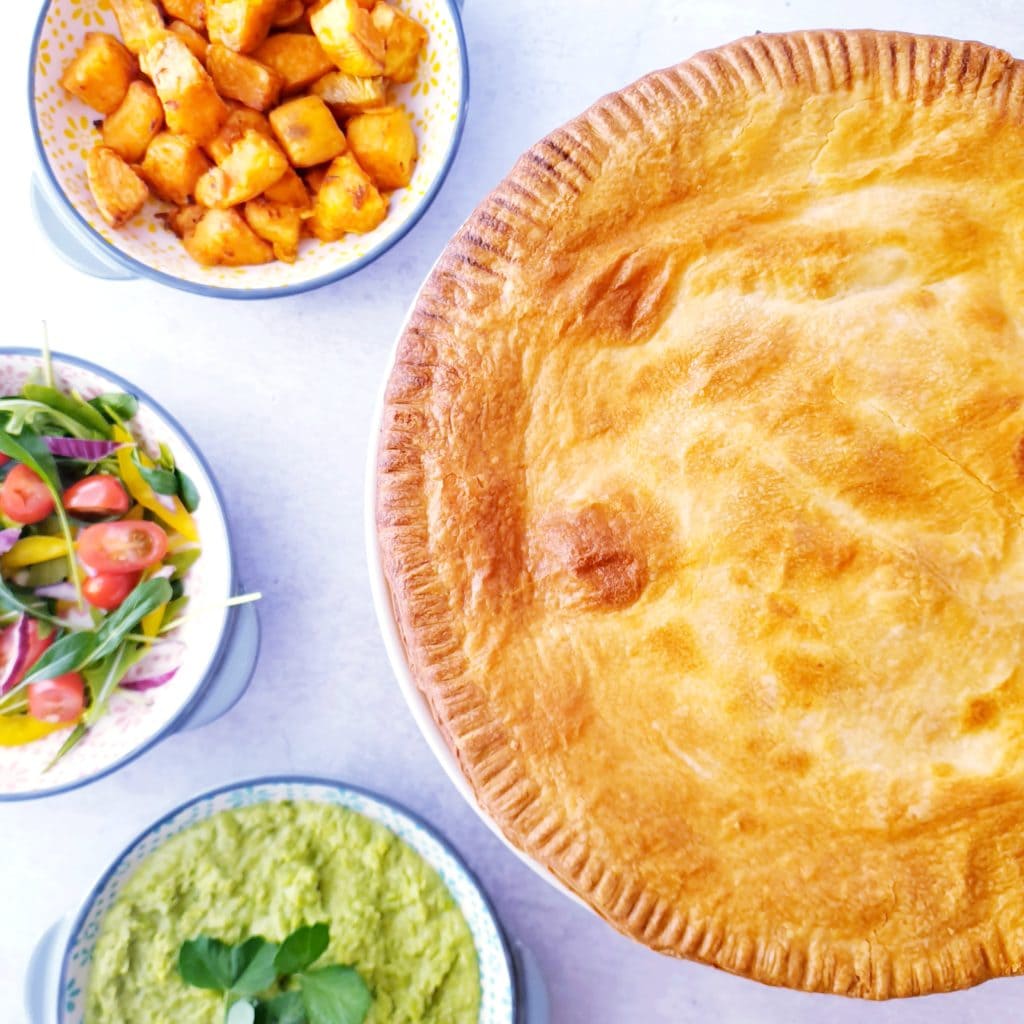
You can use puff pastry for all manner of sweet and savour applications! Pies, pasties, quiches, fruit tarts and vol-au-vents just to name a few.
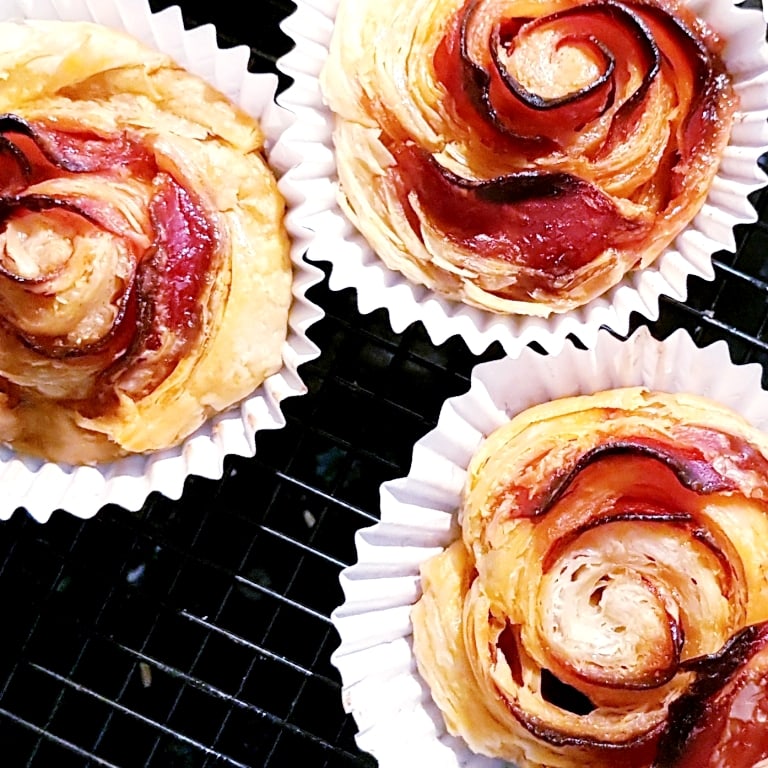
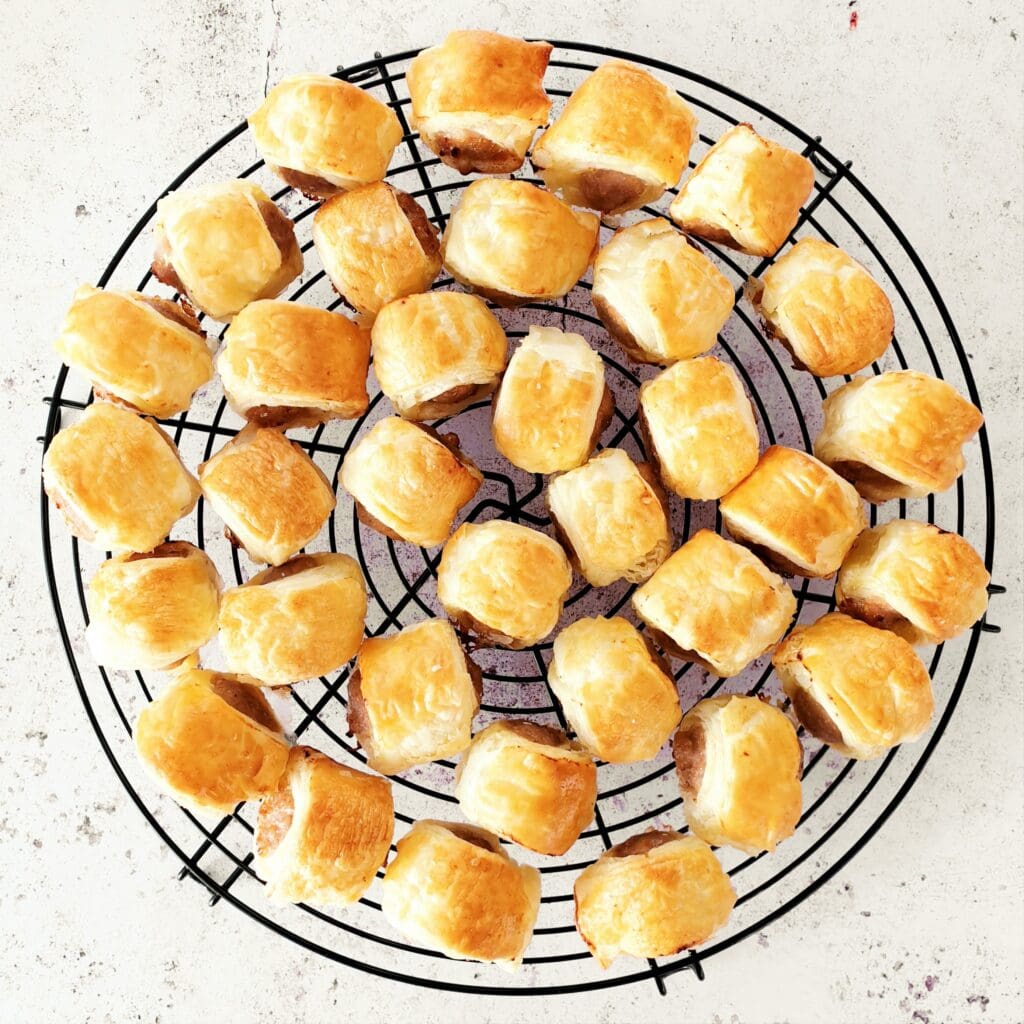
Why not try one of my recipes using homemade puff:
More Puff Pastry Recipes
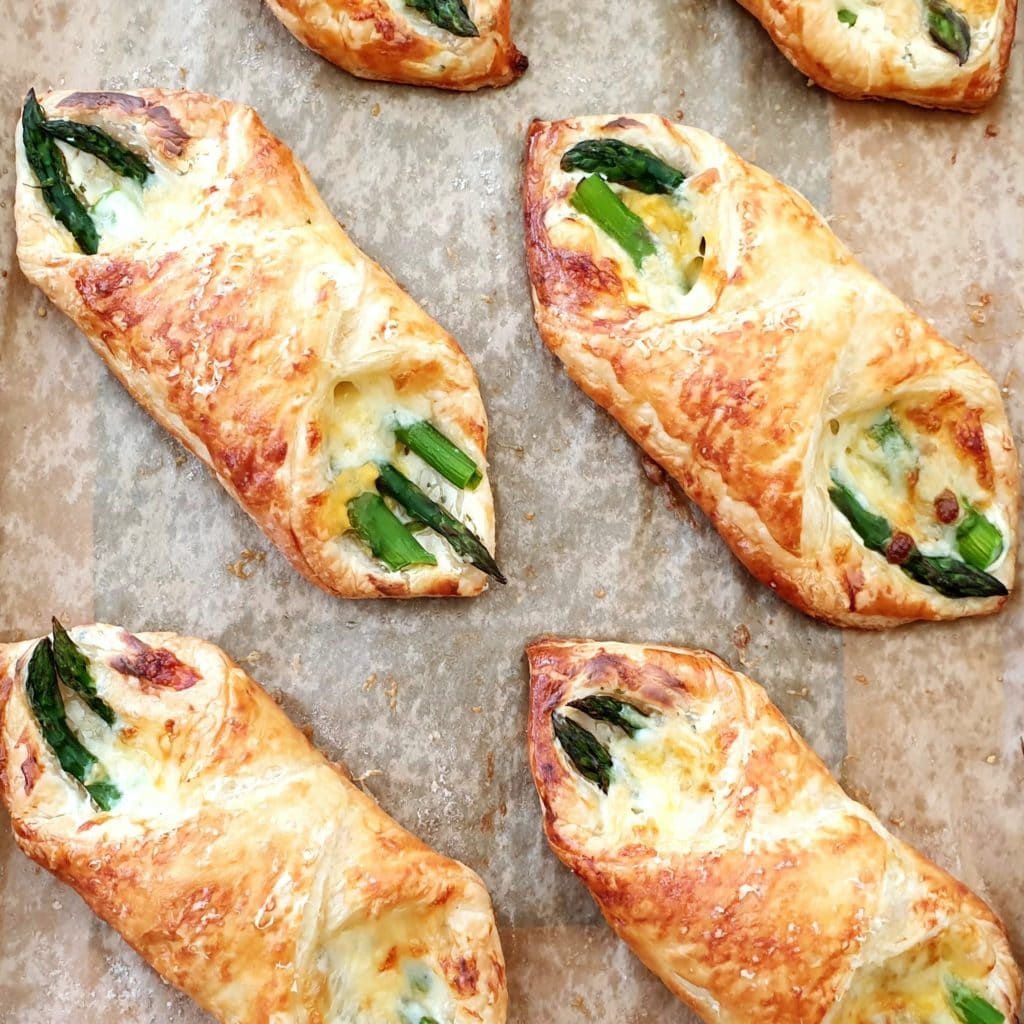
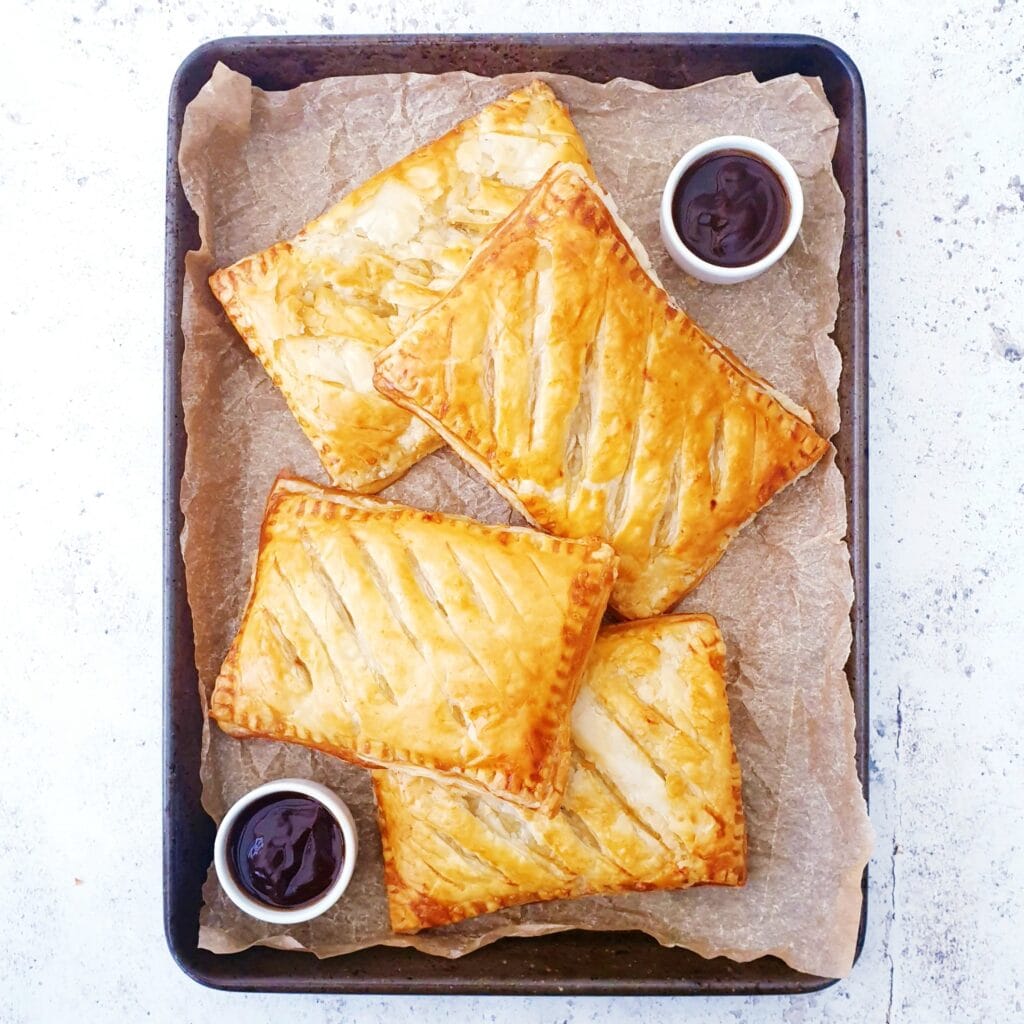
Steak Bakes
To use puff pastry you need it to be cold. Getting puff pastry warm will melt the buttery layers that you’ve worked so hard to achieve. Saying this, I do appreciate that super cold and hard pastry can be a little difficult to roll out so try taking it out the fridge 5 to 10 minutes before using it.
Equally if you are trying to use puff pastry in a warm climate or the 3 days of British summer that we refer to as a heatwave, you may wish to roll out then re-fridge the pastry before continuing to use it.

How Long Does Homemade Puff Pastry Really take to Make?
To make puff pastry as quickly as possible, I chill my dough in between folds in the freezer. This is my timeline for making the pastry from start to finish using that method. The first time may take a little longer but once you’ve got the hang of it, I think you can be as speedy as me!
- 10 minutes – Plastersize the butter (beat it and make a nice flat neat square.
- 10 minutes – Make the base dough.
- 5 minutes – Chill the base dough and finish chilling the butter.
- 10 minutes – Roll out dough, add butter and complete first fold.
- 5 minutes – Chill pastry in freezer.
- 5 minutes – Complete folds 2 and 3.
- 5 minutes – Chill pastry in freezer.
- 5 minutes – Complete folds 4 and 5.
- 5 minutes – Chill pastry in freezer.
- 5 minutes – Complete folds 6 and 7
- 5 minutes – Chill pastry in freezer. It is now ready to use!
I make that 70 minutes from start to finish. And 20 minutes of that is chilling. Both you and the dough if you like!
If you want to practice the folding technique, my Buttermilk Breakfast Biscuit dough uses the same fold but without the chilling time. Plus then you’ll have biscuits to eat!

Ingredients for Puff Pastry
Butter
Glorious butter. I use salted. And yes, I know that there is salt in the recipe too. That’s because I am all about flavour. But if you’re not so much of a fan of flavour, you could use unsalted butter.
I think it goes without saying, but I’ll say it just in case – this is no time to use margarine, low fat spread or spreadable butter. There only exception to this is if you are making a vegan/dairy free version. In which case use block baking fat.
Baking fat is a what commercial pastry makers use because its cheap. It has the texture of butter so can still be used to make the pastry but its made from vegetable oil. You can use this as a substitute even if you don’t need to for dietary reasons, But you really do lose out on the glorious buttery flavour of proper puff pastry.
Water
You might note that the recipe ingredients call for water to be weighed. This is the most accurate way to get exactly the correct consistency for your dough so please do follow the instructions accurately. My usual preferred cooking and baking method of ‘just chuck it in, it’ll be fine’ goes right out the window on this one!
Do also make sure that like everything else in this recipe, the water you use really is properly cold. Pop some in the fridge a while before if needed.

Make it Vegetarian or Vegan
Unless you decide to use bacon flour to make your puff pastry, this recipe is suitable for vegetarians. (Is bacon flour even a thing?!)
As I’ve touched on above, you can easily make vegan puff pastry by substituting the butter for baking fat. Just treat the block exactly the same as butter and it will work in exactly the same way..

Make it Allergy Friendly
This puff pastry recipe is free from nuts and egg.
Dairy Free: As with the vegan option, substitute the butter with baking fat.
Gluten Free: Full disclosure, I have not tried making this recipe with gluten free flour. But as gluten development isn’t a huge factor in flaky puff pastry, I think that you should be able to make a very successful version of gluten free puff pastry. The overall finished texture may be slightly shorter than usual but the taste will still be delicious.
Please note that this recipe may contain other allergens not referred to above and any variations suggested have not been tested unless otherwise stated. For more information regarding any dietary information provided on this website, please refer to my Nutritional Disclaimer.

Equipment Notes for Puff Pastry
Baking parchment is your best friend when rolling out the butter. Butter can stick like hell to anything but when nice and cold, it will peel off the paper like a dream.
I did not own a rolling pin for many many years. Instead I used a roll of clingfilm. When I was finished, I just disposed of the last layer off the roll. This was all very well and good but clingfilm tends to have a distinct lack of weight to it.
A couple of years ago, I asked for a marble rolling pin for Christmas. I have not looked back. They’re not expensive but absolutely brilliant. I use the weight of the rolling pin to do the rolling rather than exerting great pressure on the pin. This is very helpful for not breaking the layers.
I love my little flour shaker. It makes evenly dusting a surface with flour easy and a little less messy than scattering it by hand. Add one to your Christmas list.
A comprehensive list of the equipment used to make this recipe is included in the main recipe card below. Click on any item to see an example. There are no hard and fast rules so many items can be sensibly substituted to achieve the same results.

Puff Pastry Tips
My biggest tip is to be gentle. Take you time rolling each layer. Do not press too firmly on the layers or the butter breaks up and you spend a very long time making what is effectively a very laborious rough puff pastry.
My second biggest tip is to make sure you brush any excess flour off the pastry before each fold. Leave flour in there and the layers won’t stick together at all! I keep my silicone pastry brush handy for this.
This is not a time for ‘oh that’ll do!’. If you are going to make puff pastry, spend a little time and do it properly or you will just have greasy pastry and you might as well not have bothered in the first place!
You can pop the pastry in the freezer in between folds rather than the fridge but while you can leave it in the fridge for as long as you want, leave it more than 10 minutes in the freezer and you’re in trouble. Set a timer!
I have provided this recipe using “half turns” or “normal turns”. You can also fold with the “book fold” method but I didn’t want to confuse the issue!
Don’t try to defrost pastry in the microwave. It will never be the same again – trust me!
I hope that I’ve persuaded you that puff pastry is not difficult and the little bit of time and effort that is involved is so very worth it!
Don’t forget to let me know in the comments if you try making this recipe – I want to know what you think and if you made any substitutions, how did it turn out?
Still Have Questions?
Simple! Just contact me and I will do my best to help as quickly as I am able. Head over to my Contact Me page, any of my social media channels or post a comment at the bottom of this page and I’ll see what I can do.
Pin Puff Pastry For Later
Hit one of the share buttons to save this page to your Pinterest boards so you can come back and find it at anytime!

Keep Up to Date
Make sure you SUBSCRIBE to my newsletter and avoid missing out on any of my newest and bonus content. Don’t worry, I promise not to spam you or bombard you too often. Plus you’ll receive a copy of my FREE 7 Day International Meal Plan!
Also please don’t forget to follow me over on my social media channels over at Facebook, Twitter, Instagram and Pinterest. I love to interact with my followers and I’d love you to share my content with your friends too.
The Recipe
Puff Pastry Recipe
Equipment
Ingredients
- 240 g Salted Butter - very cold
- 240 g Plain Flour (All Purpose) - & extra for dusting
- 130 g Water - yup – weigh it!
Instructions
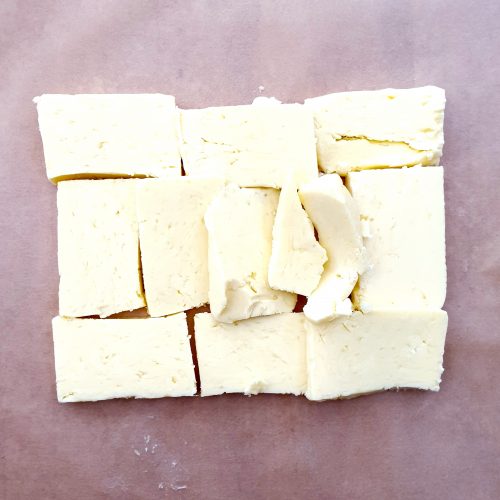
- Take 210g Salted Butter and cut it into slices. Place them to form a rough square on top of a piece of greaseproof paper. Cover with another piece of the paper.

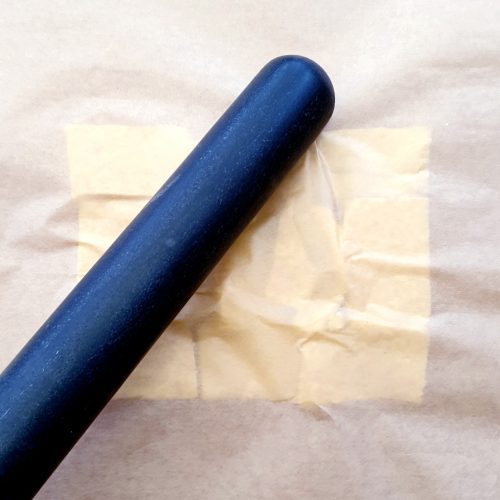
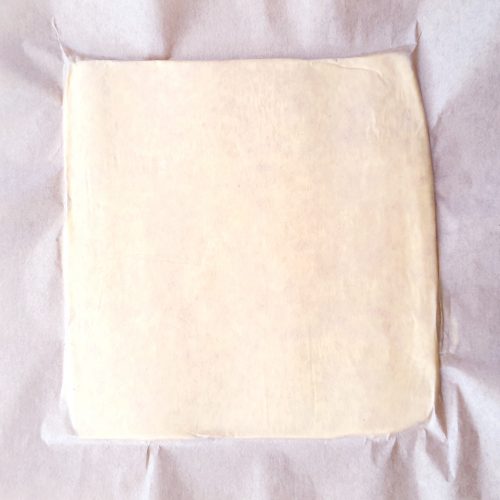
- Use a rolling pin to flatten the butter into a more even layer. You are looking to make a square about 20cm x 20cm. (Do note that these measurements will change if you have adjusted the recipe quantities).

- To get a nice even square you will inevitably have to use a knife to take of some runaways bits of butter and squidge them back into any gaps.

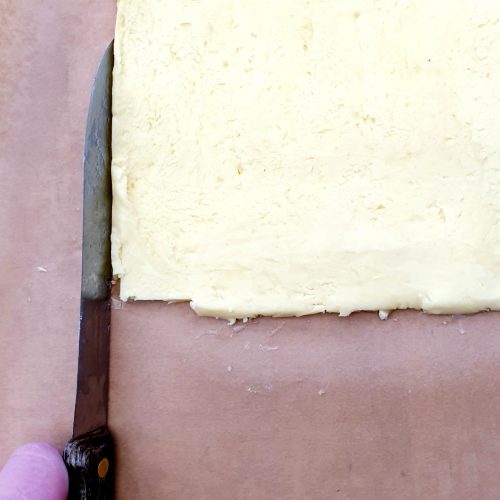
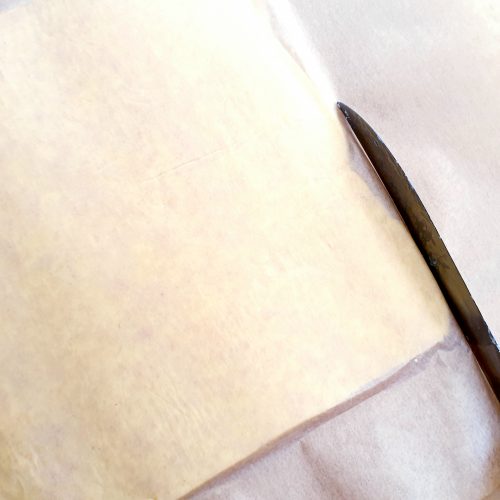
- Use the back of a long knife to press the edges back to the same thickness as the rest of the square.

- Put the lovely and neat butter square into the fridge, still between the grease proof paper sheets.

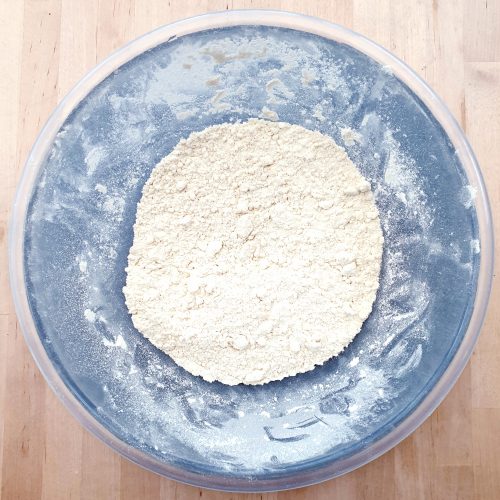
- Meanwhile, sieve 240g Plain Flour into a medium mixing bowl and add 30g Salted Butter cut into small pieces.

- Rub the butter into the flour in exactly the same way you would when making scones or a crumble.

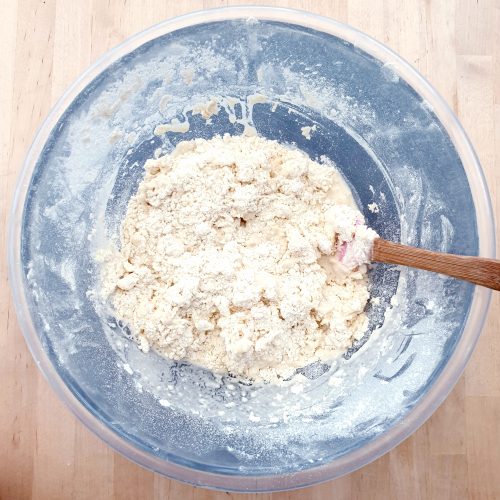
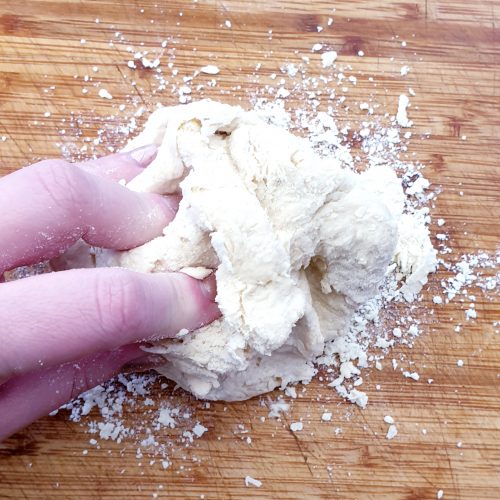
- Add 130g Cold Water and mix to form a dough.

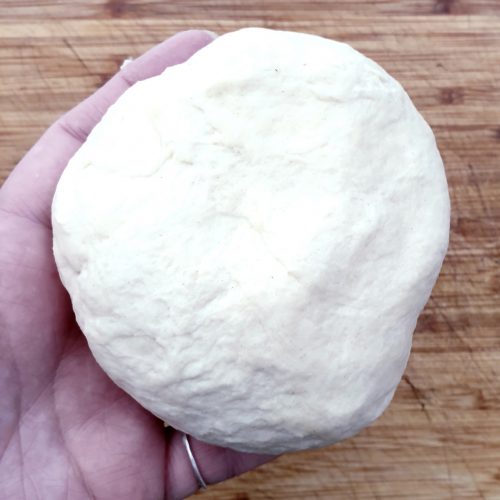
- Knead the dough on a lightly floured surface for a few minutes until its a smooth and slightly elastic ball.

- Pop the dough into the fridge for 5 minutes.

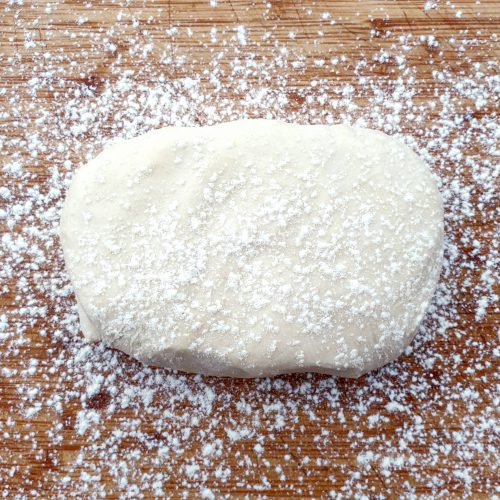
- Take the dough back out of the fridge and roll the dough into a rectangle about 20cm by 30cm. (Just a little larger than a sheet of A4 (standard size printer) paper.)

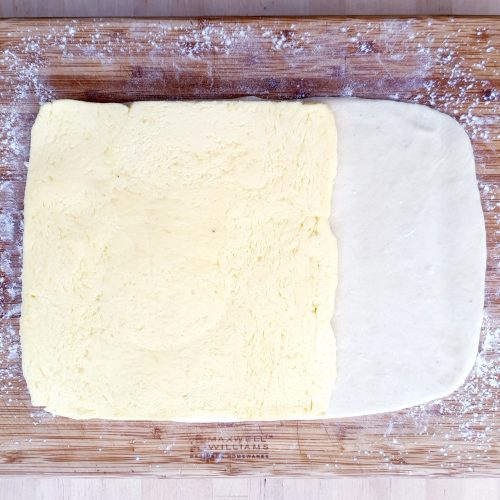
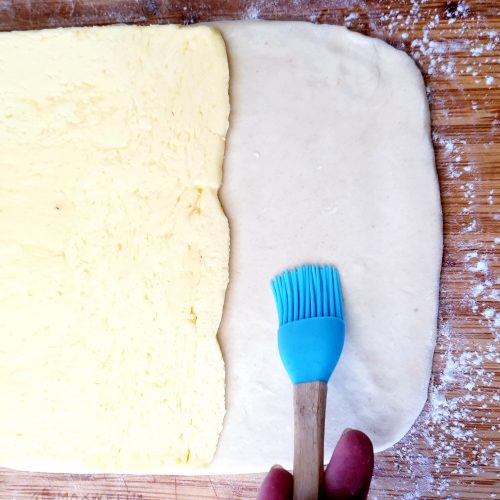
- Take the butter square out of the fridge, peel off one layer of the grease proof paper and lay it butter side down at one edge of the the dough rectangle. If all has gone well, the butter should be the same width and about 2/3 of the length of the dough.

- Brush off any stray flour and fold the un-buttered dough third over the butter.

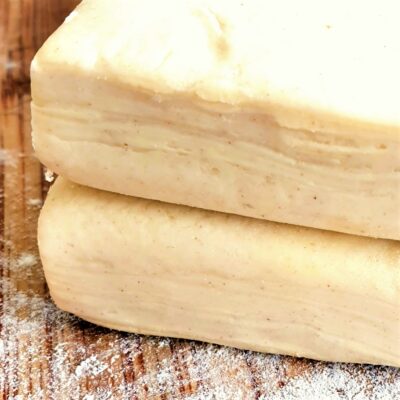
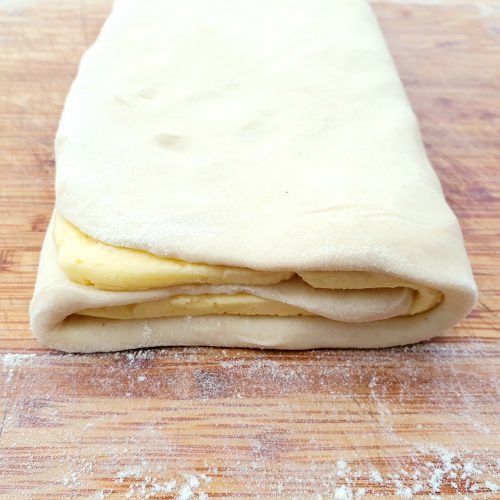
- Then fold the whole thing in half. If you look at the end, you should now have layers of dough/butter/dough/butter/dough. This is called a ‘normal turn’ or ‘half turn’.

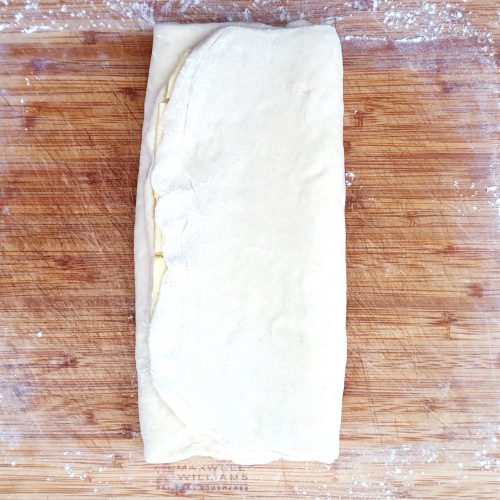
- Wrap the pastry in cling film and pop the dough back in the fridge for 15 minutes or the freezer for 5 minutes.
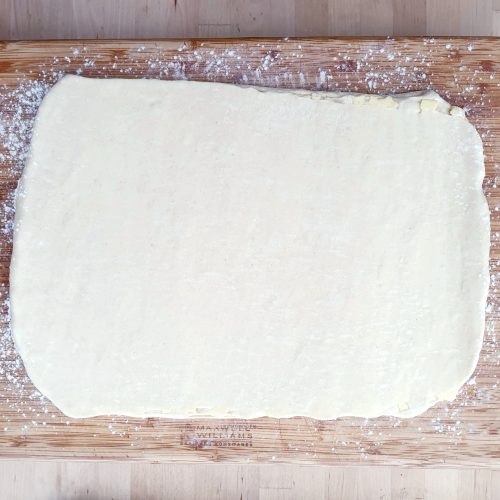
- Gently roll the dough back out to its original size then fold again into thirds. Re-roll and re-fold again. You have now completed 3 folds.

- Pop the dough back in the fridge for 15 minutes or the freezer for 5 minutes.

- Repeat the rolling, folding and refrigerating twice more. You will end up having folded the dough 7 times in total.

- Chill the dough for the final time before it is ready to use for whatever recipe you please.



Choclette says
I have to confess I’ve never made puff pastry, although I did make croissants at school. It always seems like a bit of a faff, but I like your thoughts of smugness and I’m pretty convinced it’s a whole heap better than the bought stuff. SO … watch this space!
Chloe says
Smug is a great deciding factor when making slightly more complicated recipes!