
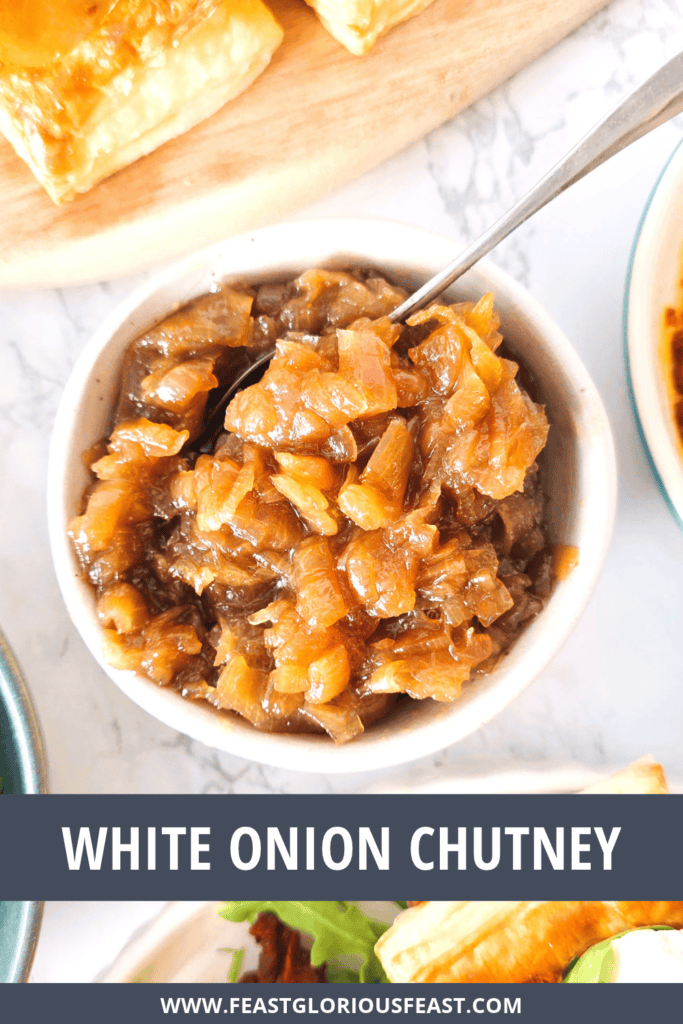
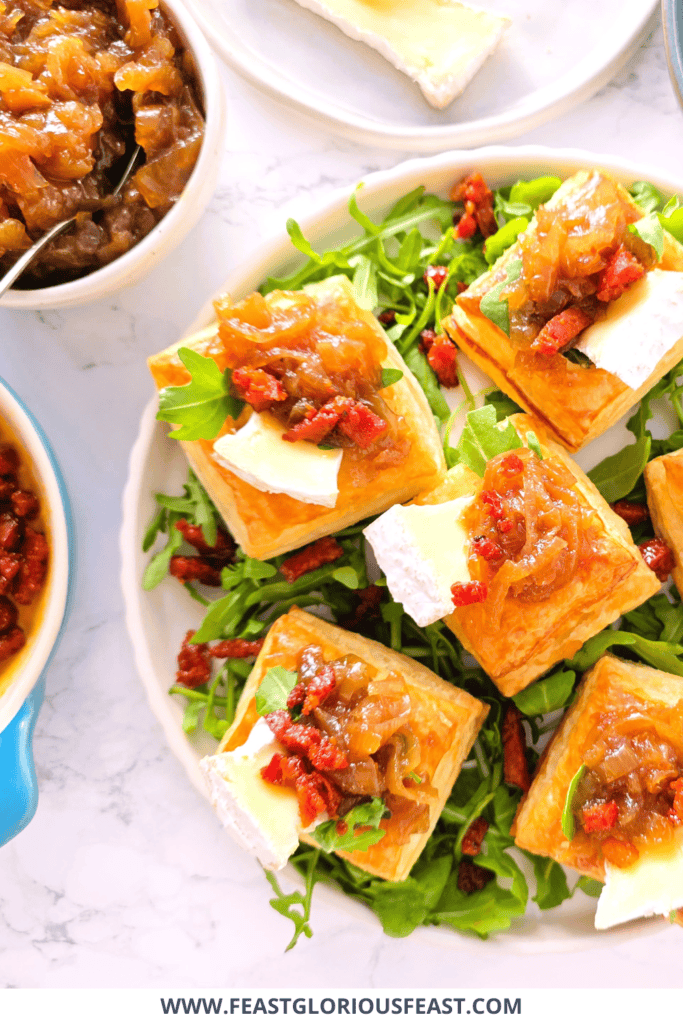
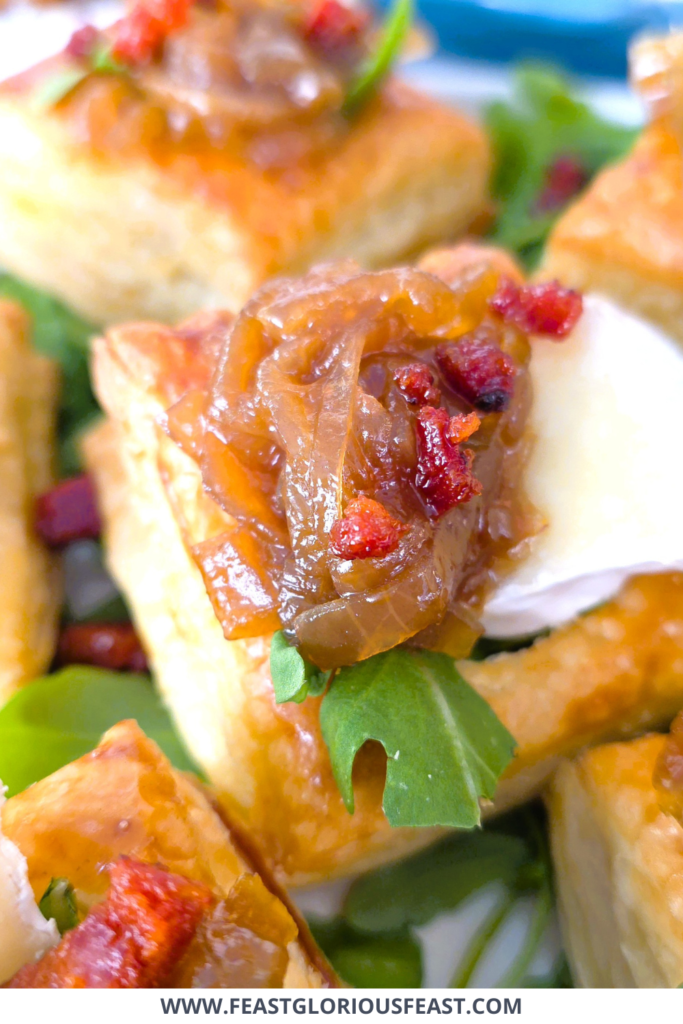
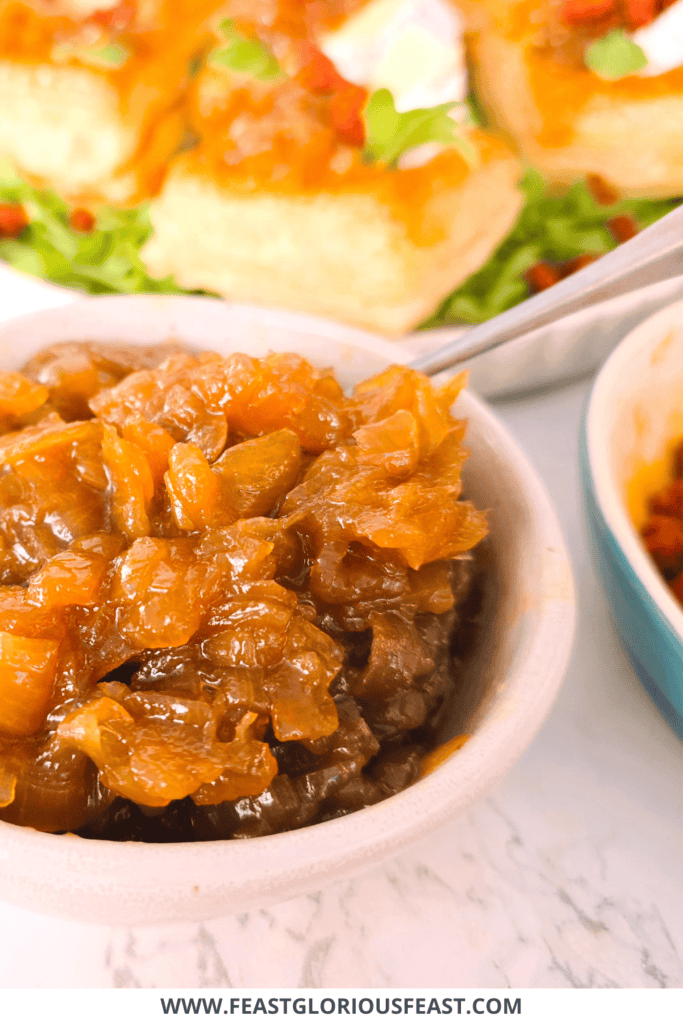


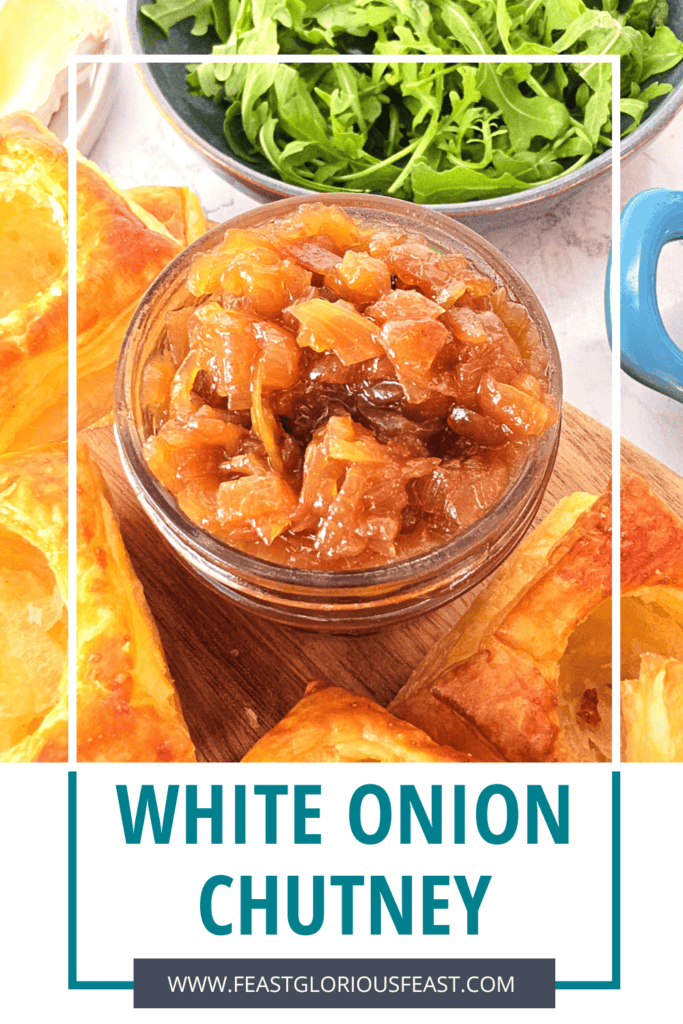
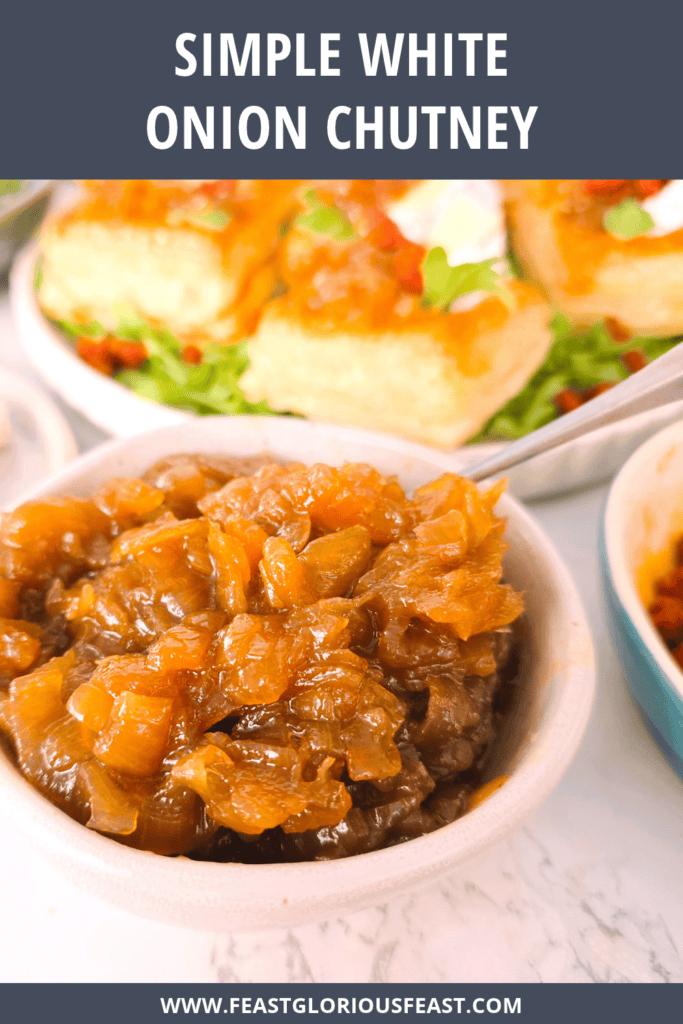
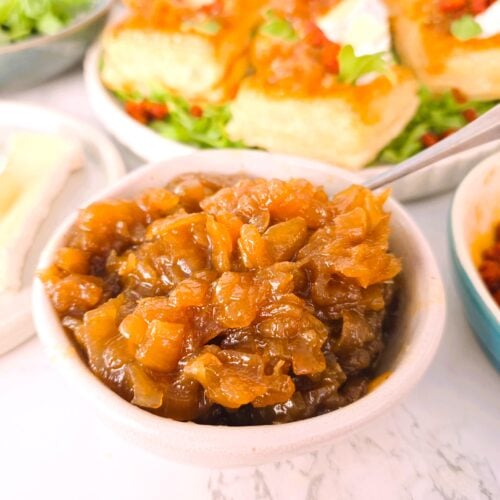
This White Onion Chutney recipe is just a little more chill than its red onion chutney sibling! It still packs a flavour punch whilst being a touch milder and slightly less dark and sweet. This recipe uses one simple trick to really speed up the cooking process, so it’s speedier too!
This post may contain affiliate links. Please refer to my Disclosures Page for more details.
I love a red onion as much as the next person but I do tend to cook white (brown) onions more. So I tend to have them on hand in larger quantities. They start out a little more astringent then sweeter red onions but still cook down to be nice and sweet – perfect for a chutney.
I am a very impatient cook. Standing and waiting for a large pan of onions to cook down is something that I cannot bear. So I worked out a way to speed up the process – and it involves the microwave. Nuking them first at least halves the time it takes to have the onions cook down and soften.

More Chutney Recipes
You can of course make delicious savoury chutneys from many other fruit, it is always worth experimenting or you can try some of my other recipes.
The best simple chutney recipes
Here you’ll find all of my fabulous chutney recipes. I make the method and flavours simple – focusing on the main ingredients.
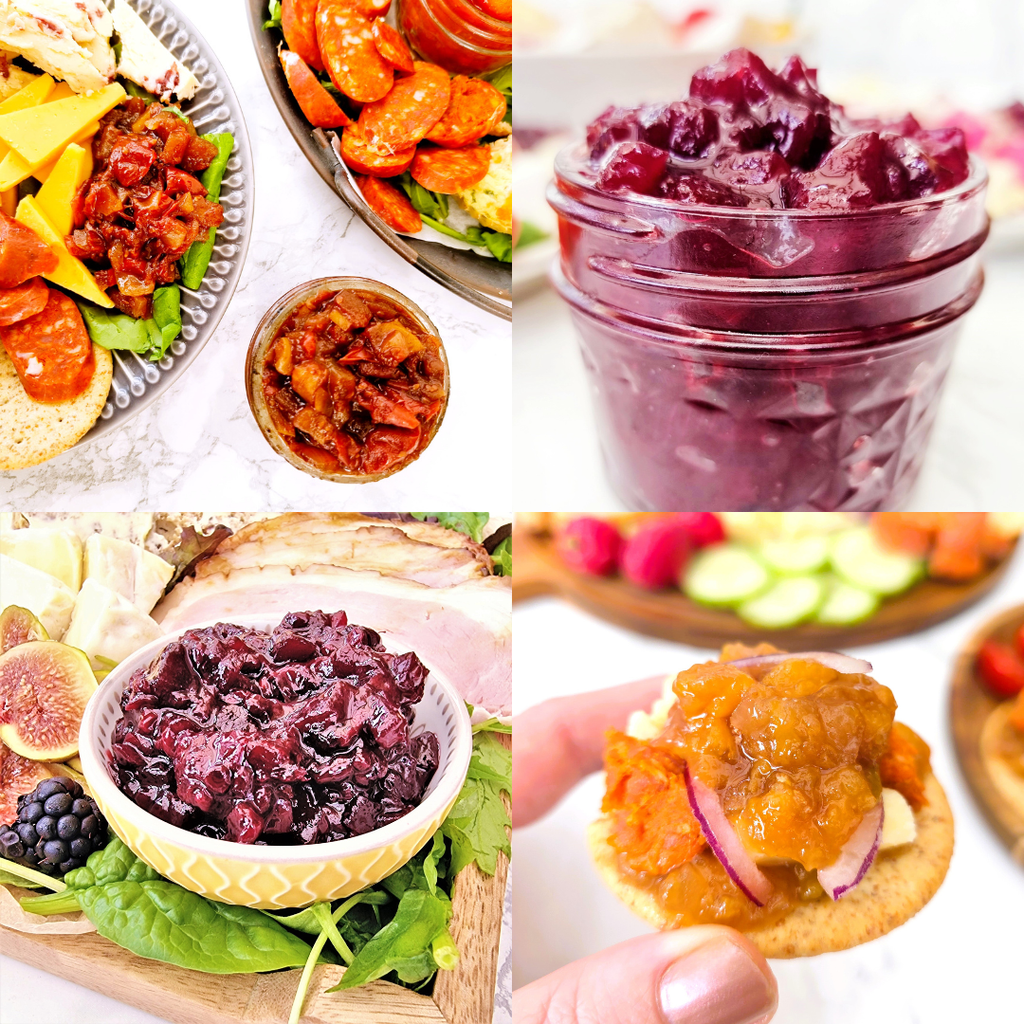
Featuring chunteys made from fruits like figs, raspberries, plums and even canned peaches as well as vegetables like cherry tomatoes and white onions.
How to Serve Raspberry Chutney
You only need to wait a couple of days before this chutney is ready to eat. Which is great news for impatient folk like me. Once opened, I do keep it in the fridge but try to take it out a little in advance of eating to it warms a little. This allows the flavours to shine much more than when it is very cold.
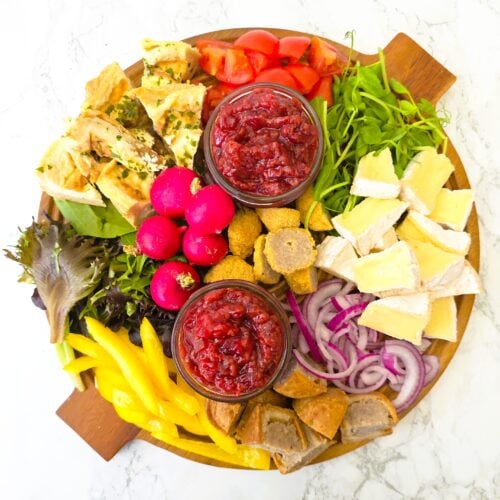
A cheeseboard, a buffet or a ploughman’s type lunch is of course the most obvious way to serve a chutney. I’ve gone all out with some quiche, crispy radishes, fresh tomatoes and salad leaves, mini pork pies, a pile of creamy brie and crunchy red onions and peppers. Throw in some cracker or crusty bread to srve and you can’t really go wrong.
But of course you can also add chutney when you’re cooking. My cheese and chutney sausage rolls are a great starting point. Add a layer to cheese on toast or a ham and cheese toastie.
Or go a little more out there and use it as a condiment like you might a cranberry sauce. Serve with sliced glazed ham – indeed you could use the chutney to glaze them ham. It also goes beautifully with almost all cuts and joints of pork.
How to Serve White Onion Chutney
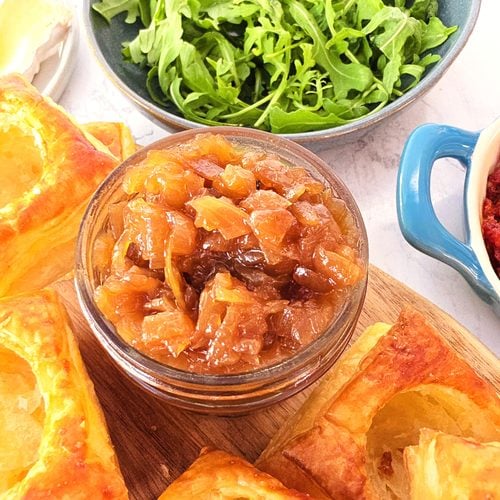
White onion chutney is extremely versatile. In the same way that onions are used in basically every cuisine around the world as a base flavour, the chutney also pairs well with many other ingredients – usually without overwhelming them – the perfect condiment.
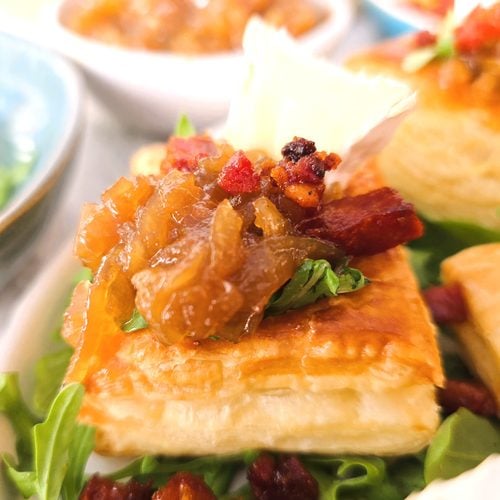
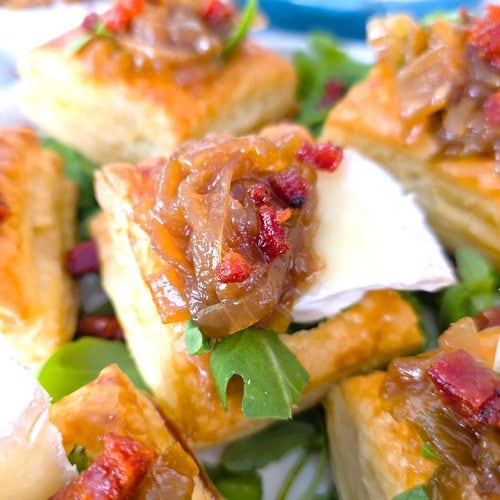
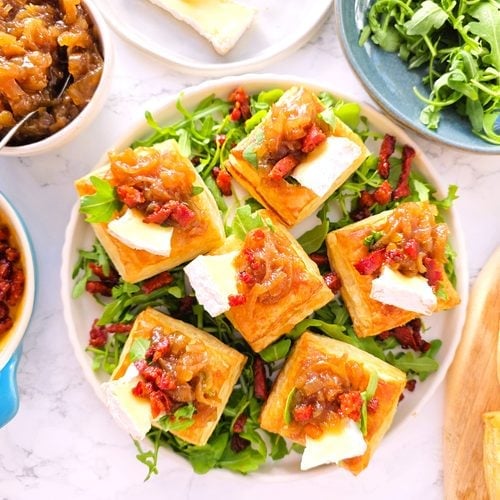
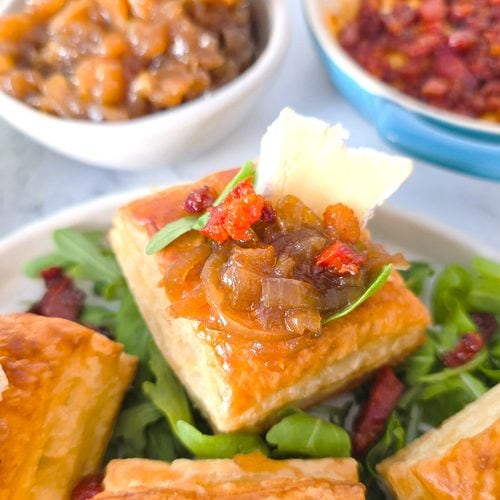
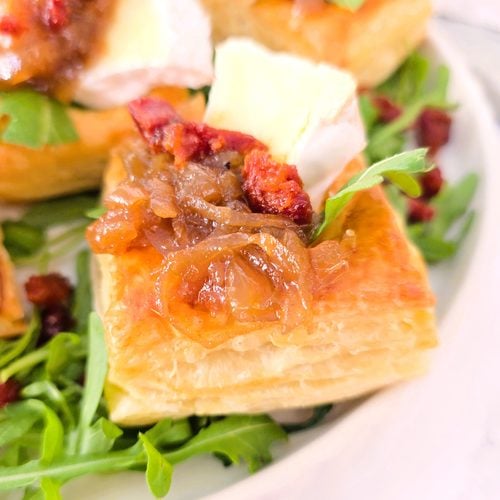
Onion is a naturaly bedfellow with cheese. Use it in my Chutney & Cheese Sausage Rolls, add to a Ham & Cheese Toastie or Grilled Cheese. Or simply serve it with a beautiful cheese board or ploughman’s lunch.
Onion Chutney Ingredients
Onions
I know that the different varieties of onion have slightly different names wherever you go. But if you’re already reading this then I assume you understand the difference between a red and white onion, regardless of whether the skin is white or brown. Sweeter vidalia onions also work in this recipe.
What is more important than the size of onion or the colour is how they’re prepared. And I would suggest that you take note of the quantity of prepared onion that I have included in the recipe as that is much more important and less variable than the starting weight.
You should make sure that there is no hard root, remove any outside layers that are tough (usually they are a bit green and stripey and feel different to the rest of the onion) and that any green middle pieces are removed before slicing. These parts won’t cook down to be soft and will adversely affect the quality of the chutney.
Sugar
Although you might be assuming that I’ve used white sugar, I have actually plumped for light brown sugar. A chutney does ideally need those richer caramel notes of the brown sugar.
White is a perfectly acceptable substitute but I wouldn’t recommend using dark brown or demerara sugar. The flavour is too strong and the texture too crunchy respectively.
Vinegar
Keeping the recipe on the lighter side, I’ve used white wine vinegar. You can also use cyder or rice wine vinegar. You don’t want to use actual white vinegar, that would be too harsh in flavour – keep that for cleaning, not eating,
If you have something darker like a red wine vinegar, you can use that. But as with other ingredient swaps, just be aware that you will end up with a darker coloured chutney. Malt vinegar is one darker option best avoided – the distinctive flavour is just too much. Balsamic will give you a totally different recipe.
Salt
Sea salt flakes such as Maldon are always my preference and all of my recipes specify using them. If you are using a free flowing fine or table salt, you will need to halve the amount in the recipe.
Be Flexible
This is a simple recipe with no additional flavours, spices or ingredients. And it is perfect as it is but is also ripe for adding to.
- Make a spicy version by adding dried chili flakes or very finely sliced red chillis. You can add them with the sugar/vinegar etc.
- Make it herby by adding finely chopped thyme, rosemary, oregano, parsely or a mix. Use fresh or dried as preferred. Go easy with dried, especially rosemary as it can be quite overpowring. Sage is also delicious but be careful you don’t overuse it or you’ll end up with paxo flavoured chutney.
- Add English, Dijon or wholegrain mustard for a bit of a different twist.
- Make a garlicky version by adding garlic paste. Or to make it next level, roast a garlic bulb whole then squeeze out the soft garlic cloves, crush to a paste and add that.
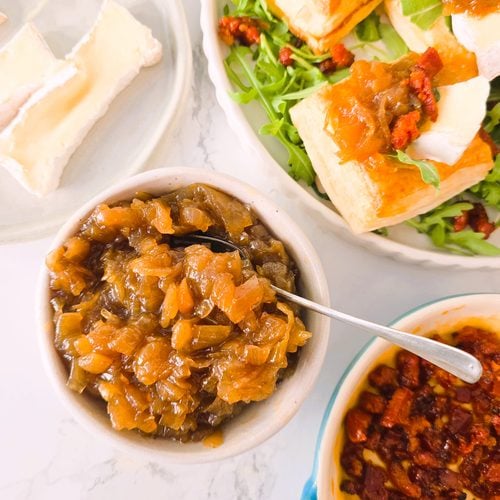
Vegetarian or Vegan Onion Chutney
This simple onion chutney is suitable for vegetarians and vegans as written.
Make Allergy Friendly Onion Chutney
This recipe is free from egg, dairy, gluten and nuts. Saying this, some vinegar can contain gluten so do check the label – white wine or cider vinegar is however unlikely to.
Please note that this recipe may contain other allergens not referred to above and any variations suggested have not been tested unless otherwise stated. For more information regarding any dietary information provided on this website, please refer to my Nutritional Disclaimer.
Equipment Notes for Onion Chutney
Unlike with jam, you don’t need to use an extra large pan to make chutney. As long as the ingredients fit in and there is room to stir without chutney spilling everywhere, a regular saucepan is big enough.
As always, basics like scales, measuring spoons and a silicone spatula will be needed. Silicone means that you can properly scrape chutney from the sides of the pan which will prevent burning.
To make this recipe speedy, you’ll also need a microwave and a microwave safe bowl – I prefer very simple plastic mixing bowls.
A comprehensive list of the equipment used to make this recipe is included in the main recipe card below. Click on any item to see an example. There are no hard and fast rules so many items can be sensibly substituted to achieve the same results.
How to Sterilise Jars and Preserve/Can Chutney
There is a whole world of variations and advice for how you should prepare your jars and deal with the jars once they’re sealed. They vary from person to person and country to country.
Here in the UK we largely make sure that the jars are properly sterilised, fill the jars with the hot chutney, seal them and that’s that. In the US it is almost a given that the jars will then be “processed” to complete the “canning” process. I have purposely provided no links here – if you’d like to learn more about canning, Google is your friend.
There are a lot of strong feelings about this in the “canning community” (yes there is one) which I have no interest in being drawn into. All I know is that UK cooks have been making jams, chutneys and preserves for a very long time without any issues. Therefore I am more than happy to follow the UK process for my chutneys.
Jar Sterilisation Options
There are several ways that you can sterilise your jam jars.
- Run the jars and lids through a hot wash in the dishwasher.
- Bake the jars and lids in the oven on a baking tray.
- Microwave the jars and boil the lids in water.
- Boil the jars and lids in water.
Whichever method you choose the only important thing is to make sure that the jars and lids are left to dry without being touched. And that you do not under any circumstances touch the inside of the jars or lids as this can contaminate them and undo your sterilisation. Tongs are your friend.
For the record, I usually use the dishwasher method.
How to Tell if the Jar is Sealed
It is essential to add the lid to the hot jars filled with the hot chutney straight away. As the jar and contents cool, a vacuum is created in the jar and the lid will be pulled downwards. To help this, I often turn my jars upside down to cool.
This means that when you press the lid, it doesn’t move or pop. When you open a jar of properly sealed chutney, the lid will then pop. And an opened or not properly sealed jar will pop when you press it.
If your jars don’t seal properly, you can either keep the jar in the fridge and eat it relatively quickly or go though a canning process to seal them. The choice is yours.
Get Ahead
The chutney is best if left to mature for at least a few days so ideally you do need to plan ahead. You can eat it straight away, hot even, but its not going to be great. Once the chutney sits and matures, the vinegar sharpness starts to soften and all the flavours start to blend and become richer.
If you are going to properly can and seal the jars, you can make chutney many months in advance. This is ideal for gifting etc. If you do want to make the jars shelf stable, you will need to sterilise your jars and follow procedures to make sure they are sealed properly.
It will keep for years sealed and many months in the fridge once the jar is opened. You must be careful to ensure that you don’t cross contaminate however – a bit of rogue butter on a knife or a crumb of cheese can make a preserve spoil much earlier than it should.
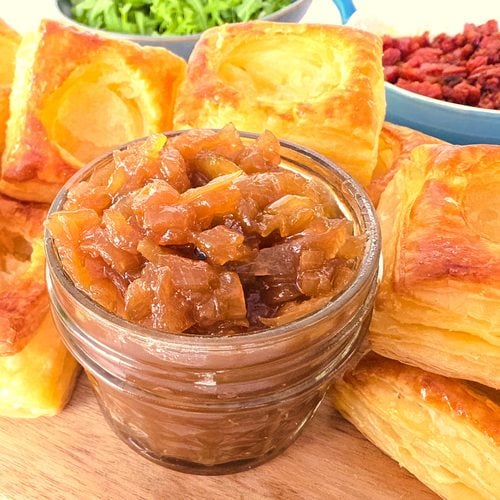
SImple chutney recipe Tips
You don’t need to stand and stir the chutney the whole time it is cooking. But it is important to make sure it is given a stir as everything is melting together. And then I tend to hover a little more towards the end of cooking as it is starting to thicken up.
The actual cooking time will vary depending on the quantity you make and the size pan you use. A pan where there is less visible surface area will take longer to evaporate some of the liquid. A wider pan will be quicker.
The trick is to make sure that the chutney cooks for at least half an hour. If it is still quite thin after this time, then you can turn up the heat to boil off the liquids faster.
Don’t forget to let me know in the comments if you try making this recipe – I want to know what you think and if you made any substitutions, how did it turn out?
Still Have Questions?
Simple! Just contact me and I will do my best to help as quickly as I am able. Head over to my Contact Me page, any of my social media channels or post a comment at the bottom of this page and I’ll see what I can do.
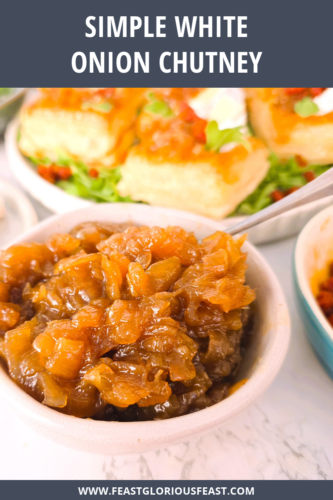
Pin Simple White Onion Chutney For Later
Hit one of the share buttons to save this page to your Pinterest boards so you can come back and find it at anytime!
Keep Up to Date
Make sure you SUBSCRIBE to my newsletter and avoid missing out on any of my newest and bonus content. Don’t worry, I promise not to spam you or bombard you too often. Plus you’ll receive a copy of my FREE 7 Day International Meal Plan!
Also please don’t forget to follow me over on my social media channels over at Facebook, Instagram and Pinterest. I love to interact with my followers and I’d love you to share my content with your friends too.
More Onion Recipes


The Recipe
Simple White Onion Chutney Recipe
Equipment
Ingredients
- 750 g Onions - prepared, around 1kg unpeeled
- 500 ml Boiling Water - split
- 2 tbsp Vegetable Oil
- 1 tbsp Sea Salt Flakes
- 150 g Light Brown Sugar
- 300 ml White Wine/Cyder/Rice Wine Vinegar
Instructions
- Put a kettle of water on to boil.
- Prepare 750g Onions by cutting off each end, slicing the onion in half and removing the peel.
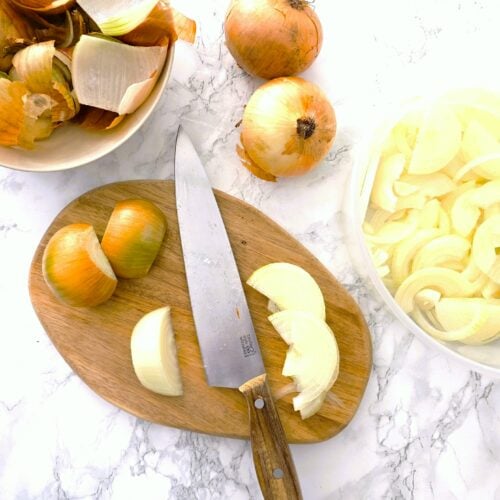

- Slice into thin half moons. You can use a slicing attachment on a food processor or mandolin if you prefer.
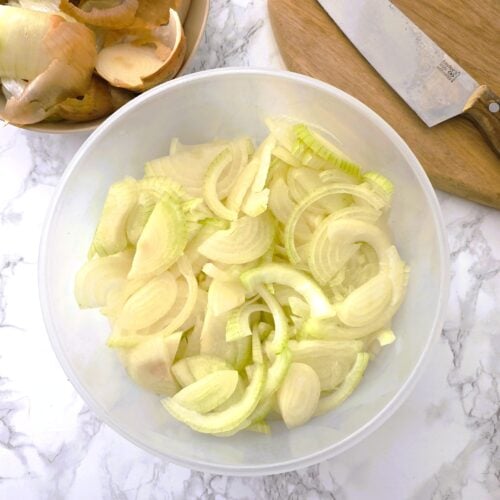
- Put the sliced onions into a heatproof bowl along with 400ml Boiling Water from the kettle. If you don't have a microwave, boil the onions in a saucepan on the stove for around 20 minutes until mostly soft.
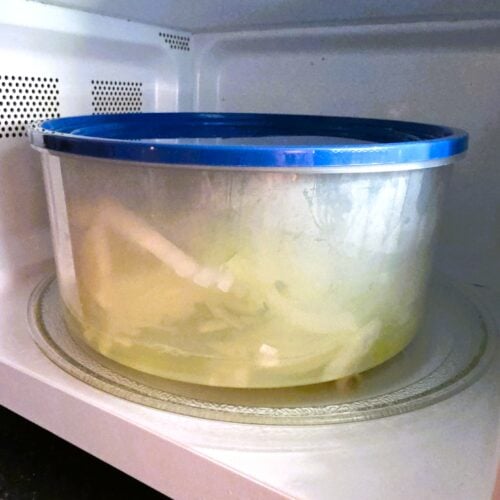
- Microwave for 10 minutes.
- Give the onions a stir before microwaving for a further 5 minutes.
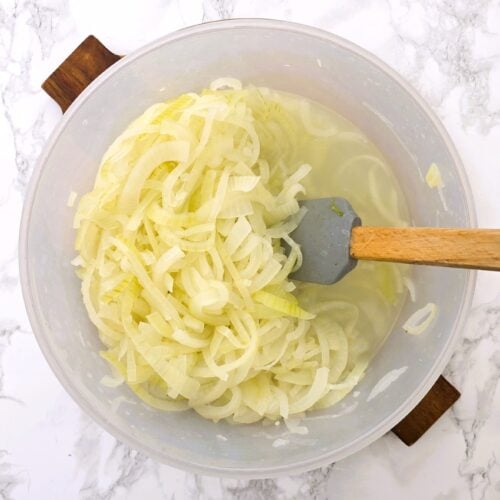
- Heat 2 tbsp Vegetable Oil in a large saucepan.
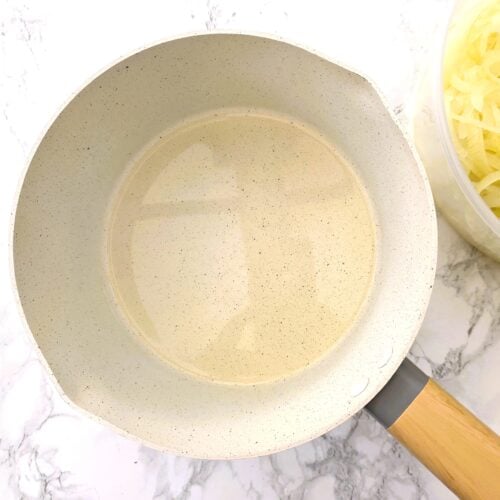
- Add the onions with their liquid to the pan.
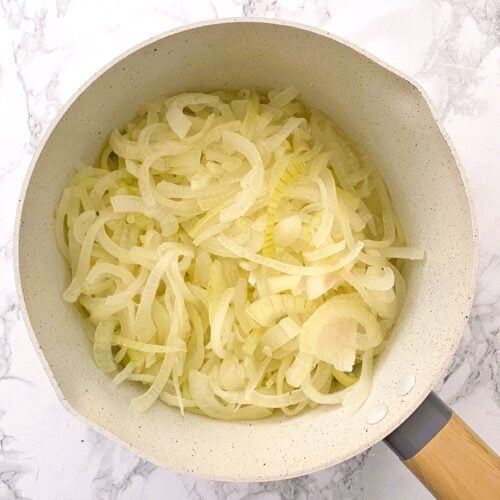
- Fry on the highest heat for around 15 minutes until all of the water has evaporated.
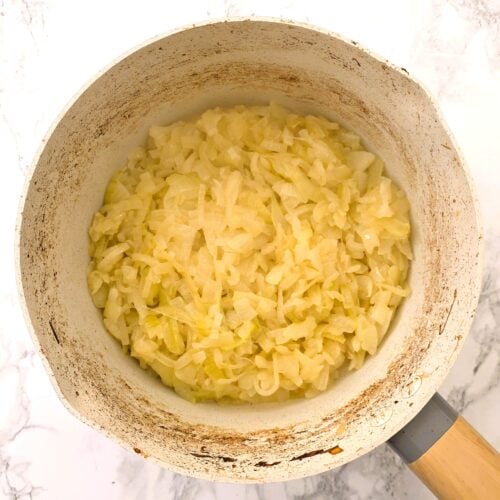
- Continue frying on a slightly lower heat for around 10 minutes until the onions are golden brown. We are looking for golden, not totally cooked down caramelised onions.
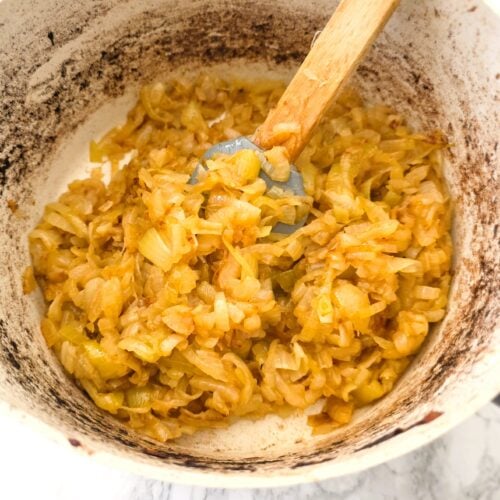
- Add 150g Light Brown Sugar, 300ml of Cyder Vinegar and 100ml Boiling Water to the onions.
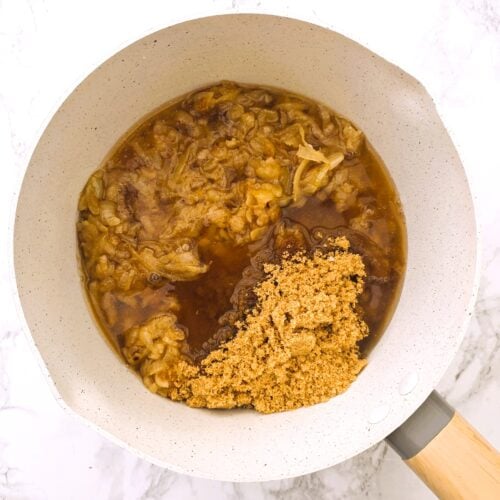
- Bring the pan to the boil and stir until all the sugar is dissolved.
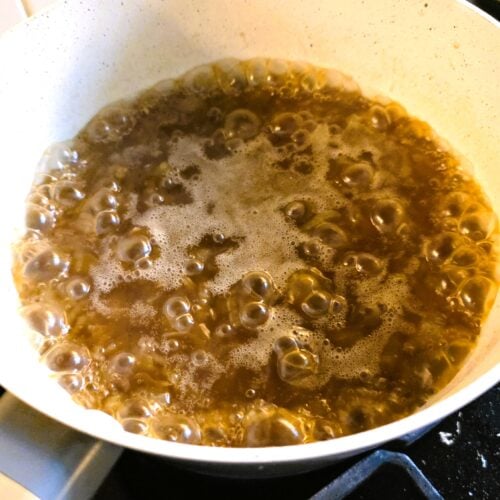
- Reduce the heat to a simmer and cook with no lid until the onions are thick and sticky. This should take around 30-40 minutes.
- You should be able to pull the spatula through the chutney without the gap refilling immediately. This is when you know it's finished cooking.
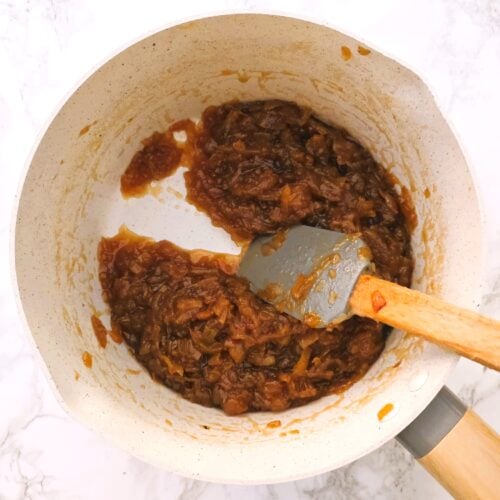
- Spoon the chutney into whichever container you are using – sterilised jars if you're planning on storing it for a while.
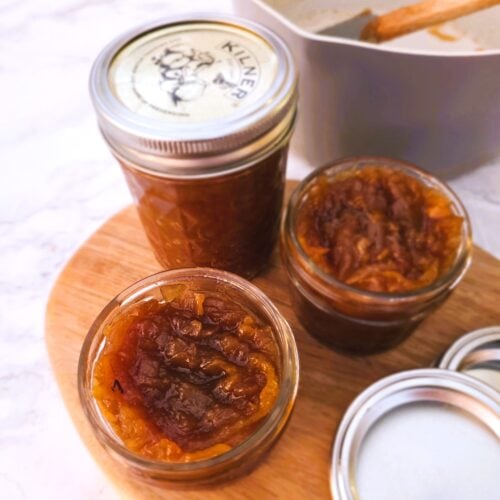
- Try to give it a couple of days before digging in to allow the flavours to mingle and mellow.
Leave a Reply