Find more recipes at feastgloriousfeast.com
Smooth Plum Jam (Small Batch Recipe)
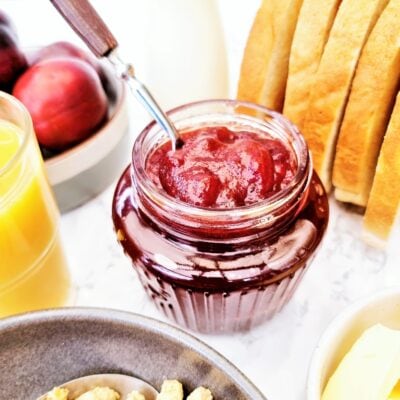
This Smooth Plum Jam recipe is super simple to make and is delicious to eat with no pesky lumps or little pieces of skin to get stuck in your teeth! The flavour of plum jam is simply divine and with my detailed step by step instructions, anyone can make this small batch of homemade jam in barely any time at all.
Equipment
Ingredients
- 600 g Plums
- 100 ml Water
- 350 g Sugar
- 1 tsp Lemon Juice
Instructions
- Pop two ceramic or china plates into the freezer.
- Prepare and sterilise your jars or container for your jam. How you chose to do this is up to you. Further details are provided in this recipe post.
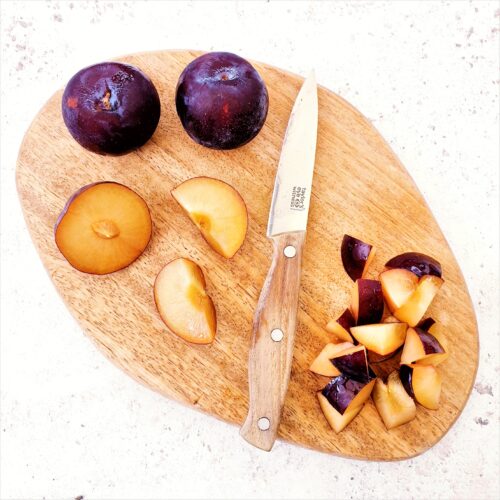
- Rinse and dry 600g Plums. Run a sharp knife around each plum and twist apart to reveal the stone.
- Remove the stone and cut the plum into rough chunks around 1-2cm (½-⅔") big.
- Put the cut plums into a large saucepan with 100ml Water.

- Cook over a medium high heat until the plums have fully softened. You will want to keep stirring regularly while this is happening.

- This can take 5 to 10 minutes depending on how ripe the plums are. Turn the heat down if it is bubbling too hard. Most of the water will have evaporated by the time the fruit has cooked down but if the fruit is looking dry, you can add a little more.
- Tip the plums into a heatproof jug or bowl. Make sure it is big enough to prevent anything from splattering out when being blended. You should also be very careful when doing this as the fruit will be very hot.

- Blitz the fruit really well until as smooth as possible. I prefer to use a stick blender but you can use any blender or food processor.

- Sieve the puree back into the saucepan. Use a spatula to push the pulp through the sieve.

- This will take a few minutes but have patience as this is how we get a smooth jam. You should be left with a fairly dry lump of bits of skin in the sieve. Don’t forget to wipe the underside of the sieve into the pan.

- Add 350g Sugar and 1 tsp Lemon Juice to the plum puree.

- Put the pan on a medium heat, stir well as the mixture warms and allow the jam to come up to a rolling boil.

- Allow to boil for 6-7 minutes or until the jam reaches the 105c or 220f. You can give it a gentle stir and scrape off the sides and bottom every minute or so to keep things even.

- Take the jam off the heat and take one of your very cold plates out of the freezer. Use a small spoon to dollop a small amount of jam onto the plate. Leave it for 1 minute and then push the jam towards the centre of the dollop.

- If you get wrinkles, the jam is ready. If you don’t, put the pan back on the heat for another minute.

- Repeat the cold plate test as many times as is needed. Make sure to put your first plate back in the freezer in case you need it again.

- Carefully pour the jam into your prepared jars or container.

- Seal and leave to cool upside down or continue the canning process if you have chosen to.

Nutrition (Approx)
Serving: 1tbsp | Calories: 50kcal | Carbohydrates: 13g | Protein: 0.001g | Fat: 0.04g | Sodium: 0.3mg | Potassium: 0.5mg | Fiber: 0g | Sugar: 13g | Vitamin A: 0.01IU | Vitamin C: 0.1mg | Calcium: 0.3mg | Iron: 0.01mg